Made by: Julius Anthony Sta. Cruz
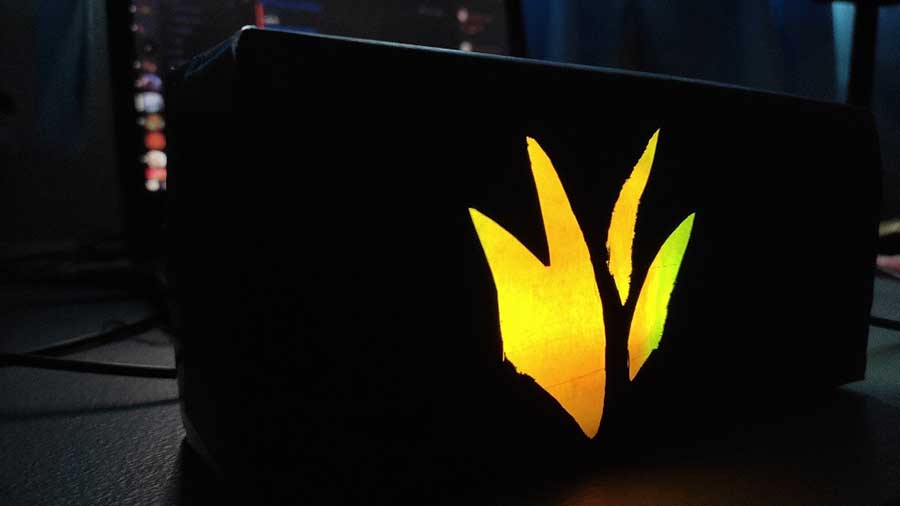
For this project, we will be making a simple and easy rectangular-shaped lamp design. I’ve always wanted to make something like this, and I can guess some people want to make the same thing too. This is really good when you want your room/work spot to be cool and comfy to your liking.
Materials
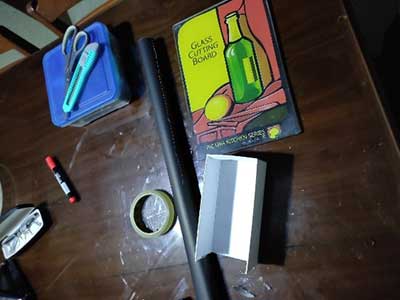
The materials needed for this project are common materials that you can find at home. All we need are a small box (preferably medium-sized in order for our boards to fit in it), a cartolina of any color, tape, scissors, a cutter (optional), and some Japanese paper. Make sure to be careful with the sharp objects, and ready a surface for the cutter.
Procedure
Step 1.
Before we do anything, we first need to cut a hole/opening on the box. This is for the boards to go in the lamp, and for us to have easy access to turning it on and off, or maybe customize the inside and the LEDs. It doesn’t have to be a big opening, it just needs it to be big enough to easily slide in the Breadboard, Arduino Board, and its wires.
Step 2.
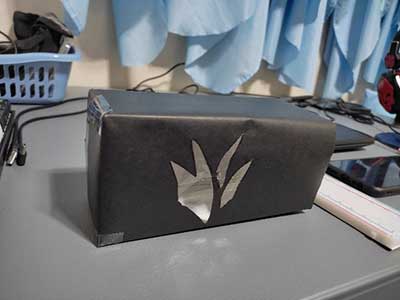
The next step is to determine the measurements of the Cartolina in order for it to wrap the entire box. After doing so, we mark the center of where we want the logo/signage to be (we would want it on the opening of the box as seen in the previous photo).
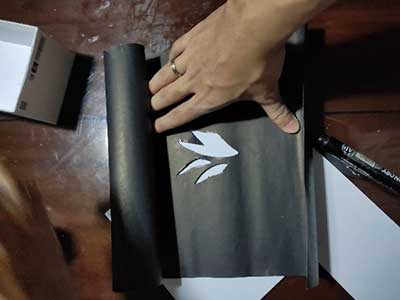
I advise you to print out the logo that you want and carefully trace it on the Cartolina before cutting. That way, it's easier to follow up and it makes the logo more accurate. The cuts don’t have to be precise and perfect, as long as it depicts the logo, it should be good enough. Feel free to use anything when cutting the logo, but be sure to be careful around sharp objects.

For my project, I used the ‘Jungler Role logo’ in the popular MOBA game, League of Legends. You can choose any logo that you want, as long as it can easily be made and cut on the Cartolina, otherwise, it would make it harder than it has to be.
Step 3.
The next step should be obvious, that is to wrap the box with the cartolina. The wrapping may be the hardest part of the procedure, but patience is key. Credits to my mom for helping/teaching me how to wrap the box with the cartolina. I also used streaks of tape on the inside since there were flappy parts of the cut-out, so in order for them to stay in place I used the tape to stick it in one spot.
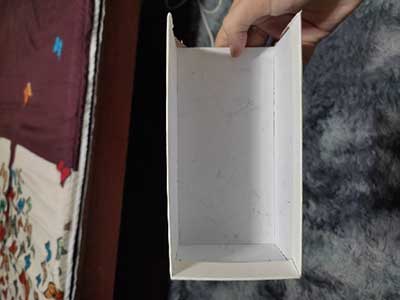
The inside of the box should look like this:
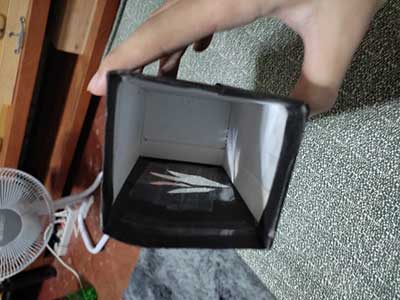
Later on, ill be sticking 2 layers of Japanese paper right around the logo because I didn’t like how it looked when I lit up the LEDs inside.
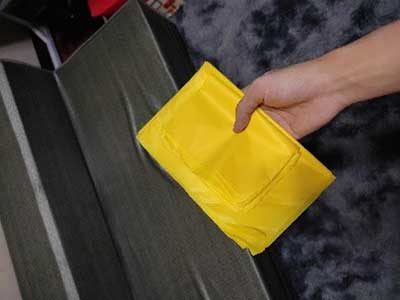
Any color of Japanese paper should do, it is all in preference.
Step 4.
Lastly, we’ll be working on the LEDs for the lamp. In this case, I used the 8 LEDs 4 Pins method because since I used a rather small box, I needed to minimize the use of jumper wires and digital pins. There is an extra jumper cable on the power rails where the resistors are connected because I realized the power rails are split into 2 on the gap. I also replaced the LEDs later on into yellow, because I wanted to match them with the yellow Japanese paper.
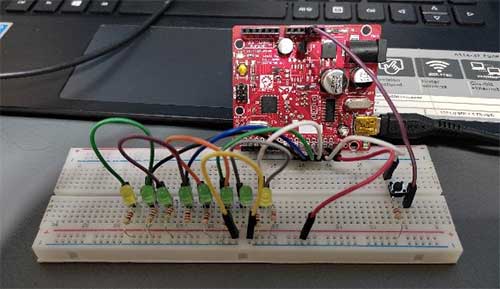
I replaced the side LEDs too into green to give it a highlight on the sides, you can go crazy with the LEDs to your liking. I placed the switch pushbutton as farthest as I can to the right because I wanted it to be easily accessed when turning on the LEDs.
Arduino Sketch
I used the standard ‘sticky pushbutton’ code for this project. Since we only want the LEDs to light up in a single press of a button, we just copied the standard code for it and added the extra digital pins.
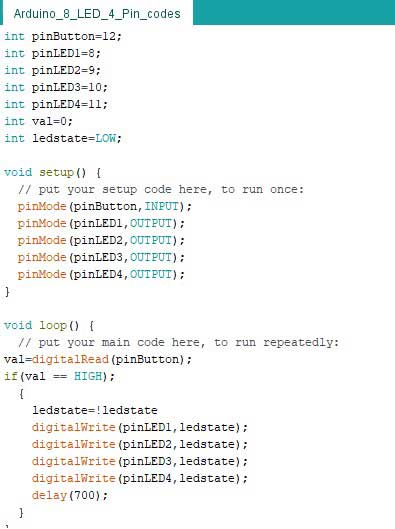
The code would be different if you want the LEDs to flash in different patterns, but that is up to you if you want it, experimenting with the code is key.
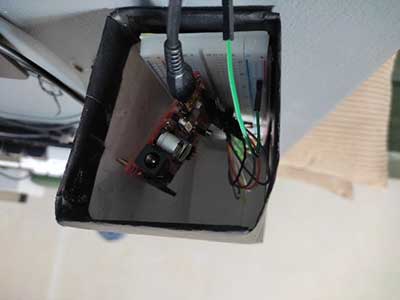
This is the reason why a medium-sized box is more preferred in this project. You can clearly see that I had a bit of a hard time placing the boards into the box. But luckily, I was able to place them in a comfortable spot, and carefully slide the boards in place.
If you were curious, this is what it looked like before I added the Japanese paper on the logo:
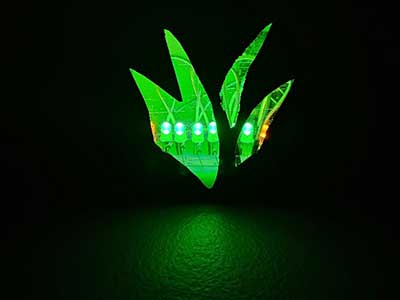
I didn’t really like it because I was able to see the inside clearly. Light colors of Japanese paper should be able to make it look much better. It doesn’t have to be Japanese paper, you can place anything into it, just make sure that the LEDs can still shine through it.
Final Thoughts
Overall, I really loved how this project turned out. I am really proud of what I accomplished this week, and Computer was a really fun topic, probably the most fun I’ve had for the entirety of online class. What I felt while I was making this project was sadness and doubt, mainly because I didn’t think that it would look this good. I had second thoughts on it and was considering making another project and scrapping this one. But I’m glad that I was able to make up my mind and decided to work on this one. This also gave me a bit more understanding of how lamps and other decorations that we usually have in our rooms. And, special thanks to my mom for lending me a helping hand in this project, without her this would’ve been a total disaster.


