
My name is James Mancer and today, I will be teaching you how to make your own LED wall lamp. I made this product so that I can show how to make something good out of the things that we are not using anymore. Recyclable materials like cardboard boxes and leftover art kits from years before are the things that are often inside a grade 10 student would have. My goal is to be able to recycle these materials and make a product that can actually be used.
Materials
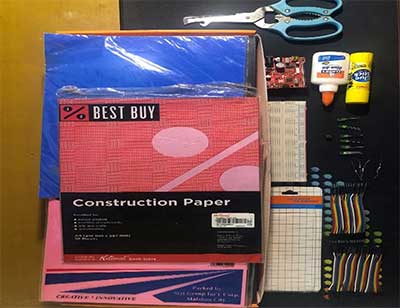
- 4 – 8 LEDs
- 220k and 10k Resistors
- Cardboard Box
- Construction Paper/Colored Paper
- Arduino Board
- Breadboard
- Tactile Switch/Button
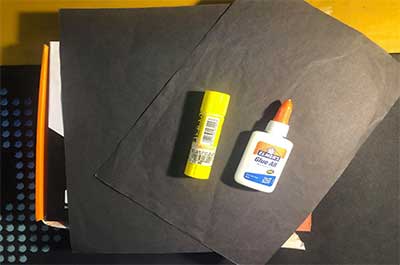
- Scissors
- Glue
- Jumper Cables
Concept
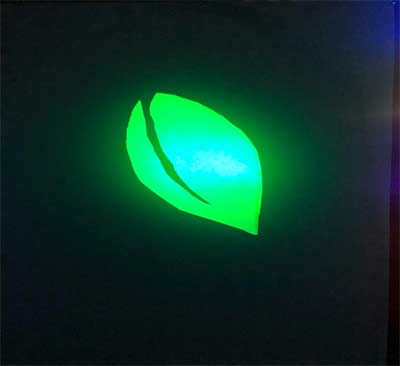
For my product, I chose the design of a green-colored leaf. This is because I am doing a recycled product, and I wish to raise awareness for solid waste and its effects on the environment and nature.
Arduino Sketch
For the Arduino Sketch, I combined the code of the 8 LEDs; 4 Pins with the LED sticky switch button.
int PinButton1 = 2;
int pinLED1=9, pinLED2=10, pinLED3=11;
int val =0;
int ledstate=LOW;

void setup()
{
  pinMode(PinButton1, INPUT);
  pinMode(pinLED1, OUTPUT);
  pinMode(pinLED2, OUTPUT);
  pinMode(pinLED3, OUTPUT);
}

void loop()
{
  val=digitalRead(PinButton1);

  if(val == HIGH) //buttn is pressed
  {
    ledstate=!ledstate;
    digitalWrite(pinLED1, ledstate);
    digitalWrite(pinLED2, ledstate);
    digitalWrite(pinLED3, ledstate);
    delay(1000);
  }

}
Arduino and Electronics
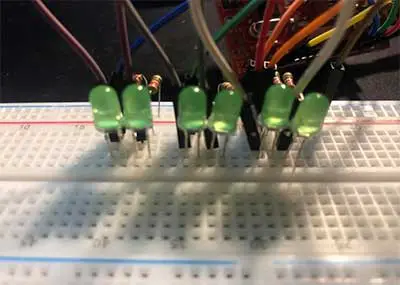
For the breadboard arrangement, I used the 8 LEDs-4 Pins setup that we had for a challenge last Wednesday. I also placed the LEDs in the center of the breadboard so that they will be aligned with the object that I will be projecting which is a GREEN leaf. I used green LEDs because I want to project a green object. The jumper cables are plugged inside the 9th, 10th, and 11th digital pin.
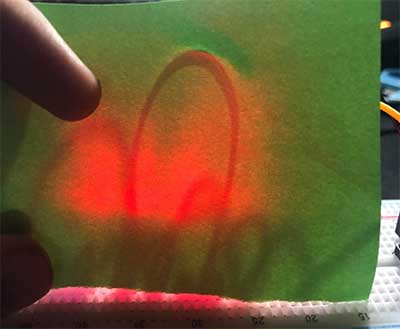
The reason for LED color choice is because of the color difference. The photo comparison above makes this clear that it is important for us to use the respective LED color to match the intended color of the object to be projected.
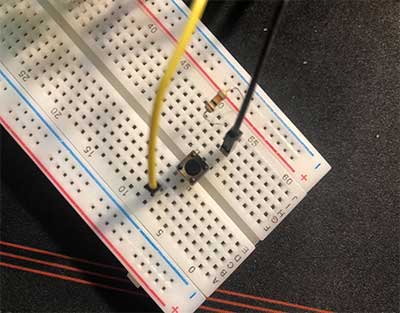
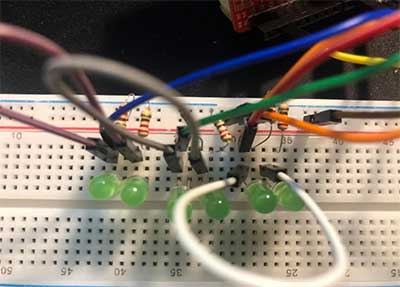
The button is separated from the LEDs. My intention for this is so that the switch can be easily accessible from the open part of the cardboard. The button is accompanied by a 10k resistor and two jumper cables. The yellow jumper cable is the digital pin jumper cable. It is plugged in the number 2 pin. The black jumper cable is plugged inside the 5v analog pin. (read this article about pushbuttons: Using Simple Pushbutton Switches to Light Up LEDs)
Cardboard / Frame
The first step is to prepare the intended object that you will be projecting. For me, my object is a leaf. I prepared a green paper that I will be placing behind the black construction paper which we will be discussing next.
To be able to have a reference of what you will be cutting – I suggest that you print out the object that you will be using as your projection.
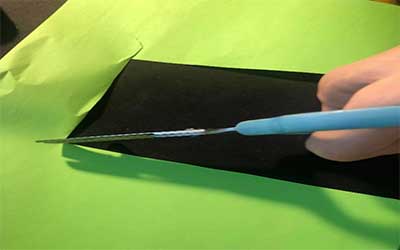
The second step of the cardboard procedure is the gluing of the construction paper/colored paper to the cardboard box. I used black construction paper because I believe that it looks nice when the lights are off and the LEDs are on. It gives off a neon light feeling because the object is the focus of the product once you place a dark background behind it.
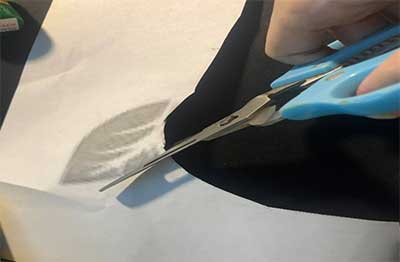
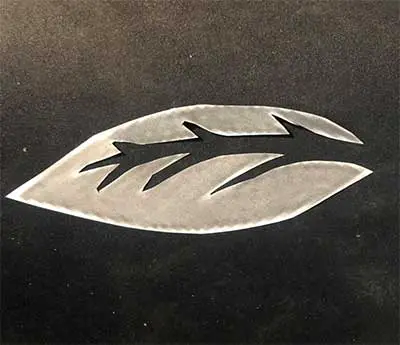
For the third step in the making of our DIY wall lamp, trace the printed leaf using your construction/colored paper. I used a pencil to trace the leaf so that I could see the writing more clearly because of the lead of the pencil. Now after tracing, cut the traced parts using a razor or the tip of the scissors. Cut carefully and make sure to be careful.
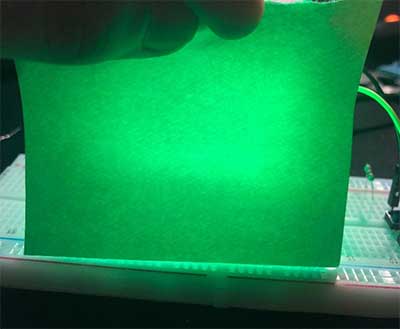
Finished Product
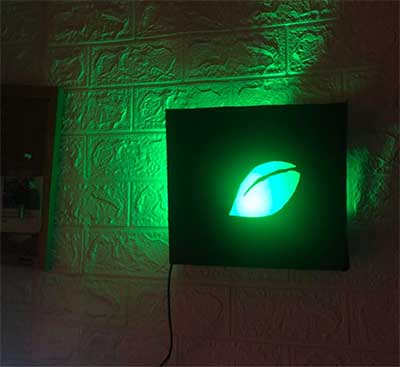
While making my product, I felt amazing because I was thinking the whole time that for the first time in nearly two years – I was able to make something creative and innovative. I felt proud after I saw the wall lamp that I made brighten up the room with its green hue. It was nice doing this activity because it felt like I was back in art class trying to come up with a creative way to showcase my coding skills after a whole week of experimenting and trying new things.
I realized how long it has been for me to come up with something creative and thinking outside the box. Of course, I incorporated some ideas from the examples but I think that I was able to show personality using my product.
To conclude, this activity helped me realize that I need to be more creative with life and how I deal with day-to-day challenges.


