Made by: Marc Matbagon
Electronic Components
- 10k ohm Resistors (6)
- Red, Green, Blue LEDs (2 each)
- RGB LED (1)
- Pushbutton (1)
- Jumper wires (9)
- Female Jumper wires (10)
- Arduino board & wire (1)
- Bread Board (1)
Materials
- clear small tupper wares (2)
- Cardboard (1)
- Cottonballs (1 bag)
- Glue (1)
- Paint
- Chopsticks (2)
- Shoebox cover (1)
- Any toy figure (optional)
Lamp Design and Structure
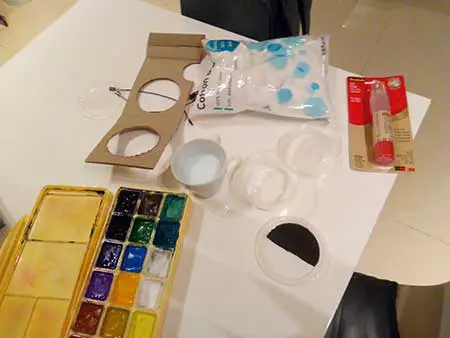
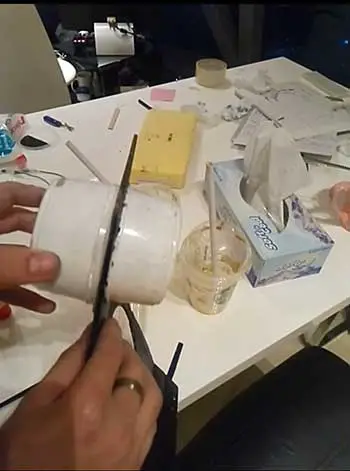
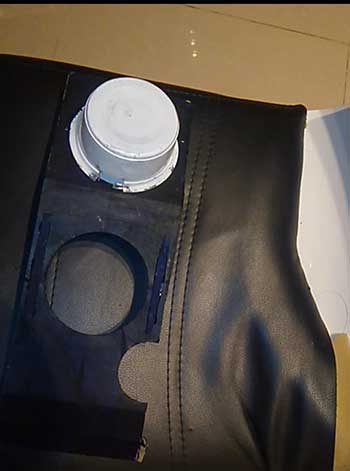
STEP 1: Paint the cardboard black, Tupper ware white, and shoebox over black (optional)
We paint these items, so they look more pleasing to the eye like the black cardboard makes it look professional and minimalistic, and painting the tapper wares white helps to blend in with the cotton balls and acts as a background. Make sure to cut a hole in the cardboard to fit the Tupperware, mine already had one.

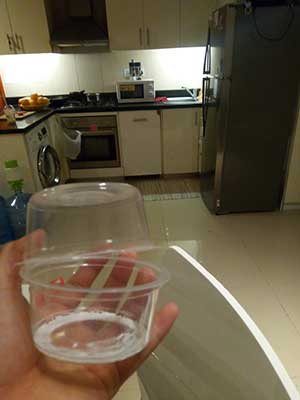
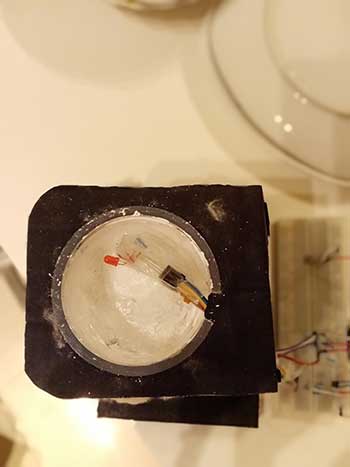
STEP 2: Cut a section of the Tupper ware and Check if light passes through the painted Tupper ware.
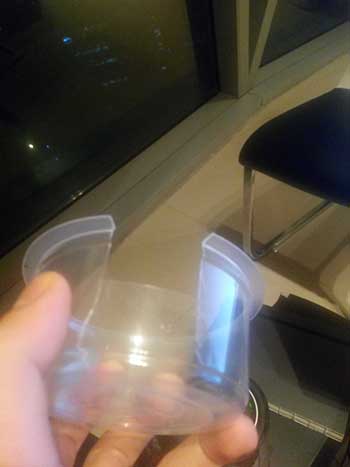
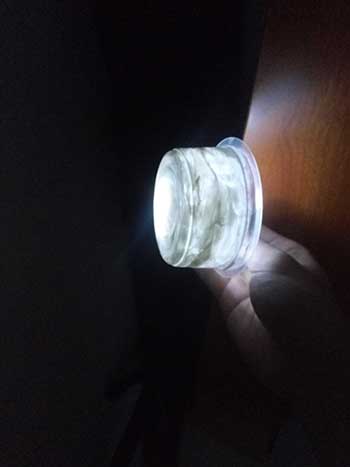
Make sure you don’t overpaint the Tupper ware that it doesn’t let any light through.
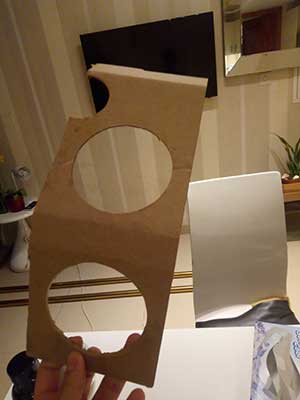
STEP 3: Attach the Tupper ware to the carton
Make sure the lid of the Tupper ware doesn’t go through the hole.
STEP 4: Attach the shoebox cover to the carton and add the chopsticks at the back for support.

- The shoebox cover acts as a base and support of the lamp
- The chopsticks help prevent the carton from bending due to the weight of the lamp
- Use glue or anything that helps attach the items.
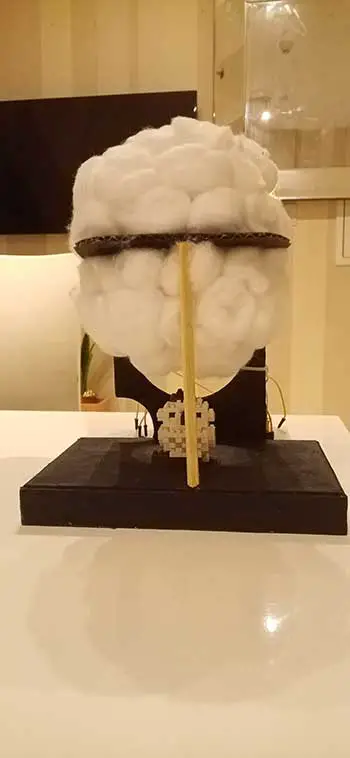
STEP 5: Start Making your cloud using cotton balls and glue them to the Tupper ware.
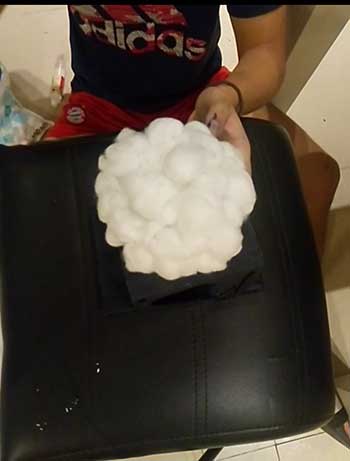
- Make sure that you fluff up the cotton balls or don’t attach them as balls try to make them look fluffy like a cloud
- Add glue to the tapper ware and then attach the cotton make sure to randomize where you place the cotton
- Don’t add Cottonballs at the back where you made your hole because that’s where the lights will go.

STEP 6: Add a chopstick on the front for support.
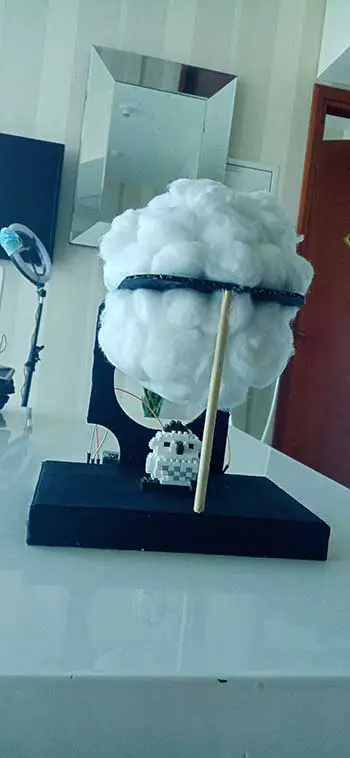
This helps with keeping your lamp stay upright and not lean down.
How the Lighting is Made, Breadboard Setup, and the Sketch/Code
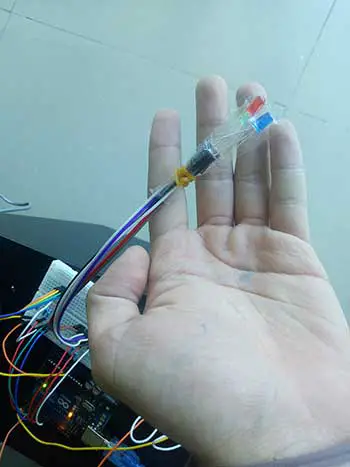
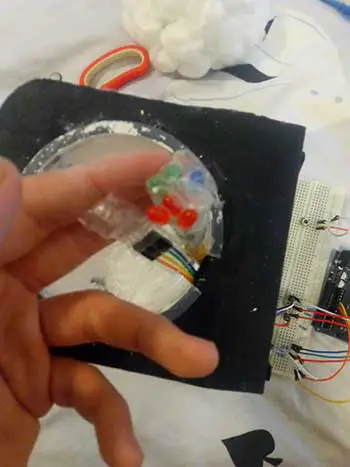
STEP 1: Attach the LEDs to the female jumper cable.
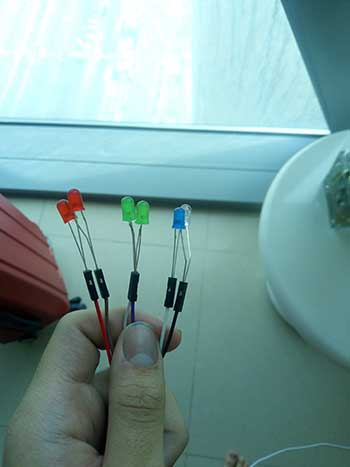
- You can secure the LEDs with tape if they keep falling off
- You can add 2 LEDs to 1 female jumper wire as long as it fits
- Add another LED by connecting the anode and cathode together (make sure they both don’t touch) this works because the wire is metal and is a good conductor of electricity.
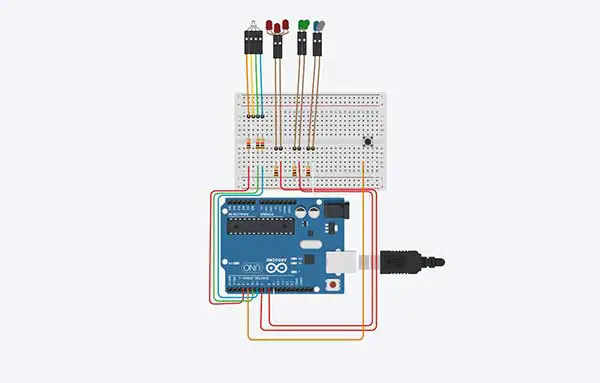
STEP 2: Wire the breadboard to the Arduino and lights.
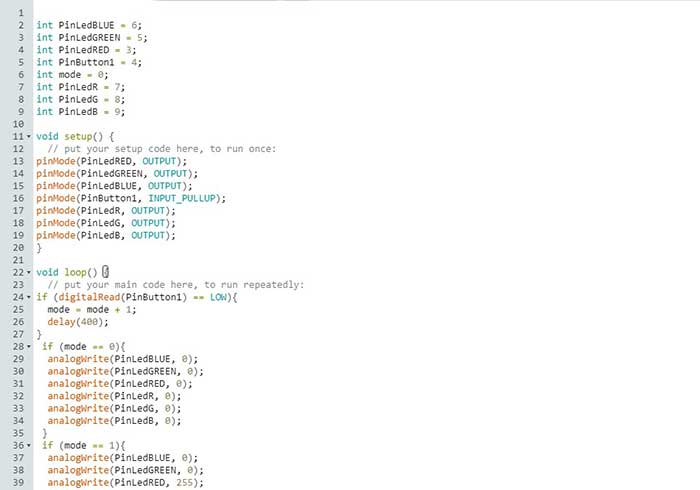
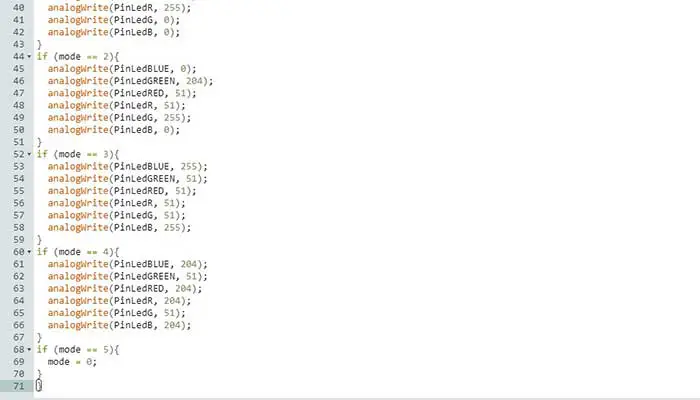
STEP 3: Code.
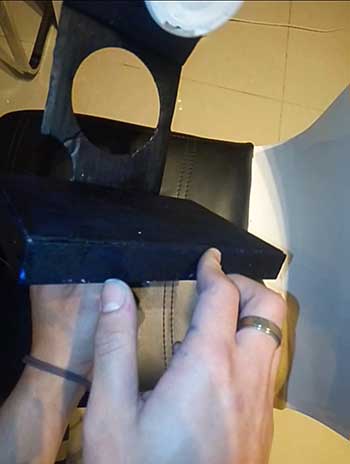
STEP 4: Tie up all the LEDs using a rubber band and insert them through the hole that you cut out.
- Make sure to test out the LEDs before shutting the cloud top on
- And the LEDs are spread out and not just on one side
STEP 5: Glue the cloud on top and secure the wires at the back with a zip lock or anything to keep it from going everywhere.
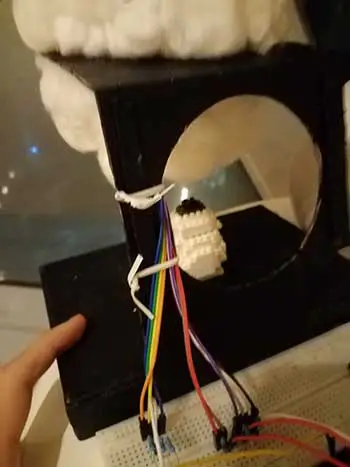
Securing the wires at the back makes the project look cleaner and neater because it won't have wires all over the place.
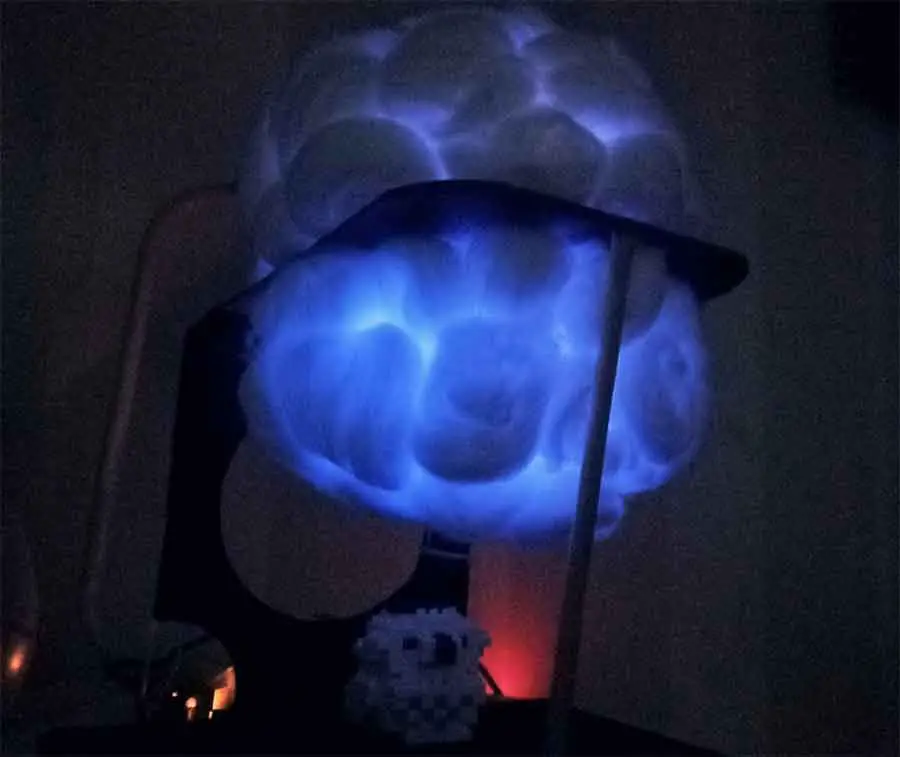
STEP 6: Plug in and enjoy.
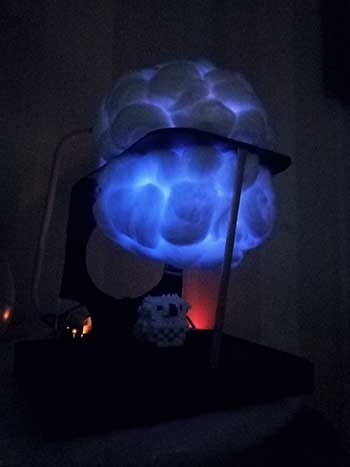
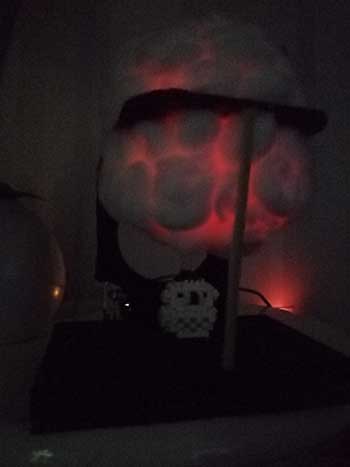
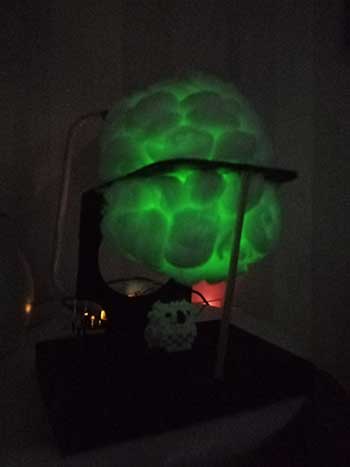
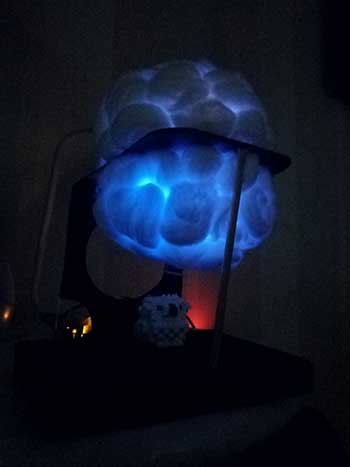
If you long-press the button it cycles through every color automatically.
Reflections
I felt excited to make a product that is made by my own ideas and code without copying it from an image there was some confusion at times there were times where I got frustrated because there were so many things I wanted to do but had little knowledge on how to perform them especially in coding, I also learned new commands cause it was necessary for the completion of my project I studied numbers were certain colors and that 3 colors can make up so many new colors depending on the brightness but from the beginning, I knew I was going to do well as long as I focus on things one at a time.
My overall experience from this project was great I really liked learning all about robotics, programming, and sir Sherwin really made it easy for me to digest the material that he was presenting I am grateful to him, and throughout the whole week, I was just excited to learn new stuff even though it may be hard at first.
My Realizations after making the project was I was amazed at how I could turn an inspired idea from my head and make it into real life I was just struck with the feeling of satisfaction that all the errors in my code that I had to fix the uncapitalized letters that I didn’t notice and frustrations it all paid off at the end and I'm simply happy that I got to learn this skill and I will definitely be doing more of this on my free time.


