Made by: Marion Toledo
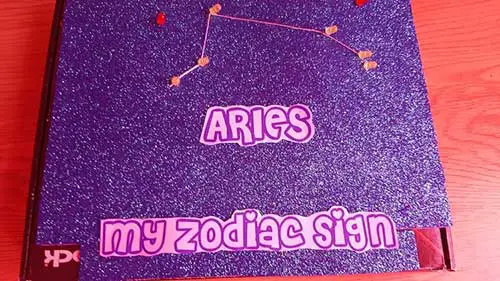
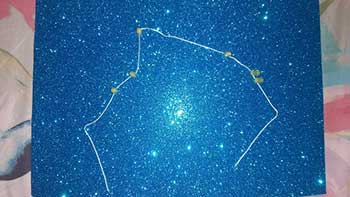
The product that I have made is stars that are in a glittering blue background and that it shows my zodiac sign. The reason why I made this is because I want to show my passion for learning about constellations and space as well as using recyclable materials as a way to help make something good out of it.
This product uses these materials:
- LED’s
- Resistors
- Arduino Microcontroller
- Jumper Cables
- Breadboard
- Button
- Recyclable Box
- Bond Papers
- Scissors
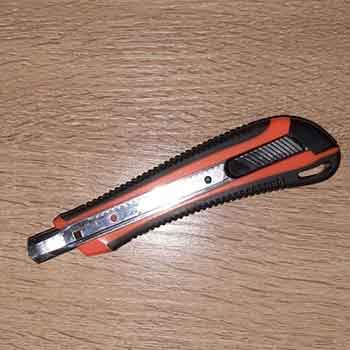
- Cutters
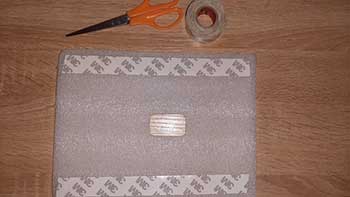
- Double-Sided Tape
- String
- Needle
- Styrofoam
Electronics
To create the product, we must first create the electronics, this would require us to use the breadboard and the Arduino microcontroller.
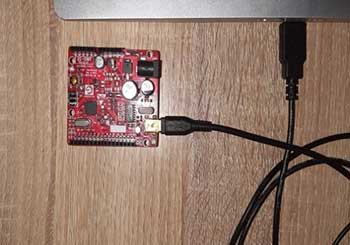
1st step is to make the electronics and the LED’s we need to first use an Arduino microcontroller and connect it from your laptop or pc.
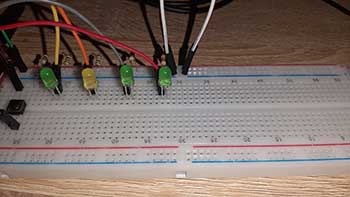
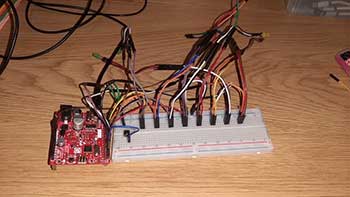
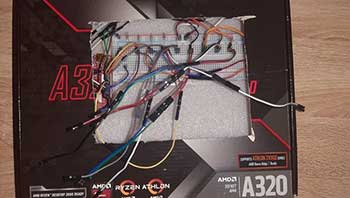
2nd step is to use the jumper cables and button and connect them to the breadboard.
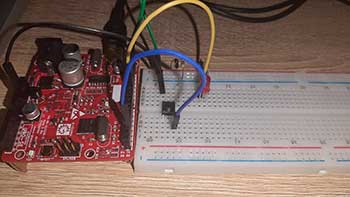
You can connect them like the picture shown above.
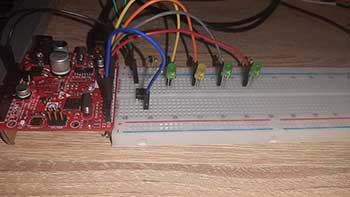
3rd step is to connect the LED lights in the breadboard and into the Arduino microcontroller

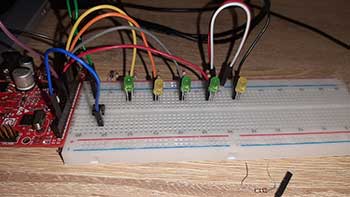
4th step is to connect the other seven LEDs the same way you connected your first LED.
5th step is to connect two jumper cables in the space of the power rails, the reason for this is because the power rails will power one side while the other won’t get powered so it is important if you connect two jumper cables so that it will power the other side.
6th step is to follow the same thing you did during the fourth step but use female jumper cables as they can help make the jumper cables reach the digital pins.
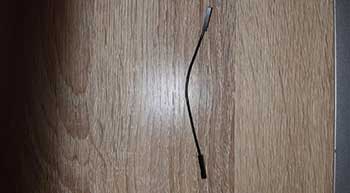
7th step is to connect the LEDs to a female jumper cable so that you can extend it even further.
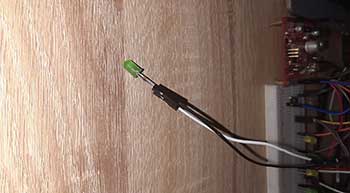
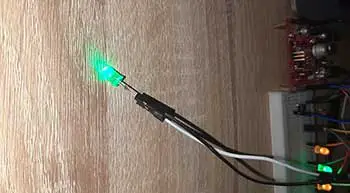
Make sure you connected the shorter side and the longer side in the right position as it may affect the LED.
8th step is to do the same thing as the previous step and make sure that you positive and negative sides of the LEDs are in the right position
After you're done with the electronics you can now move on in creating the design of the box.
DESIGNING AND CREATING THE BOX
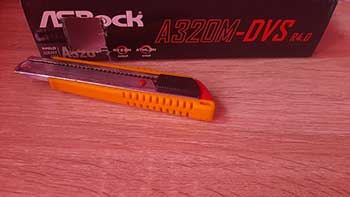
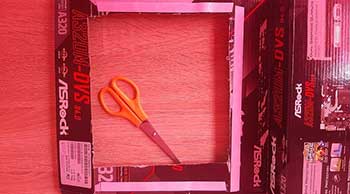
1st step is to get your box, it can be any box as long as it's recyclable, and make sure you have your cutter ready.
2nd step is to cut the top of the box and make it wide so that you can connect the LEDs to the female jumper cables.
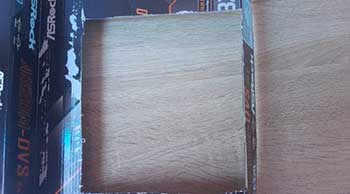
3rd step is to cut a hole in the side of the box so that you can connect your wire to the Arduino microcontroller that is in the inside.
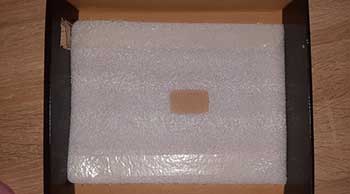
4th step is to get your Styrofoam and put it inside the box and make sure that it is the right width so that it can fit in smoothly, you can do this by using a cutter.
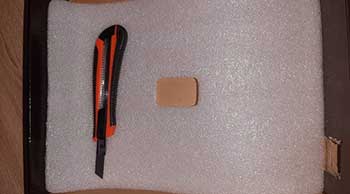
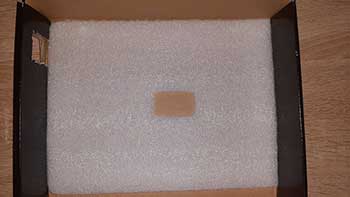
As you can see the picture above shows the Styrofoam in the box with the right width.
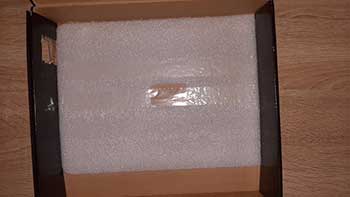
5th step is to apply double-sided tape in the bottom of the Styrofoam.
6th step is to remove the sticker on the tape to make the tape sticky so that you can connect it from the bottom.
7th step is to connect some double-sided tape in front as well so that you can stick the breadboard and Arduino microcontroller.
8th step is to put the breadboard and the Arduino microcontroller in the inside of the box
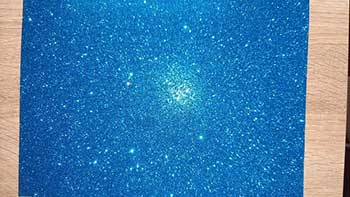
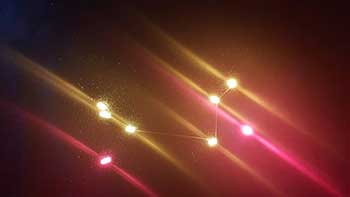
9th step is to get your paper, in which case I used the glittering paper as a way to emulate the stars.
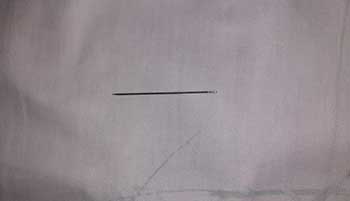
10th step is to get your string and your needle and connect them together.
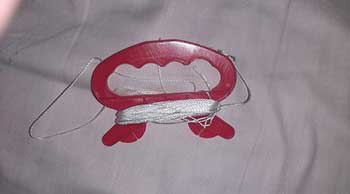
11th step is to connect use your LED’s and your string and connect them together, you can use your needle to make sure the string is in the right position
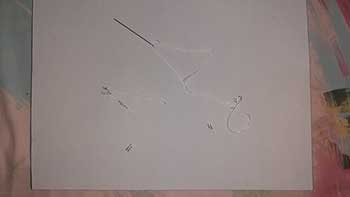
12th step is to cut the strings in the bottom and tape it so that the string on the top won’t move.
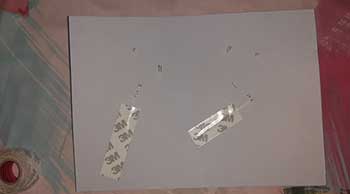
13th step is to put double-sided tape on the sides of the hole to connect the paper into the box.
14th is to connect the female jumper cables and connect them to the LEDs
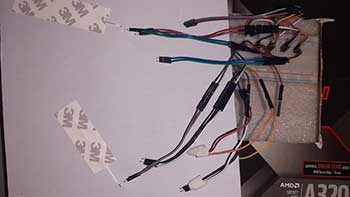
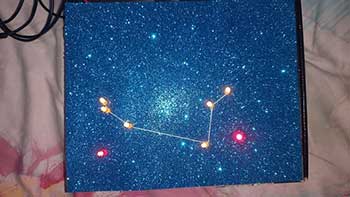
This is what it would look like when you connect the box and the LEDs:
15th step is to print out your zodiac sign using bond paper, cut it using scissors and connect it with double-sided tape or glue.
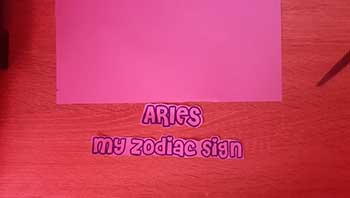
And the last step is to connect the words and put them on the paper and you might get this:

REFLECTION
When making the product it felt hard at first because of how we need to come up with our own product and our own type of way of using the LEDs, but after a while, it felt fun because of how we get to create something new with the knowledge we gained from learning LED’s and because of that it helped me create this product. When I finished making the product, I felt satisfied with my product as it worked and it was because of this I felt happy because of how all of that hard work became something beautiful. And it is because of this that my overall experience was both hard and fun and that after finishing the product I felt happy and satisfied that the product worked and created something beautiful.


