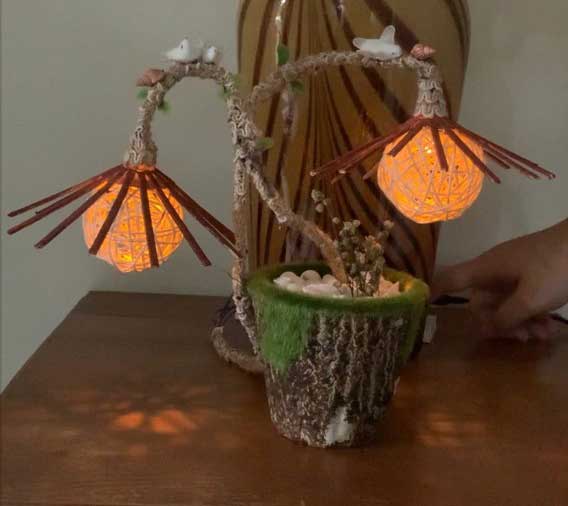
Made by: Mikhalee Nanong
If you’re on a budget and you really want to spruce up your home/room without spending any money, Here’s an idea to brighten up your space that you can do yourself. You might not realize how something as small and perhaps insignificant as a lampshade can change the look and feel of a room. The fun thing about creating your Do-It-Yourself lamps is that you can truly customize the look you’re going for. The opportunities can be endless, and the look you achieve in the end will liven up your room. This project is a really simple one to make. Especially if you have mastered how to light an LED using an Arduino microcontroller. And I’m gonna show you how I make it!
Here are the materials I used:
- A small, old pot
- Laces(optional)
- Twines
- Dove decorations
- Abaca Balls
- Fake shells
- Japanese paper umbrellas
- Copper wire
- An Arduino Microcontroller
- Jumper wires
- 2 LEDs
- 10k and 220 ohm resistors
- A pushbutton
- A breadboard
Step-by-Step Procedure
Step 1:
The very first thing I did was cut the copper wire, and shape it into the shape I want. Could be a curve, because that’s what I did with mine. I cut two copper wires, because I have 2 LEDs. The copper wire acts as a Stem for the lamp.
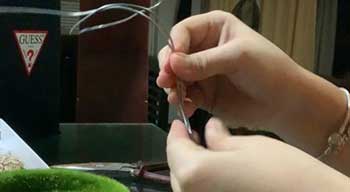
I then hot glued both of the copper wires together, to help them stick to each other.
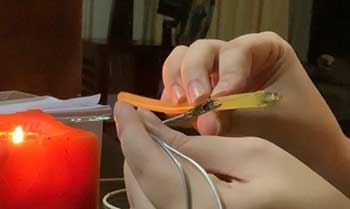
I just used a candle here to melt the Glue stick because I didn’t have any glue gun with me. (Be resourceful! Or what we call as “Diskarte”)
Step 2:
The second thing I did was I wrapped the two copper wires in a burlap rope, to make it look more pleasant.
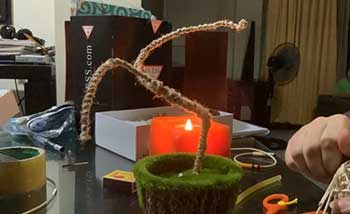
Step 3:
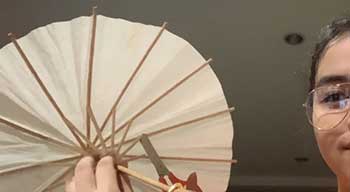
I removed the runner of the Japanese Paper umbrella. I just cut it off with scissors. It was easy to cut since it was just paper.
Step 4:
The fourth thing I did was ready the LEDs I'm gonna use. I wrote a sketch in Arduino. Then I connected the jumper wires, resistor, pushbutton, and LEDs to the Breadboard and the Arduino Microcontroller.
This is what my breadboard looks like:
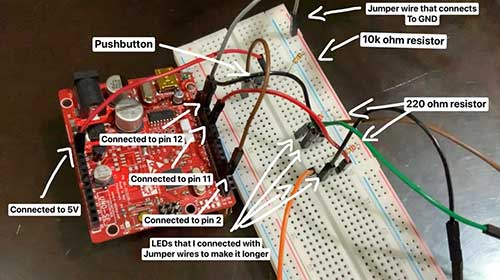
This is the code I used in Arduino:
/*
  The "sticky" push button
  LED turns on when pushbutton is pressed and released once.
  LED stays ON
  LED turns off when pushbutton is pressed again.
  LED stays OFF
  */

  int PinButton1 = 2;
  int PinLed1 = 10;
  int Pinled2 = 13;
  int val =0;
  int ledstate=LOW; //initial value

  void setup()
  {
    pinMode(PinButton1, INPUT);

    pinMode(PinLed1, OUTPUT);
    pinMode(Pinled2, OUTPUT);
  }

  void loop()
  {
    val=digitalRead(PinButton1);

    if(val == HIGH) //button is pressed
    {
      //reverse the current state of the ledstate variable
      ledstate=!ledstate;
      digitalWrite(PinLed1, ledstate);
      digitalWrite(Pinled2, ledstate);
      //wait 1 second before the next reading to ensure stability
      delay(1000);
    }

  }
Step 5:
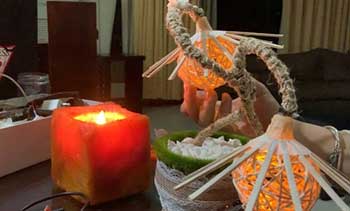
After making the LEDs turn on, I then started to assemble everything, I placed the connected LEDs inside the abaca balls, Then wrapped the wires with another layer of burlap rope, I then glued the umbrella runner to the copper wires, including the abaca balls. I also added fake shells in the pot, to make it look nice.
Step 6:
The very last thing I did was Painting the umbrella runners. Because It looked boring when it was all just white so I colored it brown. It looked matchy too.
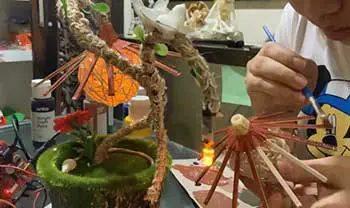
And here is the final product!
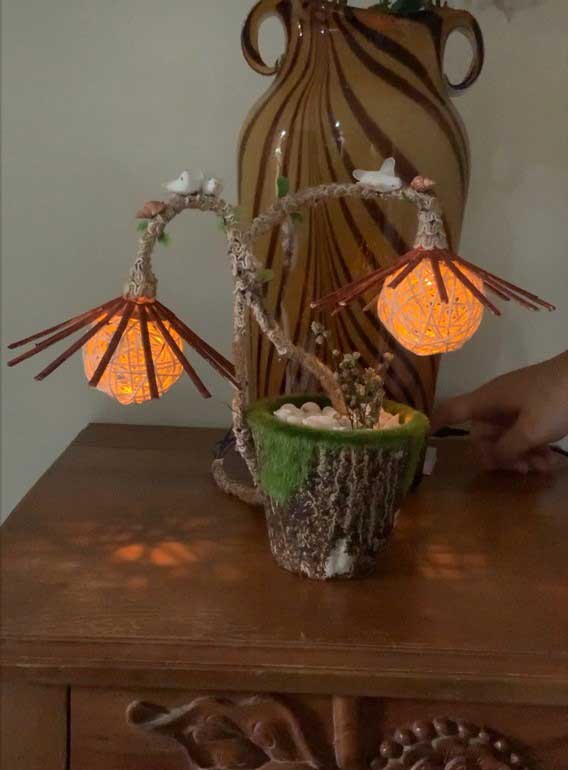
I added decorations, including the dove, fake leaves, fake flowers, and some shells.
Reflection
I felt tired after making my project. It was pretty hard tho, especially when I wrapped the burlap rope around the copper wires cause it kept getting stuck. But overall, I still had fun though. It was fun experimenting with where I should put the decorations, what LED color I should use, and what I should do with the wires showing in the background. After making my Project, I realized that I shouldn’t have procrastinated. Procrastinating is one of my worst enemies because when I procrastinate, I never get to do anything on time. Also overthinking. When I overthink, I happen to run out of ideas use. And everything just goes wrong in my head. That’s why I learned to never procrastinate and overthink in times like this.


