Made by Daryl Nikkoli Belga.
Last Quarter, I have learned about the different types of led effects in lighting my LEDs. I have also applied it by making a Table Lamp for my bedroom. In this Quarter, we are going to make a Sensor-Based Game. In other words, we are going to make a game that has sensors, buzzers, and LEDs at the same time. I know this sounds difficult and exciting at the same time, but nothing is impossible.
Sensors are around us. A sensor is a technology that detects the change in the environment and responds to some output on the other system. It enables a robot to gather data from its immediate environment. Sensors are mostly found in malls like sensor doors, sensor faucets, sensor toilet flush, and the like.
Sensors have become an important technology in our lives. It is used to make things more advanced. An example can be cars with proximity sensors to detect if a vehicle is close to an object. It helps a car avoid bumping into objects.
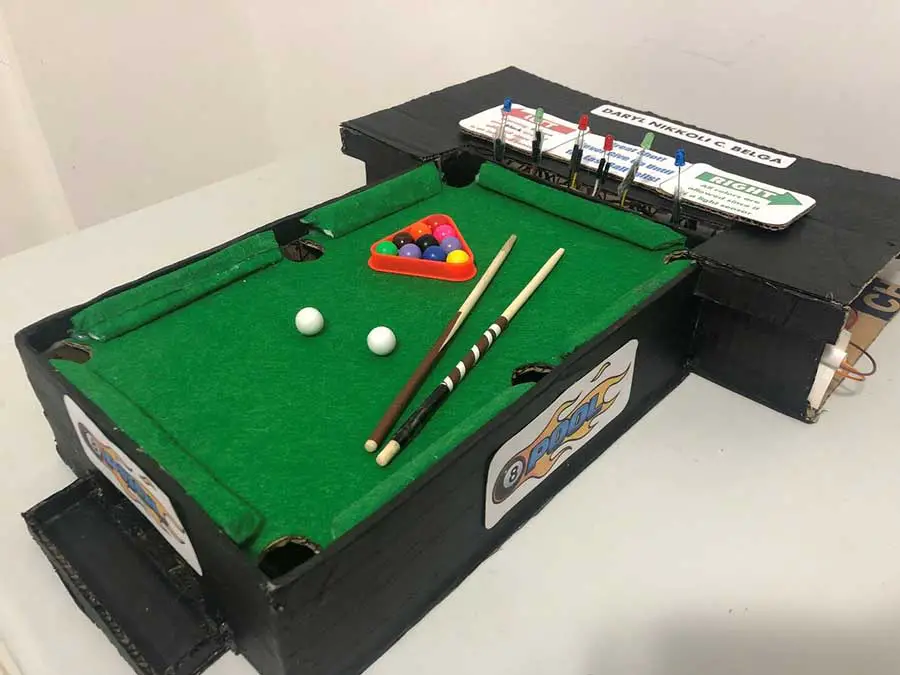
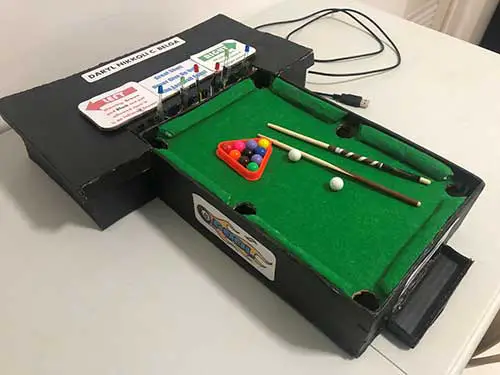
For this project, we are going to make a Mini Billiard Table with sensors. It is a game that can be used especially at parties, or it can be used by playing with your family members. This Mini Billiard Table with sensors is created out of recyclable materials like cardboard boxes from groceries. My goal is to show that everyone can make a game out of recycled materials and to have fun at the same time while playing the game. You can also create your own mini billiard design as long as the sensors work.
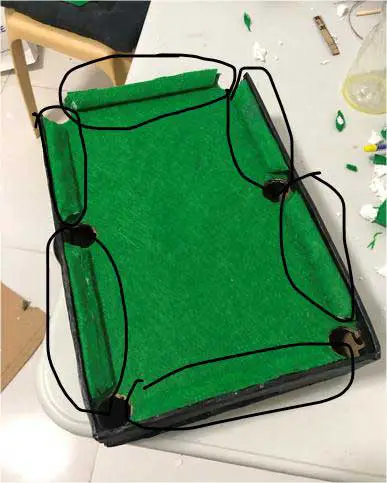
To play this game, you need a mini billiard table, a chopstick, and marbles or small plastic balls. The game mechanics are the same as the life-size billiard game. The only twist here is that only the top two pockets of the billiard table have sensors since I only have two sensors but if you have more than two infrared sensors and light sensors, then you can place all sensors in all 6 pockets inside the billiard table.
Therefore, just like in the 10-Ball Rack Rules, all shots must be called on which pocket to shoot the ball but, in our case, only the top corner pockets are the options in where the ball will be shot into, but you can still play with 6 pockets if you don’t mind about it. All the billiard pockets work but only the top pockets have sensors. When the ball enters either of the two top pockets of the billiard table, the sensor will detect the ball, the buzzer will sound, and all the 6 LEDs will turn on.
These are some of the rules of 10-Ball Rack:
The balls should be shot in order. For example: shooting ball number 1 first and then ball number 2.
Only one ball can be called per shot.
First person to shoot the 10th ball in his chosen pocket wins the game.
If the cue ball enters the pocket, it's your opponent's turn to play the game.
Take Note: You can play any kind of billiard game or any kind of billiard rules such as 8-Ball Rack Rule or 9-Ball Rack Rule as long as you have more than 8 balls. This Mini Billiard game can be played by 2 players or multiple teams.
Materials:
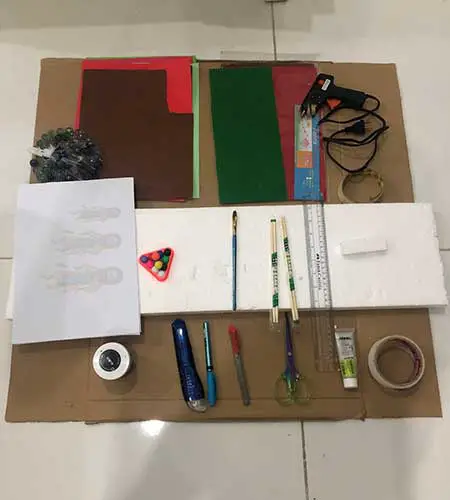

- Cardboard
- 7 LEDs (any color as long as it works)
- Glue Gun
- Glue Stick
- Multi-Purpose Glue
- Ruler
- Silver and Black Acrylic Paint
- Breadboard
- Arduino Board
- Female Jump Wires
- Male Jump Wires
- Cutter
- Scissors
- Fabric Paper (Optional: Green)
- Paint Brush
- Masking Tape
- Plastic Tape
- Ballpen or Pencil
- Construction Paper
- Bond Paper
- Marbles or Small Plastic Balls
- Styrofoam
- 220-ohm Resistors
- Piezo Buzzer
- Infrared Sensor
- Light Sensor
- Chopsticks
Procedure
Making of the Billiard Table:
To create the structure, I researched a D-I-Y video on “Mini Pool Table | Miniature Billiards | Made out of cardboard and marbles”.
Here are the reference video links:
Link 1: https://youtu.be/CnYhwOnIoc4
Link 2: https://youtu.be/OV4bL4yrLe0
You can choose any of those two videos. These two videos will help you understand more about how I made my mini billiard table.
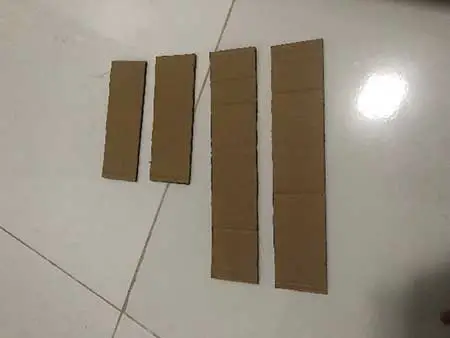
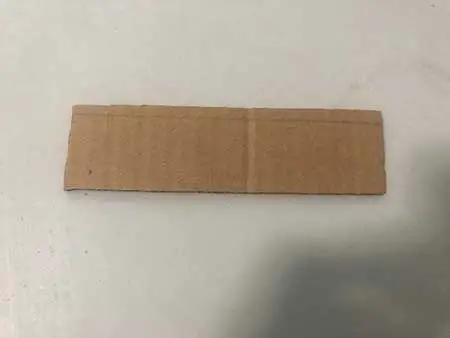
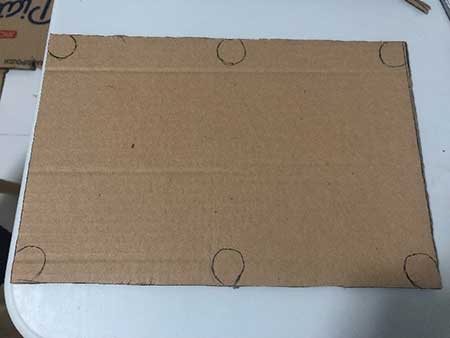
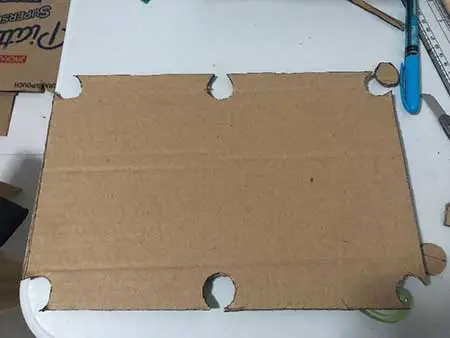
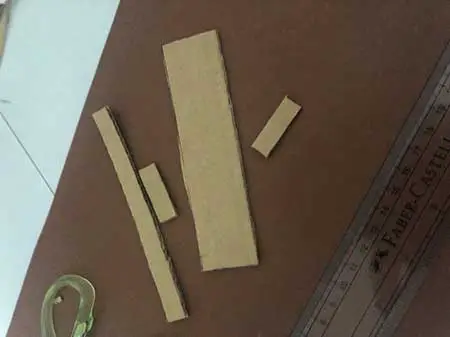
Step 1: To create the pool table, I traced the cardboard using a pencil and ruler. After tracing the required parts, I start cutting parts using a cutter and a scissor.
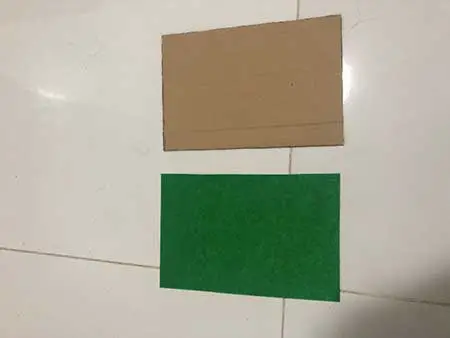
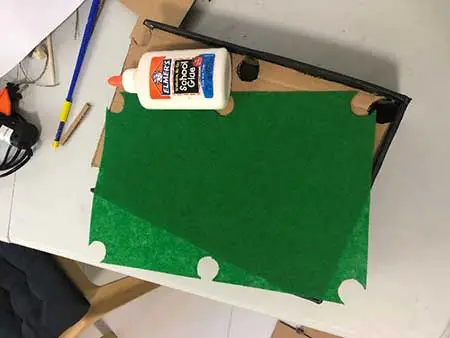
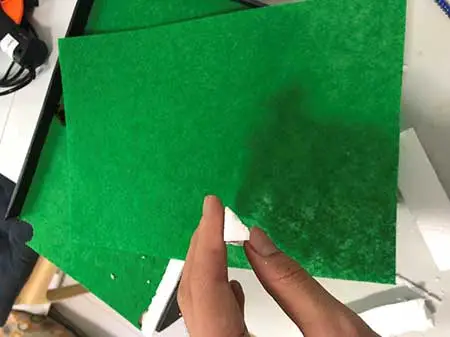
Step 2: I get a green fabric paper, traced it with holes, and cut the holes. This will serve as a table mat for the pool table. The holes should be bigger than the plastic balls or marbles.
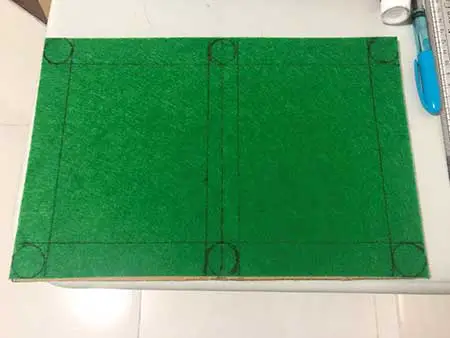
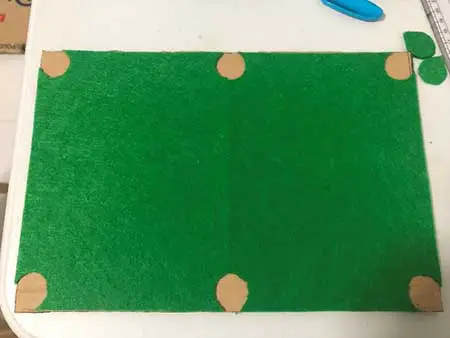
Step 3: To create the pool platform (where the fabric paper should be placed), I traced the cardboard using a pencil and ruler with the fabric paper that are cut with holes. After tracing the required parts, I start cutting the holes using a cutter and a scissor.
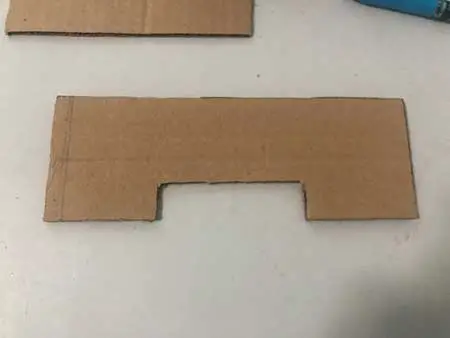
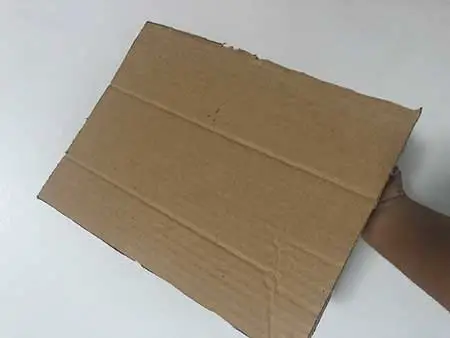
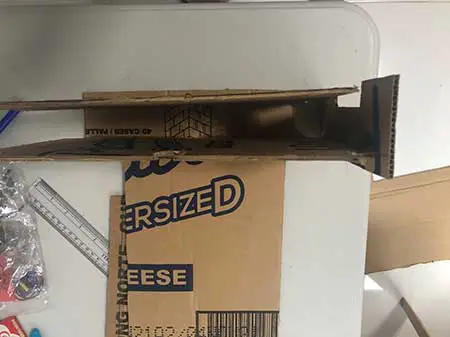
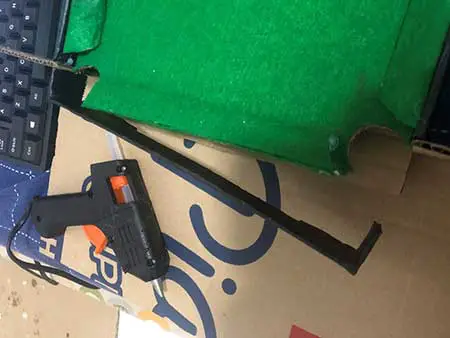
Step 4: For the ramp inside the Billiard Table, I got a piece of cardboard, I traced and cut it. This ramp will help the balls roll down from the top pockets to the front pockets. It should be slanting and a bit steep so that the balls will roll smoothly.
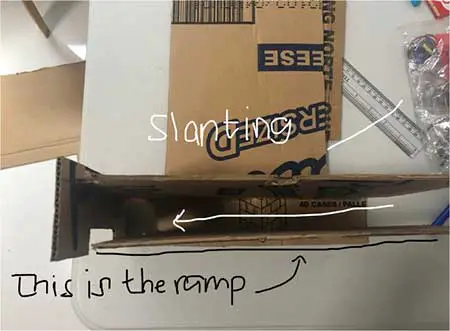
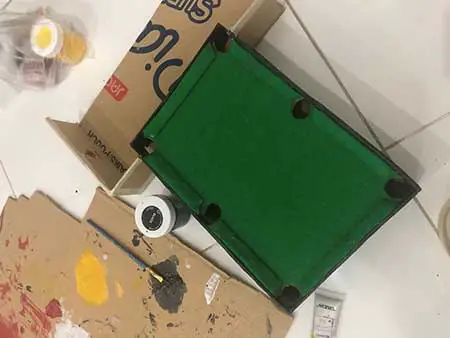
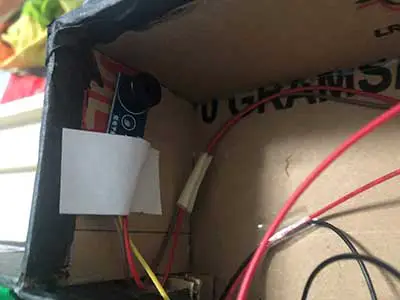
Step 5: To make the pool table, glue all the parts using a glue gun, add scotch tape to the edges, paint the table with mixed black and silver acrylic paint. Take Note: Don’t forget to put the slanting ramp inside the pool table. Don’t include the back part of the pool table because that is the part where we put the breadboard and the two sensors.
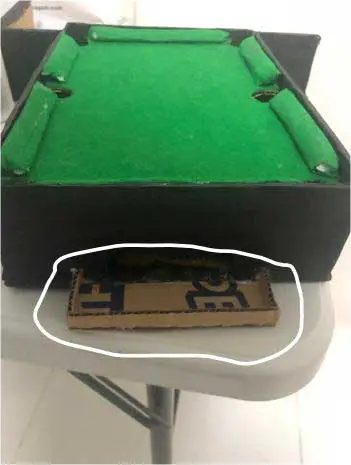
This part is for the back part of the pool table, This piece protects the sensors from the back of the pool table:
After gluing all the parts you can now start painting the pool table.

Step 6: After painting the pool table, we can now glue the fabric paper at the top of the pool table.
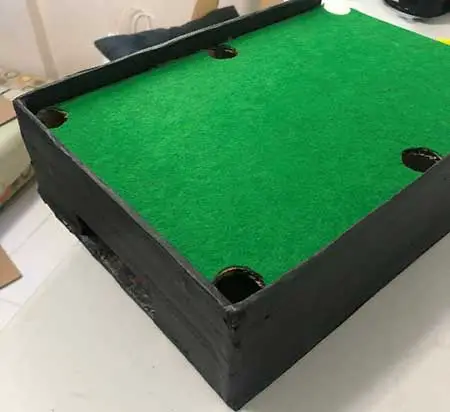
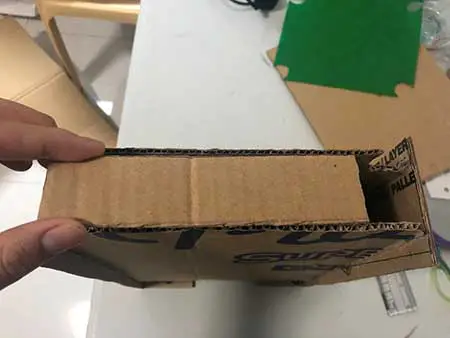
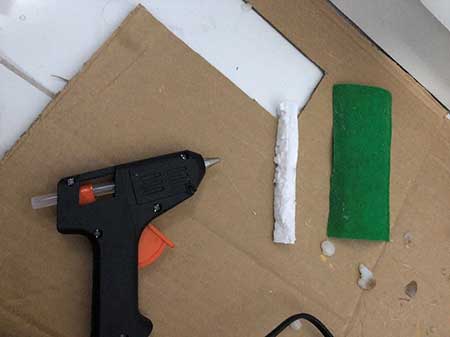
Step 7: After gluing the fabric paper, add the sides of the pool table with Styrofoam and fabric paper. This helps cushion the ball just like the traditional billiard table.
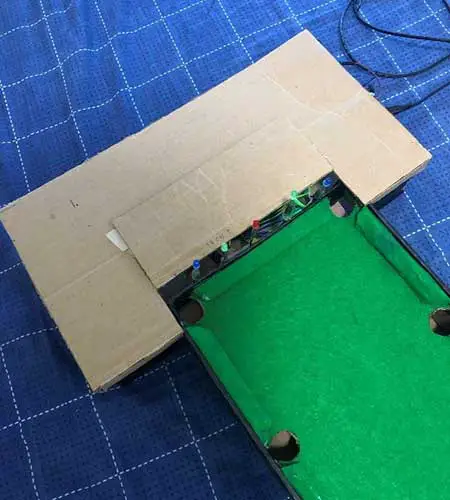
Step 8: After gluing the sides, let's make a platform in order to hide the wirings and the breadboard. Tape the edges in order to smoothen the edges. The platform should be connected with the billiard table.

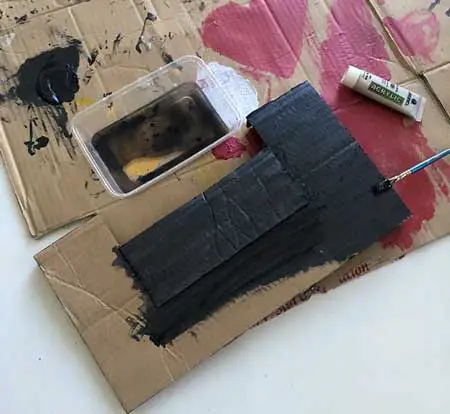
Step 9: After gluing the sides, paint the platform with mixed black and silver acrylic paint and dry it.
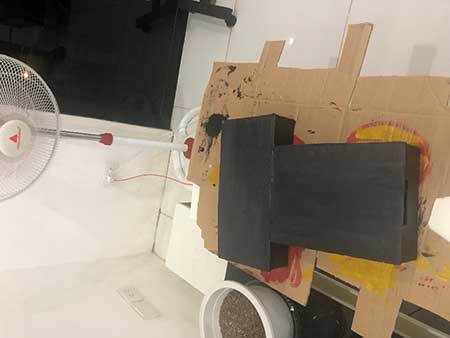
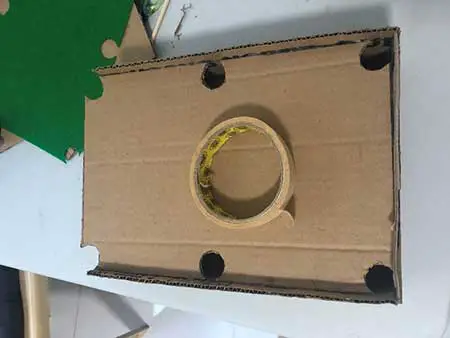
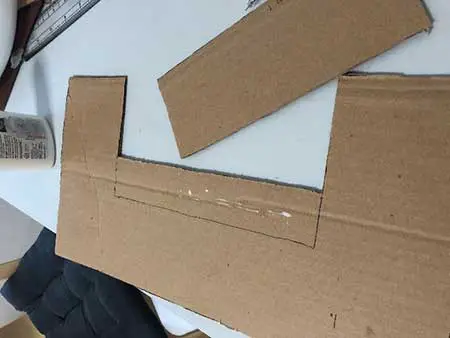
Step 10: After painting the platform, let's add the back piece to the pool table in order for the ball to enter the pocket smoothly. This part is a separate piece from making the pool table.
Step 11: After placing the back part of the table, we will now make a small box in order for the balls to stay secure at the front of the pool table. Don’t forget to paint it mixed with black and silver acrylic paint and dry it.
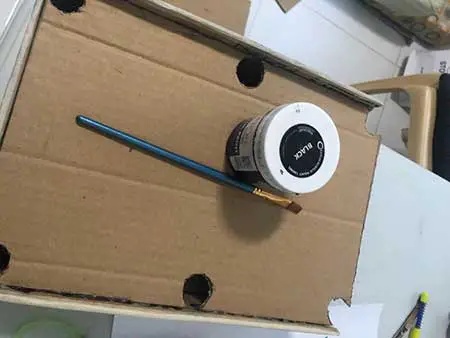
Step 12: After making the box in front of the pool table, we will now make a removable cover to protect the wirings at the back of the table and avoid the ball from going at the back of the table. Don’t forget to paint it mixed with black and silver acrylic paint and dry it.
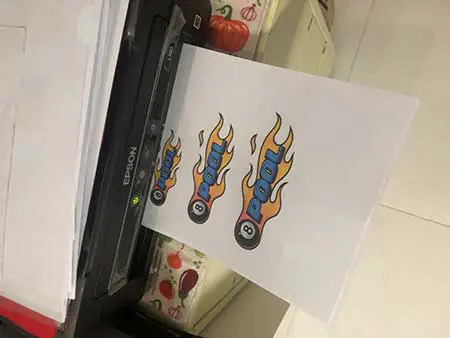
Step 13: After making the removable cover, we can now print and add designs to the mini billiard table for aesthetics.
Arduino Electronics
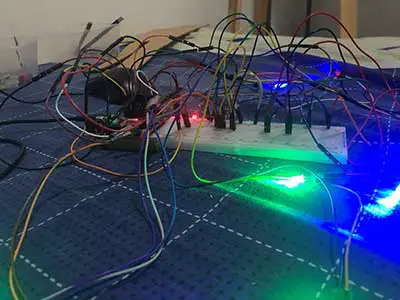
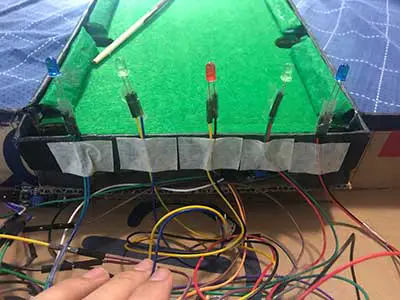
To assemble the breadboard, I used 7 LEDs (the 7th LED is not connected to the 6 LEDs because the purpose of the 7th LED is for the light sensor to continuously turn off under the pool table even though it is dark. The 7th LED should be turned on always otherwise the light sensor will detect no light and it will continuously turn on nonstop) The 7th LED should be placed beside the light sensor.
This is my breadboard setup, it is a bit confusing because I used many jumper wires. Just set up the breadboard slowly but surely in order to avoid errors.

If you really can’t understand the breadboard setup, my Arduino Sketch will serve as a guide to help you.
Arduino Sketch
For the Arduino Sketch, I made my own code for 6 LEDs with the piezo buzzer, infrared sensor, and a light sensor. I added LED effects such as running effect in my LEDs. The LEDs and buzzer will turn on when the sensors detect the ball entering the top pockets. All 6 LEDs will only turn on when the sensors detect the ball while the 7th LED is only for the light sensor.
int led1=7, led2=8, led3=9, led4=10, led5=11, led6=12, led7=13; //all LEDs except for led7 are for the alarm.
int ir = 2; //ir sensor
int lightsensor = 4; //light sensor
int buzzer=6; //piezo buzzer
int val=0;

void setup() {
  pinMode(led1=7, OUTPUT);
  pinMode(led2=8, OUTPUT);
  pinMode(led3=9, OUTPUT);
  pinMode(led4=10, OUTPUT);
  pinMode(led5=11, OUTPUT);
  pinMode(led6=12, OUTPUT);
  pinMode(led7=13, OUTPUT);
  pinMode(buzzer, OUTPUT);
  pinMode(ir,INPUT);
  pinMode(lightsensor,INPUT);
}

void loop() {

  val=digitalRead(ir);
  if (val==1){ //object is detected
      digitalWrite(led6=12,LOW);
      digitalWrite(led1=7,HIGH);
      tone(buzzer,100,500); //produce sound for 500 milliseconds
      //add a "quiet" time of 500 milliseconds
      delay(100);
      digitalWrite(led1=7,LOW);
      digitalWrite(led2=8,HIGH);
      tone(buzzer,200,500); //produce sound for 500 milliseconds
      //add a "quiet" time of 500 milliseconds
      delay(100);
      digitalWrite(led2=8,LOW);
      digitalWrite(led3=9,HIGH);
      tone(buzzer,300,500); //produce sound for 500 milliseconds
      //add a "quiet" time of 500 milliseconds
      delay(100);
      digitalWrite(led3=9,LOW);
      digitalWrite(led4=10,HIGH);
      tone(buzzer,400,500); //produce sound for 500 milliseconds
      //add a "quiet" time of 500 milliseconds
      delay(100);
      digitalWrite(led4=10,LOW);
      digitalWrite(led5=11,HIGH);
      tone(buzzer,500,500); //produce sound for 500 milliseconds
      //add a "quiet" time of 500 milliseconds
      delay(100);
      digitalWrite(led5=11,LOW);
      digitalWrite(led6=12,HIGH);
      tone(buzzer,600,500); //produce sound for 500 milliseconds
      //add a "quiet" time of 500 milliseconds
      delay(100);
      digitalWrite(led1, HIGH);
      digitalWrite(led2, HIGH);
      digitalWrite(led3, HIGH);
      digitalWrite(led4, HIGH);
      digitalWrite(led5, HIGH);
      digitalWrite(led6, HIGH);
      tone(buzzer,700,500); //produce sound for 500 milliseconds
      //add a "quiet" time of 500 milliseconds
      delay(1000);
   }
   else{ //no object detected
      digitalWrite(led1, LOW);
      digitalWrite(led2, LOW);
      digitalWrite(led3, LOW);
      digitalWrite(led4, LOW);
      digitalWrite(led5, LOW);
      digitalWrite(led6, LOW);
   }
  val=digitalRead(lightsensor);
  if (val==0){ //object is detected
      digitalWrite(led6=12,LOW);
      digitalWrite(led1=7,HIGH);
      tone(buzzer,100,500); //produce sound for 500 milliseconds
      //add a "quiet" time of 500 milliseconds
      delay(100);
      digitalWrite(led1=7,LOW);
      digitalWrite(led2=8,HIGH);
      tone(buzzer,200,500); //produce sound for 500 milliseconds
      //add a "quiet" time of 500 milliseconds
      delay(100);
      digitalWrite(led2=8,LOW);
      digitalWrite(led3=9,HIGH);
      tone(buzzer,300,500); //produce sound for 500 milliseconds
      //add a "quiet" time of 500 milliseconds
      delay(100);
      digitalWrite(led3=9,LOW);
      digitalWrite(led4=10,HIGH);
      tone(buzzer,400,500); //produce sound for 500 milliseconds
      //add a "quiet" time of 500 milliseconds
      delay(100);
      digitalWrite(led4=10,LOW);
      digitalWrite(led5=11,HIGH);
      tone(buzzer,500,500); //produce sound for 500 milliseconds
      //add a "quiet" time of 500 milliseconds
      delay(100);
      digitalWrite(led5=11,LOW);
      digitalWrite(led6=12,HIGH);
      tone(buzzer,600,500); //produce sound for 500 milliseconds
      //add a "quiet" time of 500 milliseconds
      delay(100);
      digitalWrite(led1, HIGH);
      digitalWrite(led2, HIGH);
      digitalWrite(led3, HIGH);
      digitalWrite(led4, HIGH);
      digitalWrite(led5, HIGH);
      digitalWrite(led6, HIGH);
      tone(buzzer,700,500); //produce sound for 500 milliseconds
      //add a "quiet" time of 500 milliseconds
      delay(1000);
   }
   else{ //no object detected
      digitalWrite(led1, LOW);
      digitalWrite(led2, LOW);
      digitalWrite(led3, LOW);
      digitalWrite(led4, LOW);
      digitalWrite(led5, LOW);
      digitalWrite(led6, LOW);
  }
   digitalWrite(led7, HIGH);//it mean to give 5v(high) to pins.here ,the led will be on and it is for the light sensor.
  }
Assembling the Mini Billiard Game
After doing all the Procedures, we can now start assembling the mini billiard table.
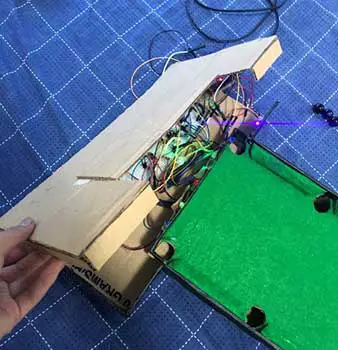
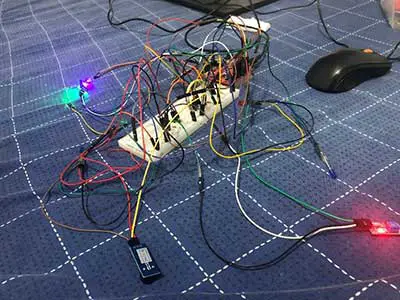
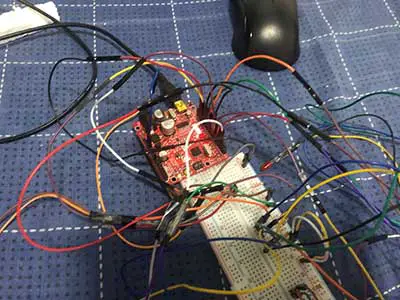
Step 1: To assemble the mini billiard table, I placed the breadboard on the platform with its jumper wires.

Step 2: I taped the LEDs to their respective places and used masking tape to help them stick behind the billiard table to be secured.
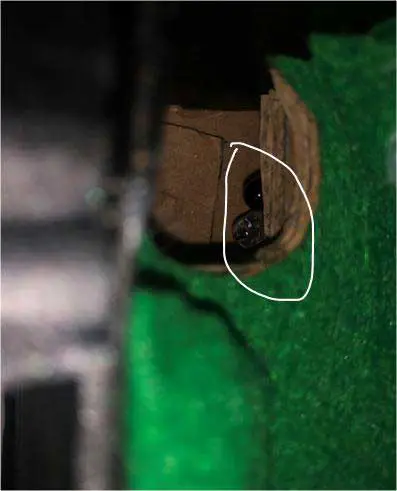
Step 3: I taped the infrared sensor and the light sensor underneath the billiard table and the buzzer.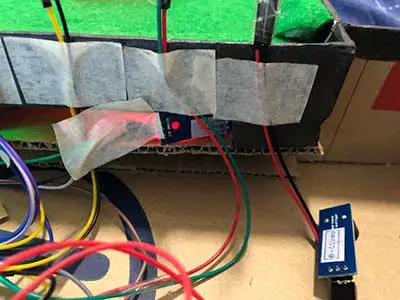
Infrared sensor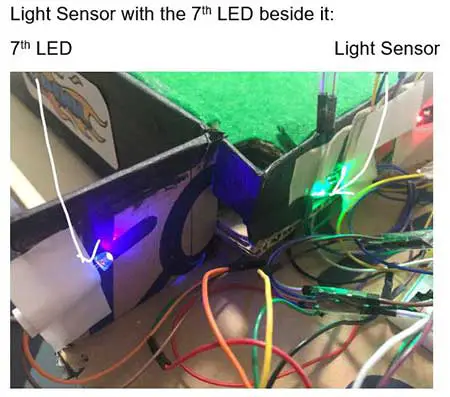
 Buzzer
 Close-up of light sensor
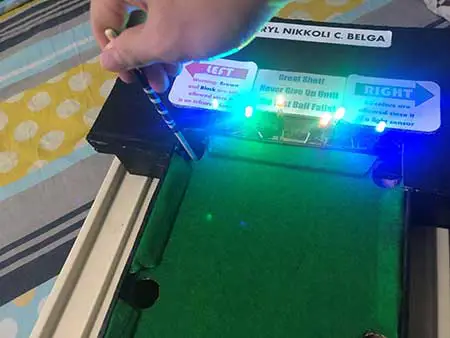
Step 4: I plug my COM Port into my Computer, upload my code, and play my mini billiard game. Make sure that the sensors are okay and make sure that they will detect the ball and they will function well.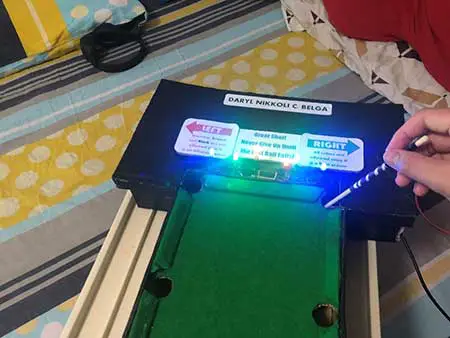
Step 5: You can now start adding the designs to make the billiard table nice and you can also start playing the billiard game.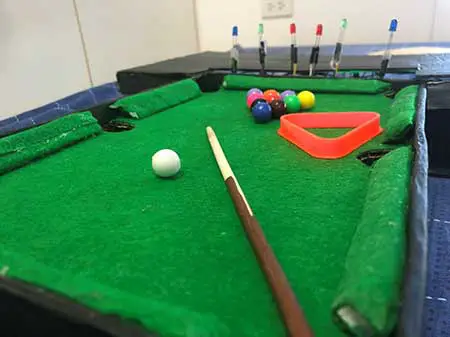
Demonstration of how the light sensor and infrared sensor work and how the buzzer and LEDs respond when the sensors detect an object:
While making my product, I felt exhausted and amazed because this project is difficult to make and I need to come up with my own improvisations, it is really exhausting making this Mini Billiard Table for 3 days, I also need to come up with my own code to make my LED effect creative, my sensors work, and my buzzer to work which is also difficult, and I felt amazed after the results.
I felt proud after I saw my mini billiard game work because I was able to make an exciting game with working sensors. Making a game with sensors is a bit fun and difficult at the same time because I still need to think about where I should place my sensors and I still need to consider the distance between the object and the sensor in order for my sensor to sense the object properly and work properly.
I felt proud because the result of my project came out way better than I expected. Playing the mini billiard game helps me channel my inner billiard skills like Efren Reyes or Earl Strickland. Seeing my sensor-based billiard game work gave me a sense of achievement and relief at the same time. While making the project I just also remembered my journey last quarter in making my exit product which is the Infinity Gauntlet Lamp.
I remembered my journey last quarter in making this project because making this project feels the same as what I did last time. It was nice doing this activity because it was like a little flashback when I’m in art class. It is like a flashback because I need to revive my painting skills and I need to come up with my own creativity in designing my structure.
I also need to be creative in making my sensors, LEDs, and Buzzer work. I also need to be creative in designing and making the billiard table so that it will look neat, beautiful, attractive, appealing. I realized that making this project really requires time because it is time-consuming and difficult. My conclusion is still the same last quarter which is “In making this project, I realize that I can achieve my own goals in life if I work hard, exert my time, and effort. I am aware that I need to finish the project at a certain time, but I have decided to sacrifice timeliness over quality especially since I am passionate about this project.
As one saying goes “Timeliness is an enemy of art.” – Anne Bosworth Greene.”. I can also conclude that sensors are really important in our lives, and they make things more advanced like making a simple mini billiard game to a sensor-based mini billiard game.


