Made by Chloe Lim.
Planning to have a carnival-themed party at your home? Or perhaps you simply just want to have fun during your leisure time? Well if fun is what you want, I have the perfect project just for you! Have fun creating and playing my version of “Ring Toss”, a game that shows my fondness and interest in carnival games. “Ring Toss” is a popular carnival game that uses bottles and rings.
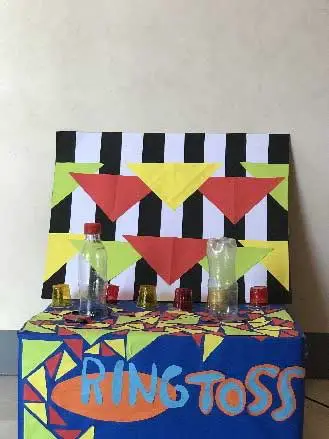
The objective of this game is to throw the ring at a specific distance and it must shoot in the bottle. In this version of mine, I added some sweetness and spice, whenever the ring shoots in the bottle the sensors will be triggered and LEDs will light up plus there will be a specific buzzer sound depending on which bottle you have shot your ring. I added a carnival-themed background with black and white strips pattern and a “fiesta” hanging decoration. I also “caged” my LEDs with small disposable plastic cups wrapped with water cellophane so that whenever it turns on, it will light brighter, especially in the dark.
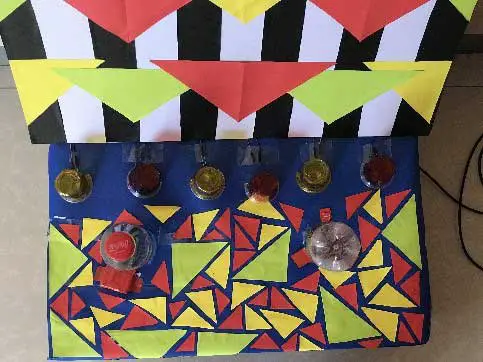
Additionally, I made a simple triangle pattern on the base of my game to add more pop of colors. As a result, my version of the game “Ring Toss’ is not only a family and friends bonding activity, in a way that it is enjoyable and can be played by all ages, but it can also be an amazing eye-catcher decoration at your parties. But wait, there’s more! It isn’t only an exciting game and a stunning party decoration, it is also an environmentally friendly game since recyclable materials were used in the making of this project.
Speaking of material, my version of “Ring Toss is made out of recycled materials, which is good for the environment plus can easily be found at home and these are the following:
- 1 Medium and short box
- Blue Cartolina
- Different colors of construction paper
- Scissors and cutter
- 2 "mismo" plastic bottles
- Red Electrical Tape and Clear Scotch Tape
- Glue gun and glue stick
- Aluminum Wire
- Small Disposable Plastic Cup
- Water cellophane
- Black Cartolina
- Used Illustration Board
- 6 LEDs
- Resistors (220 ohm)
- Jumper Wires
- Bread Board
- TTP223 Capacitive Touch Sensor
- Piezo Buzzer (MH-FMD Passive Buzzer)
- HW-201 Infrared Obstacle Sensor
- Arduino Microcontroller
STEP BY STEP PROCESS:
Step 1. The first step I did was to measure the length of my aluminum wire to the size of the “mismo” plastic bottle since the aluminum wire will serve as my “ring” and it needs to fit the plastic bottle well. Then I covered the aluminum wire with Red electrical tape since the sensor would not trigger the natural silver color of the aluminum wire due to its colors and the reflective nature of its surface.
Step 2. Then I started making the base of my game which is the box by cutting the upper side part of the box which is used to close it. After cutting, I taped the upper part and the lower part of the box to make sure that it is sturdy.
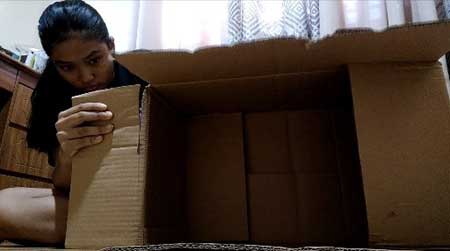
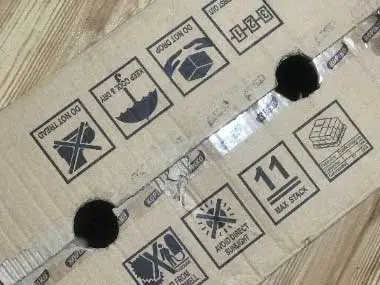
Step 3. Next, I made two holes at the top of the box for the plastic bottles to be able to fit and go through anytime needed. However, I later realized that I should have just made 1 hole, so I suggest just cutting one hole but if you already made two then you can just cover one hole with the cartolina. Other than that, I also wrapped the box like a gift/present using the blue Cartolina instead of painting it to save more time, however, if you want to paint your box then there is no problem with that. Always remember that in making a robotics project, innovation and creativity is a must!
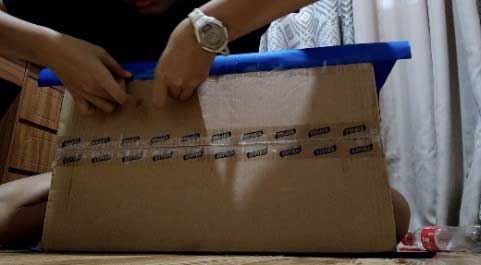
Step 4. The 4th step is to cut a small part of the backside of the 1st "mismo" bottle because this will be where the wires of the sensor will pass. Then place one of the plastic bottles on the box using a glue gun. After that, I did my first wiring which is for the Infrared Sensor. I used electrical tape to attach/paste the wiring on the box for it to look neat compared to not attaching/pasting it on the box.
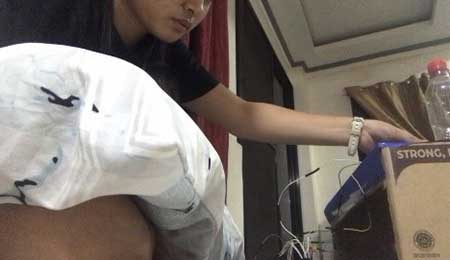
This is now how the base should look like after following the previous steps:


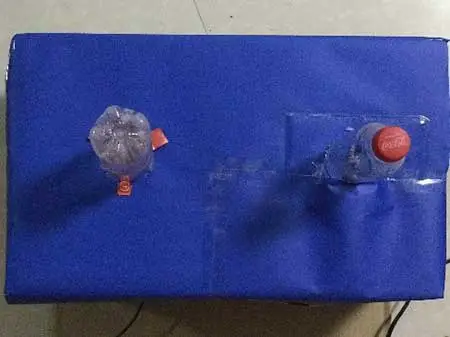
Step 5. Time to add the second bottle for the touch sensor which is facing downwards to avoid complications with the sensor. I, once again, pasted the “mismo” plastic bottle using the glue gun and pasted/attached a small square-shaped leftover carton on its side to minimize the impact on the touch sensor whenever the ring would shoot in the bottle.
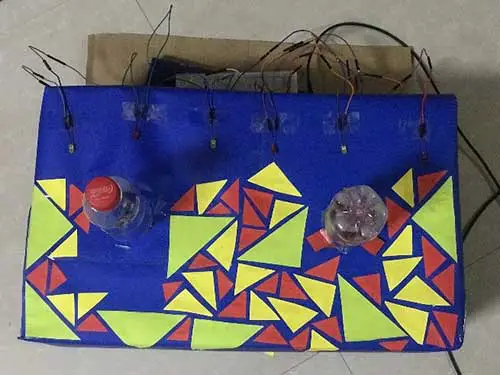
Step 6. The next step is to add the wirings of the touch sensor which passes from the whole. I also covered the wirings that can be seen for the infrared sensor using the leftovers of the same cartolina that I used in wrapping the box. This is how the base should look.
Step 7. Then I cut different sizes of triangles using different colors of construction paper and I also worked on the wirings for the LEDs and the piezo buzzer. After 3 hours of sleep, I then started pasting the cut triangles on the box.
This is now how the base should look like after following the previous steps:
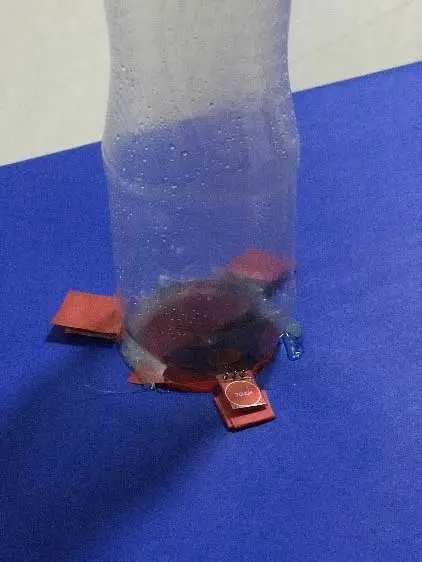
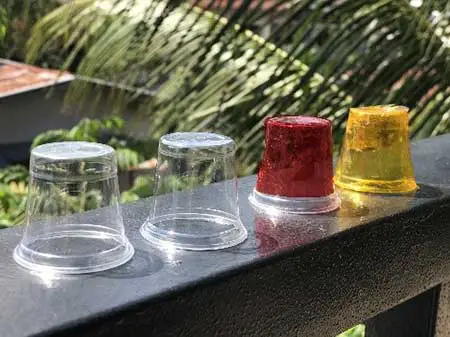
Step 8. I decided to add more decoration to really feel the colorful and energetic aura in a carnival. With this, the next step is to cut a little hole at the back of the small disposable plastic cup, just like what we did with the first "mismo" bottle. Then wrap it with water cellophane with the same color as your LED. This will be used for the LEDs so that they would light brighter.
It should look something like what’s in the picture:
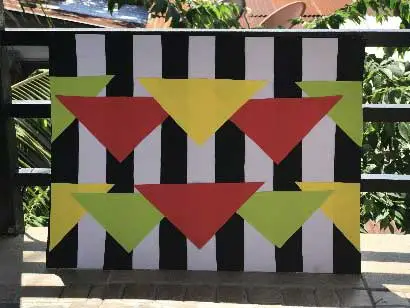
Step 9. I also added a background for design and in order to make this you just have to for a stripes pattern with your black cartolina and the white side of your illustration board. However, you can also do the stripes pattern with the black side of your illustration board with white bond paper.
Step 10. The last part for the decoration is making the name of the game using construction paper and this will be placed at the front.

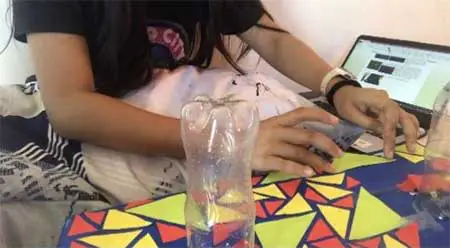
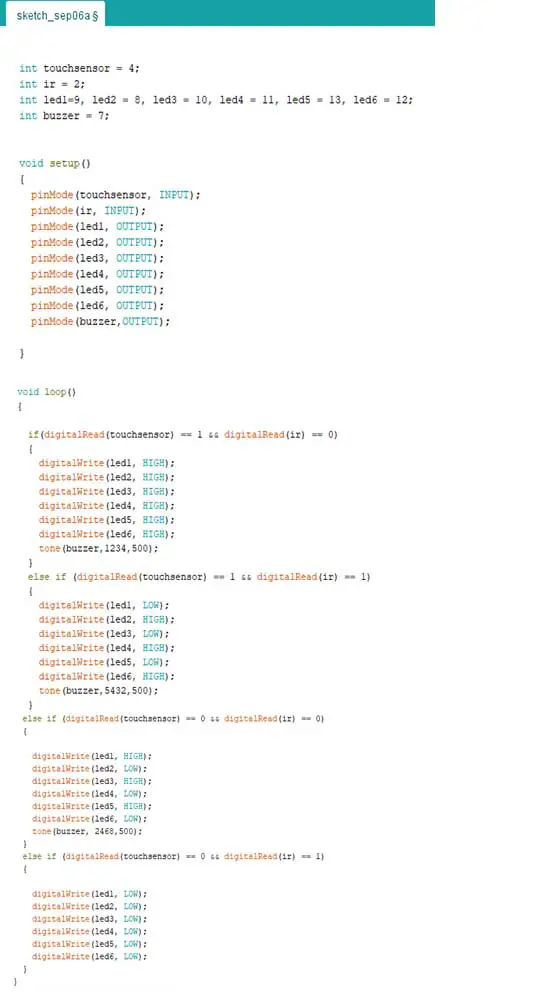
Step 11. Lastly, I applied all our lessons and did the programming. Here is my sketch.
To be frank, I was kind of nervous while making my exit product especially in the part where I had to find a way to connect the sensors to the plastic bottles. This part really made me anxious because there were so many things that could go wrong and if I won’t be able to do it, then my game would be a fail which means I need to think of another concept in a short amount of time, just like what happened last quarter.
There were so many challenges and failures that I’ve encountered along the way, from the wirings and the positioning of the sensors to the LED’s not working and the time that keeps on chasing me. I got vaccinated on Thursday afternoon at Xavier Main which I spent more than 2 hours waiting to get vaccinated there and when I got back home I still had to study for the Long Test so I wasn’t able to start my Exit Product.
Luckily though, I already had this concept or idea of mine the day before which made me feel a little relieved. Despite the challenges I’ve faced along the way, I feel so contented and joyful with my finished output. I kind of already got used to not sleeping/sleeping only on a few hours, being pressured by time, and spending my Saturdays to work on Exit Products because that’s what has been happening for the past few weeks.
The overall experience is definitely happy and fun because even if I was kind of nervous while making my exit product, it was at the same time enjoyable to make because I find DIY’s fun and a creative way to learn. Other than that, I believe that all the sacrifices and efforts I’ve put in to make this product is worth it because the finished product looks so pleasing in the eyes and it also works just like how I imagined it to be.
This led me to realize after making my product that we must always push through despite adversities because everything will be worth it in the end. All the nights we’ve cried, all the repetitive days we’ve had, and all the mistakes we’ve made would all be worth it as long as we learn from these and continue moving forward towards a better tomorrow. As a quote from Lance Armstrong goes by, “Pain is temporary. Quitting lasts forever.”


