
Made by Kayla Roa.
Robby the Robot is an Arduino robot consisting of LED Lights, IR Sensor, Piezo Buzzer and Servo Motors. The robot is an inspiration from a Magic 8-Ball. It can be used for fortune-telling and seeking answers.
Materials:
Arduino Microcontroller
Servo Motors
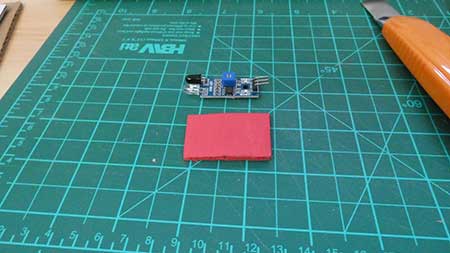
IR Sensor
Piezo Buzzer
LED Lights
Cardboard
Colored Papers
Toothpicks
Instructions:
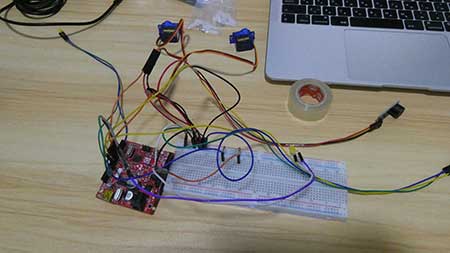
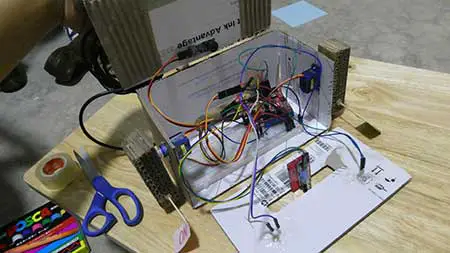
1. Firstly, make the necessary wirings needed for the robot before making the frame or body of the robot.
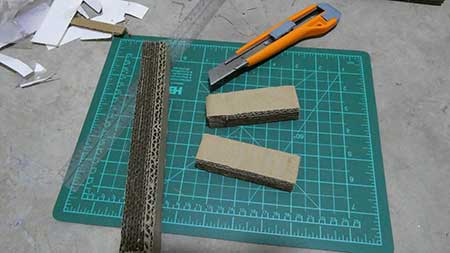
2. Take your cardboard and cut out rectangles for the base, walls, roof, and arms for the robot. These are the measurements needed:
- 7.5 x 4 inches - (1) Base and (1) Roof
- 7.5 x 4 inches - (2) Wall 1
- 4 x 4 inches - (2) Wall 2
- 1 x 3.5 inches - (2) Arms

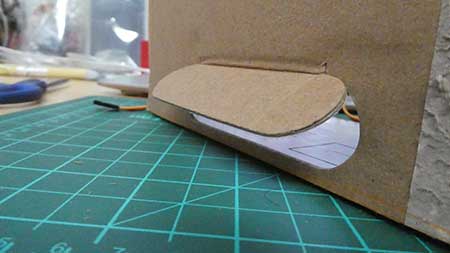
3. Make an oval cut with the length and width of 5x1 inches in one piece of Wall 1 for the wire to go at the back. In this case, we found a cardboard piece with an oval cut already made at the back.
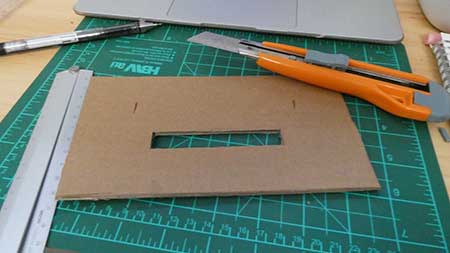
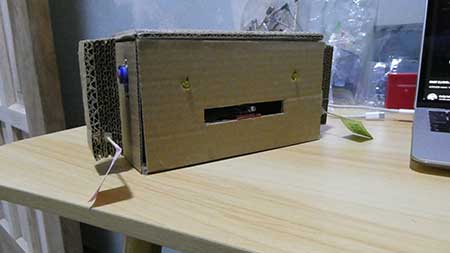
4. For the last piece of Wall 1, make a rectangular cut with the measure of 5x0.5 inches for the mouth of the robot. In addition, make slits of 0.5 inches for the eyes of the robot.
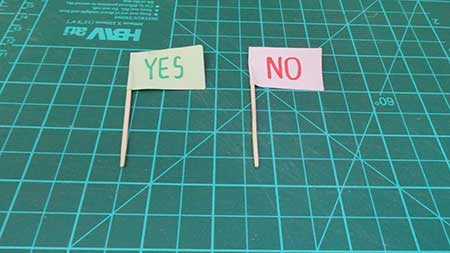
5. The next step is to make mini flags for the robot to raise up. Taking two colored papers, cut them into rectangles with the measurement of 3x1 inches. Take the toothpicks and put them in-between and fold the rectangle and glue After the glue dries, write ‘YES’ and ‘NO’ in them.
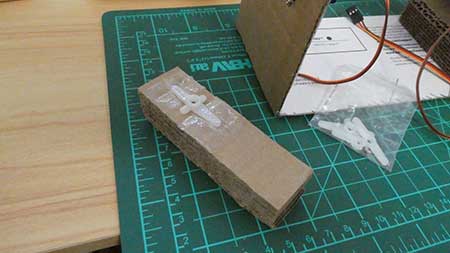
6. Take the servo horn and attach them to the arms of the robot using tape.
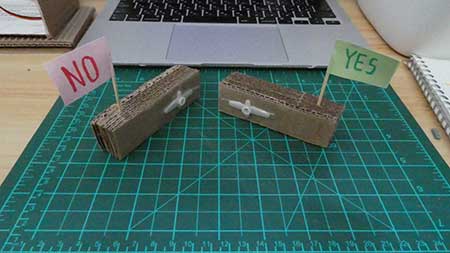
7. Stick the flags on the arm and seal them with hot glue to make sure that it does not detach when the arm moves.
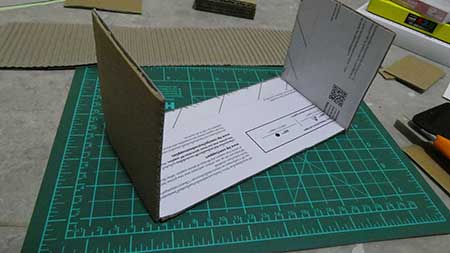
8. Glue both pieces of Wall 2 and only glue one piece for Wall 1, which is the back portion or the piece with an oval cut for the wires. Use hot glue to stick all the pieces on the base of the robot.
9. Taking the servo motors, measure and make rectangle cuts at the sides that will fit the Servo Then attach the Servo motors to the cuts, and then add the robot arms with the flags attached to the arms.
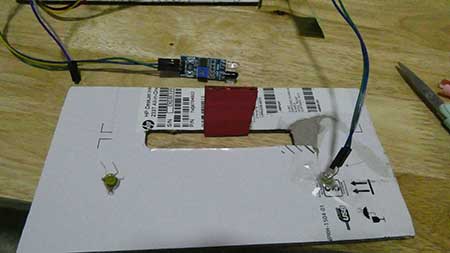
10. Place the breadboard inside the robot.
11. Make a 5-inch cut for the tongue of the robot. The tongue is where we will place the IR Sensor.
12. Glue the tongue of the robot and add the LED Lights in the slit we made for the eye of the robot. Add tape so it will not fall off.
13. Connect the LED Lights and IR Sensor to the jumper wires. On the top of the roof, attach the Piezo Start taping the top or the roof of the robot to Wall 1. Add tape to the top of the face of the robot to attach it to the roof or top of the robot.
Here is the code:
#include <Servo.h>
Servo Serv1;
Servo Serv2;

long randNumber;
int pinServo1=5;
int pinServo2=6;
int buzzer=7;
int IR=8;
int led1=3, led2=4;
int val=0;

void setup() {
  Serv1.attach(pinServo1);
  Serv2.attach(pinServo2);
  pinMode(buzzer,OUTPUT);
  pinMode(led1, OUTPUT);
  pinMode(led2, OUTPUT);
}

void loop() {

  val=digitalRead(IR);

  if (val==0)
  {
    randNumber=random(0,3);
    int range=(randNumber);
    switch (range)
    {
      case 0:
      digitalWrite(led1, HIGH);
      digitalWrite(led2, HIGH);
      Serv1.write(90);
      tone(buzzer, 300, 200);
      delay(1500);

      break;
      case 1:
      digitalWrite(led1, HIGH);
      digitalWrite(led2, HIGH);
      Serv2.write(110);
      tone(buzzer, 300, 200);
      delay(1500);

      break;
      case 2:
      Serv1.write(90);
      Serv2.write(110);
      tone(buzzer, 300, 200);
      digitalWrite(led1, HIGH);
      digitalWrite(led2, HIGH);
      delay(300);
      digitalWrite(led1, LOW);
      digitalWrite(led2, LOW);
      delay(300);
      digitalWrite(led1, HIGH);
      digitalWrite(led1, HIGH);
      delay(300);
      digitalWrite(led1, LOW);
      digitalWrite(led2, LOW);
      delay(300);
      digitalWrite(led1, HIGH);
      digitalWrite(led2, HIGH);
      delay(1500);

      break;
    }
   }
   else
   {
    digitalWrite(led1, LOW);
    digitalWrite(led2, LOW);
    Serv1.write(0);
    Serv2.write(180);
    delay(100);
  }
}
In making Robby the Robot, I experienced a lot of emotions such as frustration when things go wrong and joy when Robby displayed the right actions and movements. At first, it was difficult and I had to restart in making Robby's body since it was too weak to support the Servo Motors and other sensors. This caused me distress since I was running out of time. I spent the whole night redoing Robby's body until the frame became more stable and strong.
Wiring and coding were a bit easy compared to cutting and measuring the body so it was a breeze from there. In doing this project, I realized that having an idea and making this idea come to life brings great joy once it's done and functional. I think that people should be able to experience the joy that this project has brought me.
I find it amazing that a simple project or idea can bring us so much joy. It can truly help with the effects of the pandemic on our mental health.


