Made by Guianna Pong.
In this quarter, we were taught how to use these different sensors. For us to deepen our understanding of the said topic, we were tasked to create a game. For this quarter’s Exit Product, I was able to create a bowling game. I call it the DIY Arduino Bowling Game. Through this exit product, I was able to make my own game which I really enjoy a lot. I made this project by the use of recyclable materials.
Materials:
- Breadboard
- Arduino Microcontroller
- LEDs
- Touch sensor
- Ultrasonic sensor
- Jumper wires
- Resistors
- Piezo buzzer
- Binder clip
- Box (not too thin, not too thick)
- Panel board (Alternative: carton box)
- Glue gun
- Glue
- Cutter
- Scissors
- Double-sided tape
- Electrical Tape
- Bowling pins and ball (Alternative: making your own by using cartons, clay, etc.)
- Power block (will be used as the power source)
Step-by-Step Process
Step 1: Create your own sketch and setup. For this step, it was basically a trial and error. I made my own setup and sketch by the use of the lessons that were taught to do. I made use of the different activities to make sure I did the right sketch.
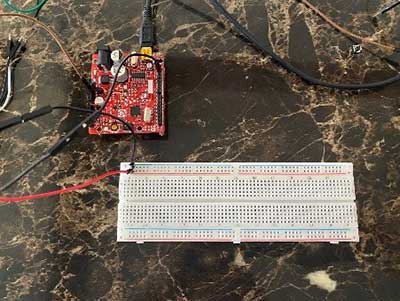
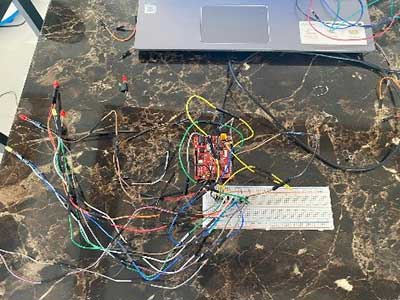
This is what my final setup and sketch look like.
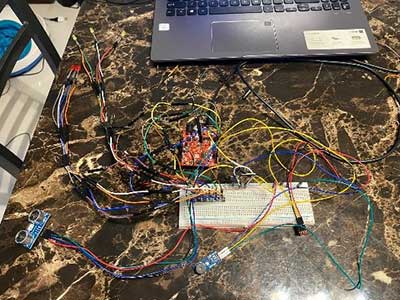
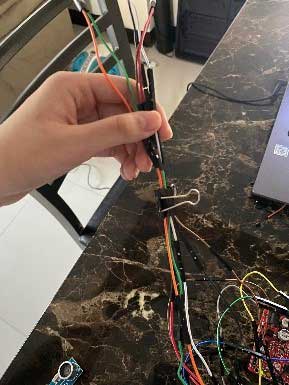
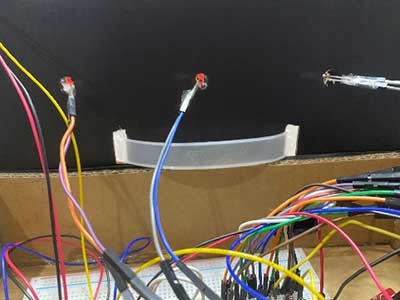
Also, in this step, I made use of binder clips so that the wires of the LEDs will be in place.
Sketch:
  int touchsensor = 3;
  int led1=13, led2 = 12, led3=11, led4=10,led5=8, led6=7;
  int buzzer=2;
  const  int trigger=4;
  const  int echo=5;
  float  distance;
  float dist_inches;

  void setup()
  {
    Serial.begin(9600);
    pinMode(trigger,OUTPUT);
    pinMode(echo,INPUT);
    pinMode (touchsensor, INPUT);
    pinMode(led1, OUTPUT);
    pinMode(led2, OUTPUT);
    pinMode(led3, OUTPUT);
    pinMode(led4, OUTPUT);
    pinMode(led5, OUTPUT);
    pinMode(led6, OUTPUT);
    pinMode(buzzer,OUTPUT);

  }

  void loop()
  {
     if(digitalRead(touchsensor) == 1)
    {
      digitalWrite(led4, HIGH);
      digitalWrite(led5, HIGH);
      digitalWrite(led6, HIGH);
      tone(buzzer,300,100);
    delay(50);
    }
    else
    {
      digitalWrite(led4, LOW);
      digitalWrite(led5, LOW);
      digitalWrite(led6, LOW);
    }
     // Trigger the sensor to start measurement
    // Set up trigger
    digitalWrite(trigger,LOW);
    delayMicroseconds(5);

    //Start Measurement
    digitalWrite(trigger,HIGH);
    delayMicroseconds(10);
    digitalWrite(trigger,LOW);

    // Acquire and convert to inches
    distance=pulseIn(echo,HIGH);
    distance=distance*0.0001657;
    dist_inches=distance*39.37;

    //both sensors are triggered
    //You may need to check the serial monitor for the 1 and 0 values
    //The 1 and 0 may depend on the type of sensor
    //feel free to change 1 to 0 or vice-versa depending on your project

    if(dist_inches < 5){ //if distance of object is less than 6 inches
      digitalWrite(led1,HIGH);
      digitalWrite(led2,HIGH);
      digitalWrite(led3,HIGH);
      tone(buzzer,349,1500);
      delay(1500);
    }
    else{
      digitalWrite(led1,LOW);
      digitalWrite(led2,LOW);
      digitalWrite(led3,LOW);
    }
  }
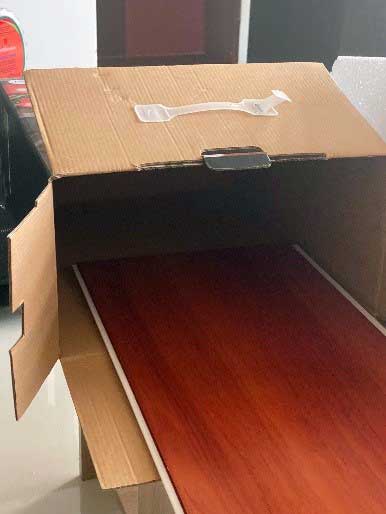
Step 2: Prepare the needed materials for the game.
Here, I first placed the panel board inside the box to estimate its placement. To avoid any difficulty in placing the bowling pins, sensors, and LEDs, we must first estimate and use our imagination in this part.
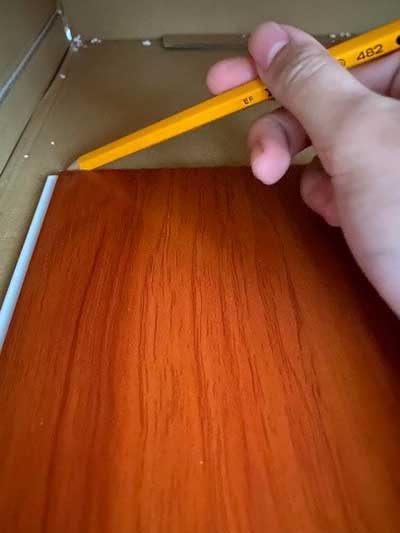
Step 3: Mark the box
In this step, we will start marking the box. We will be marking it since we need a guide for cutting the box.
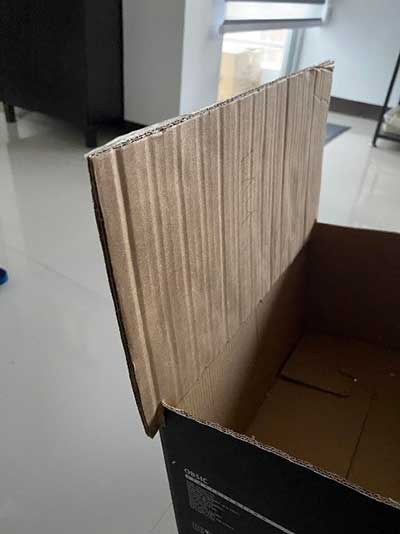
Step 4: Cutting
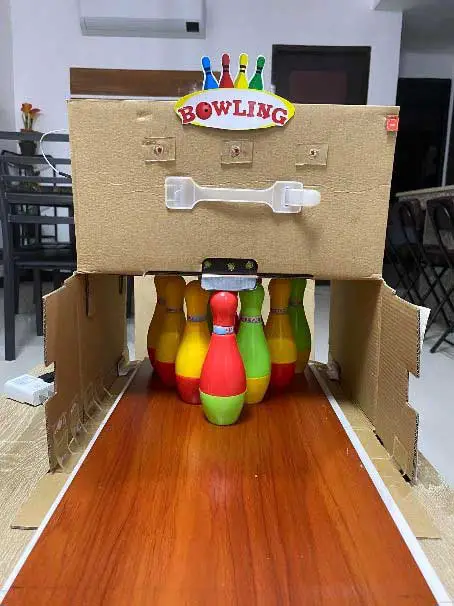
In this step, I am cutting the part that serves as the basket. The basket is for the bowling pins and ball that will fall down after.
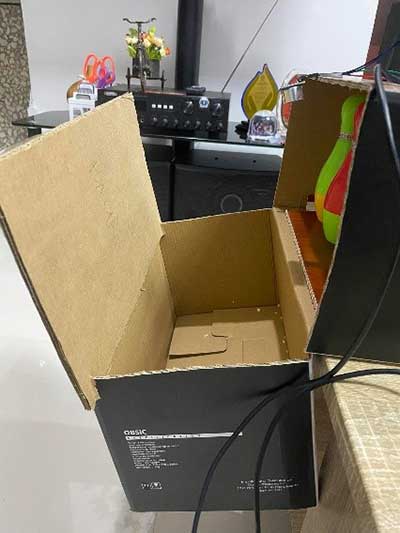
Step 5: Assemble the base.
Here, the panel board is already positioned inside the box. The basket is also hanging at the back.
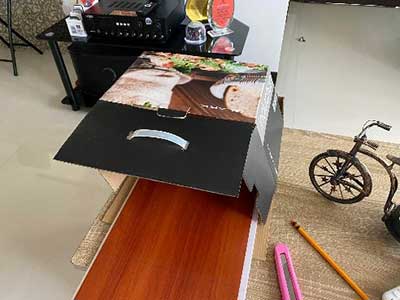
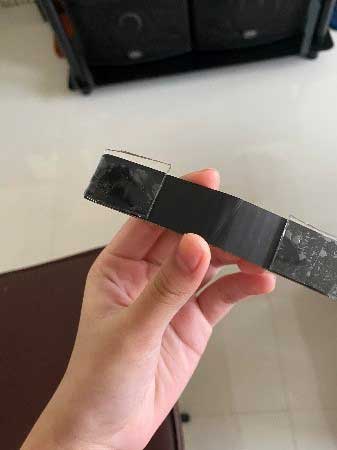
Step 6: Adding support. (Optional)
Since my box is not that thick, I decided to add support by using a strip of the carton box. I added this support so that the box will not be tilted I stuck it by the use of double-sided tape.
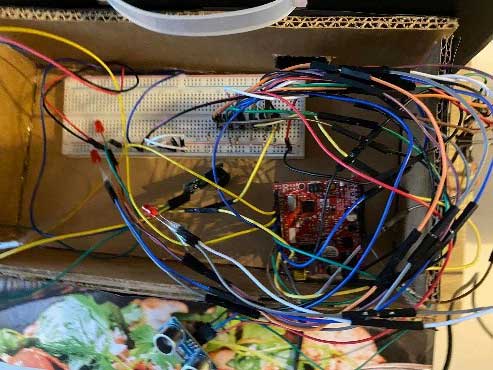
Step 7: Make a box for the Breadboard and Arduino Microcontroller.
In this step, we will make a box that is fitted for both the breadboard and microcontroller. In my case, I only reused the box I made last quarter.
Step 8: Sticking the small box to the flap of the bigger box.
In this step, I used double-sided tape for it to stick in the flap.
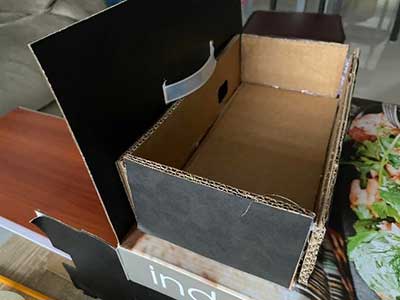
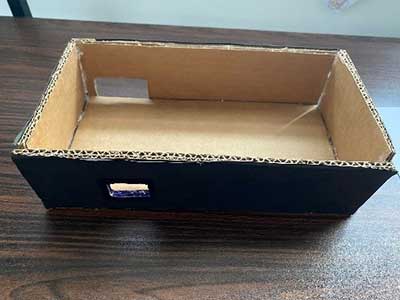
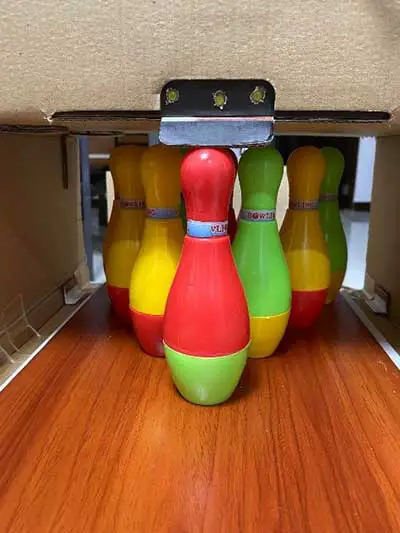
Step 9: Add a wall to the basket.
When the bowling pins and ball fall down the basket, there is a possibility that it will fall down on the floor. By adding this wall, this will be prevented.
Step 10: Place the breadboard and microcontroller inside the small box.
Step 11: Stick the ultrasonic sensor.
In this step, I stuck the ultrasonic sensor at the back.

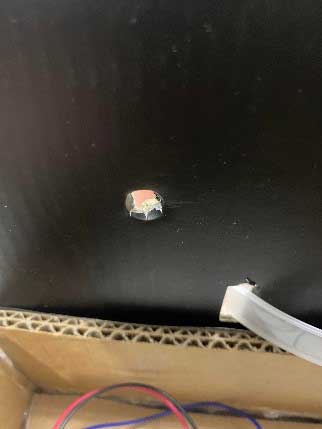
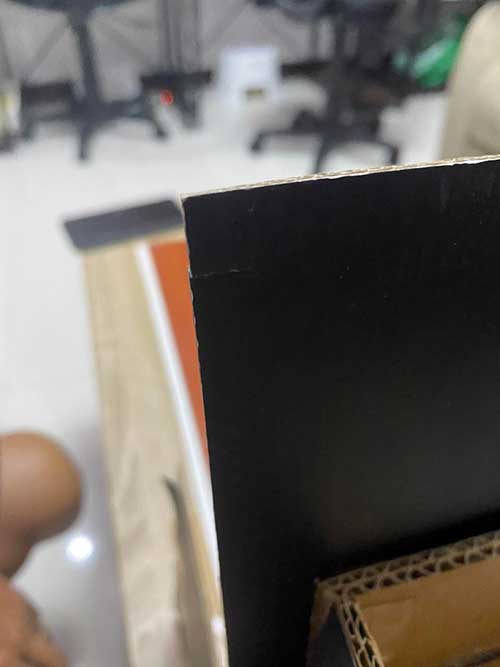
Step 12: Make holes in the flap for the LEDs.
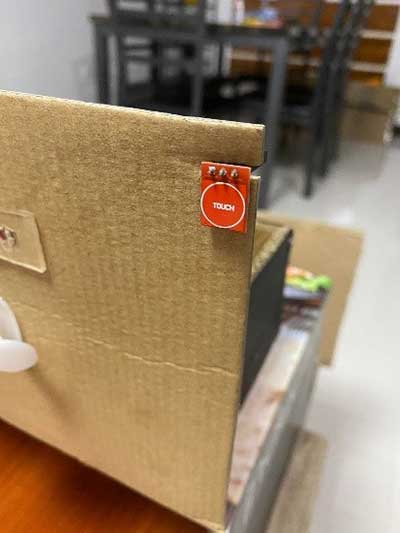
Step 13: Make a slit for the touch sensor.
Since tape and glue gun won’t work, we will make a slit so that we can simply insert the touch sensor.
Step 14: Place the bowling pins inside.
Of course, you can always make your own bowling pins but in my case, I had these toy bowling pins already.
Final Output
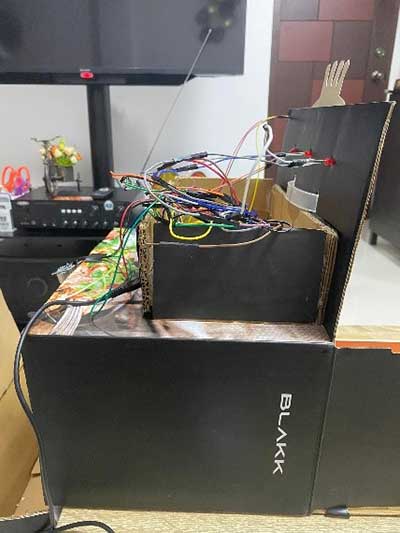
While making this exit product, I really felt nervous and anxious about the final look of the game. It also took me hours on creating the setup and code since it needs a lot of experimenting. I really expected the game will be easy to create but when I started making it, I really had no idea where to start, it overwhelmed me. But overall, the experience was quite fun and enjoyable since I familiarized some of the lessons of Robotics.
I didn’t really expect that I’ll enjoy it since I’m not interested in these things before. My realizations after making my product are that I should’ve started this on Monday. I really struggled in making this on time especially because it was very hard and our internet connection is very slow at the moment. I also realize that having this type of job in the future is not as easy as I thought it was. I am looking forward to the 3rd quarter.


