Made by Roxequiel Sumando.
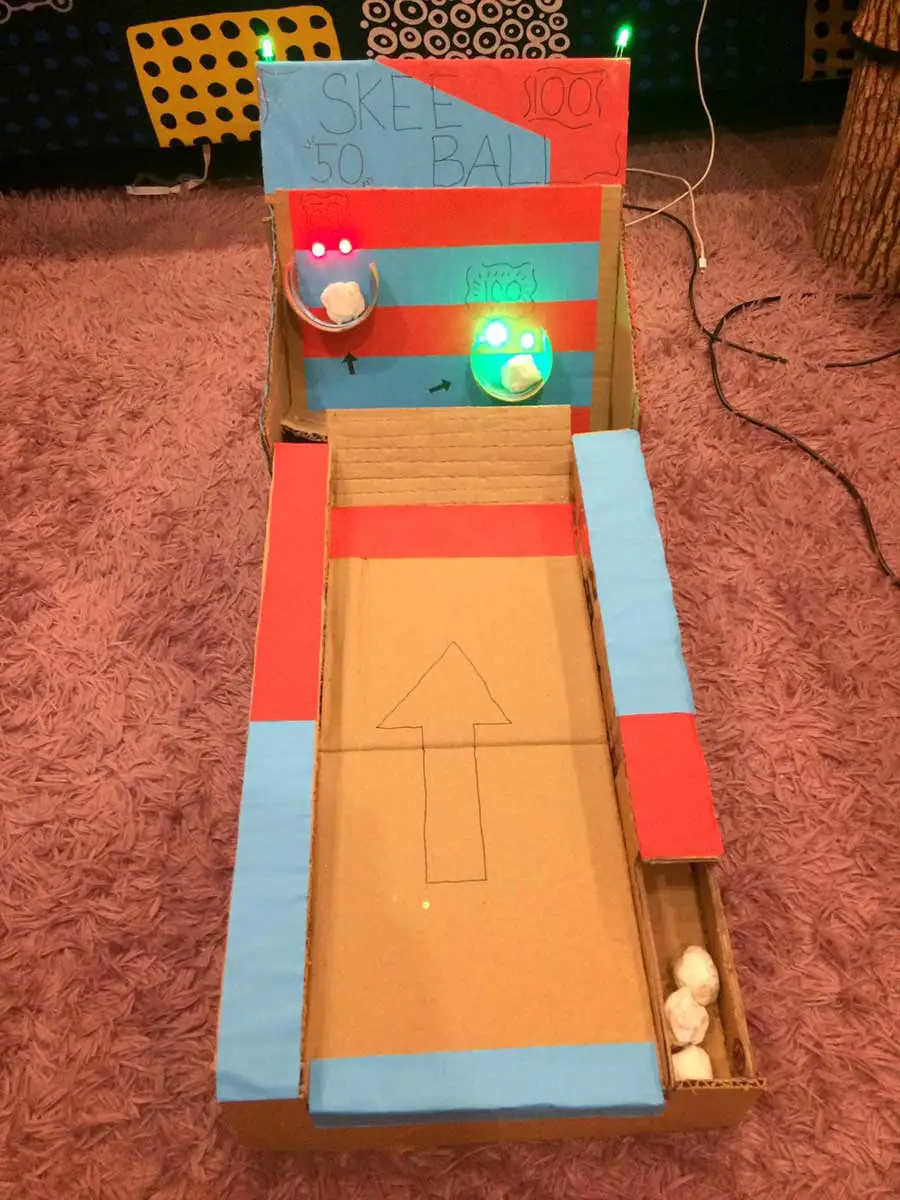
Bored at home and want to work on something in your leisure time? Introducing a classic arcade game now made easy to recreate at home with the help of Arduino, called Skee Ball! This game would be made possible using materials you have at home. Then once you have properly assembled your structure, you can now integrate the lights, sensors, and buzzer connected to your breadboard, within the structure. Then after everything is complete, you can now enjoy the thrilling gameplay of Skee Ball!
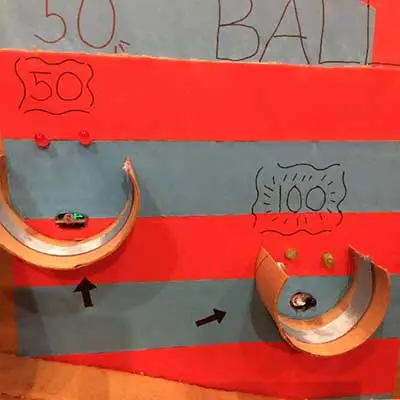
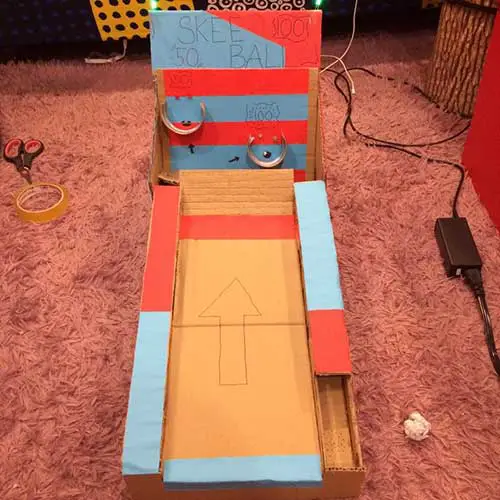
The mechanics of the game is that you have 5 balls, and there are two slots for you to have to goal in, successfully placing the ball on the goal will make each respective slot lights shine bright and a buzzing noise to be heard. If you miss, the balls will roll back into the load. If you were successfully able to goal into both slots, you win the game with a buzzer tune indicating a win. Now gatherings have become a lot more engaging. So what are you waiting for? Build your homemade Skee Ball game now!
Materials Needed:
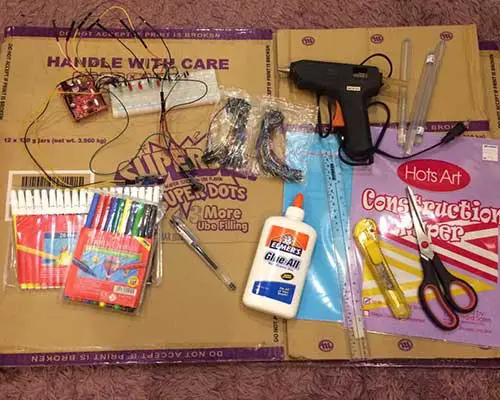
- Cardboard or any type of used box
- Toilet paper roll
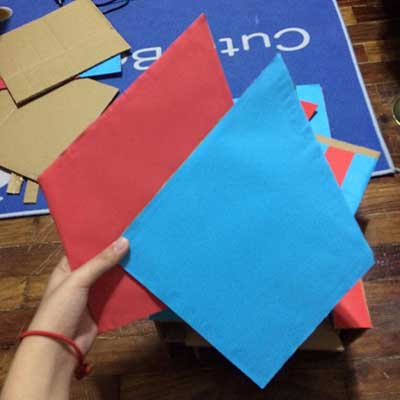
- Construction Paper
- Scratch Paper
- Masking Tape
- Glue
- Glue Gun
- Scissors
- Cutter
- Ruler
- Pen/Pencil
- Colored Markers
- Arduino Board
- Breadboard
- Jumper Wires
- 6 Resistors
- 6 LEDs
- Light Sensor
- Infrared Sensor
- Piezo Buzzer
Steps In Making The Game
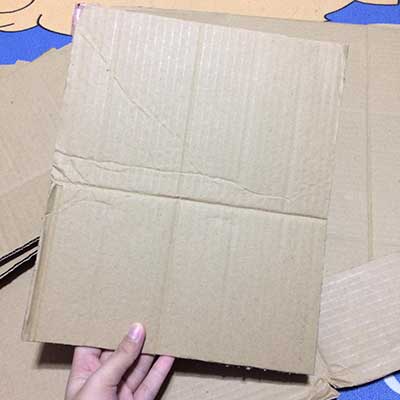
Step 1: Cut your cardboard to your desired length in creating the parts of the game. These are the measurements I used.
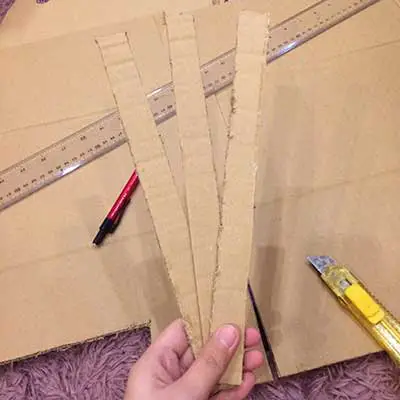
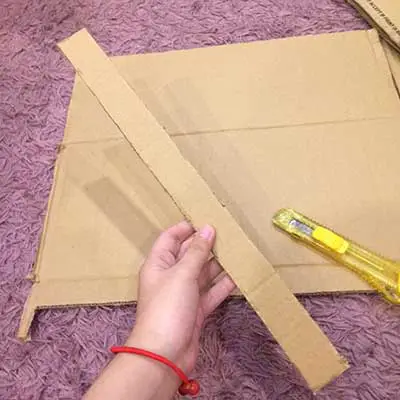
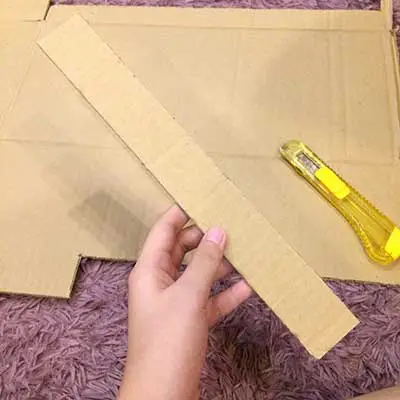

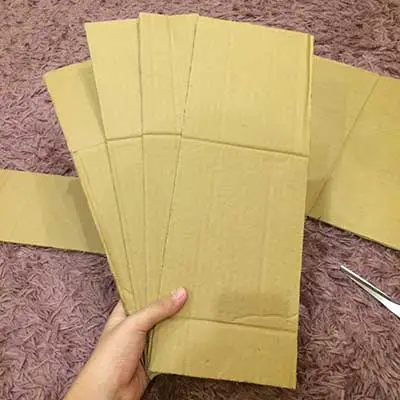
Step 2: Cut the 4 pieces of 14cm x 40cm in a slanting shape, use the other 2 and glue them together with a 4cm x 40cm strip to hold them together, with a glue gun.
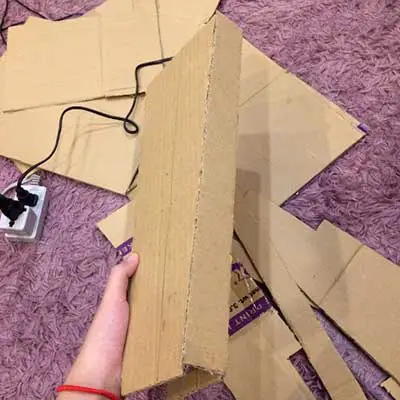
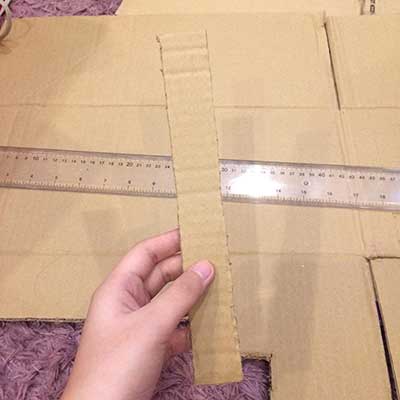
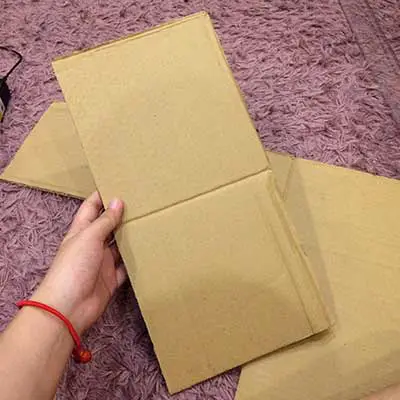
Step 3: Use the other half and cut a 2cm x 10.5 cm strip on the slanting part and glue a 3cm x 40cm strip in the middle (slanting).


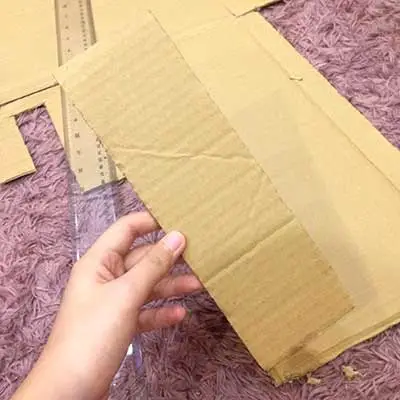
Step 4: Then glue a 3cm x 23cm strip on top.
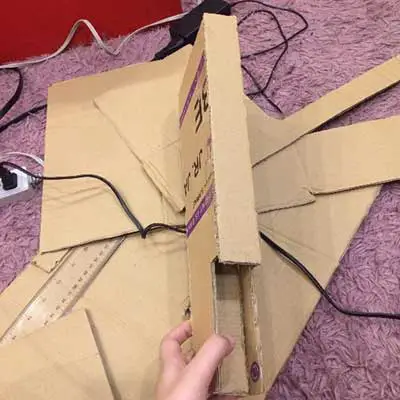
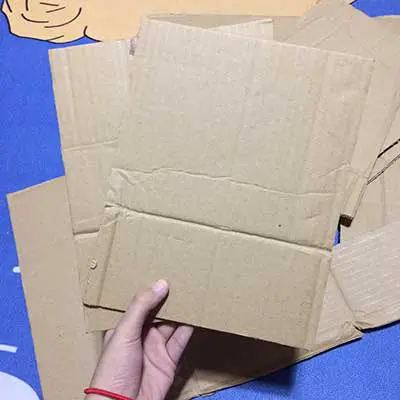
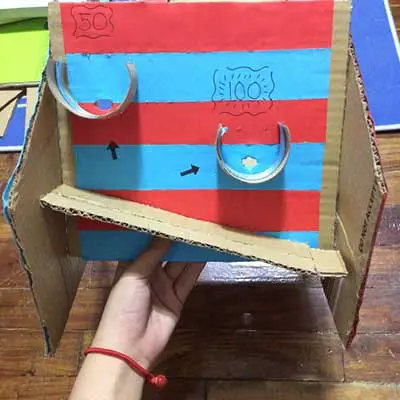
Step 5: Glue the 17cm x 35cm cutout in between the 2 side bases being made (slanting) to make a ramp.
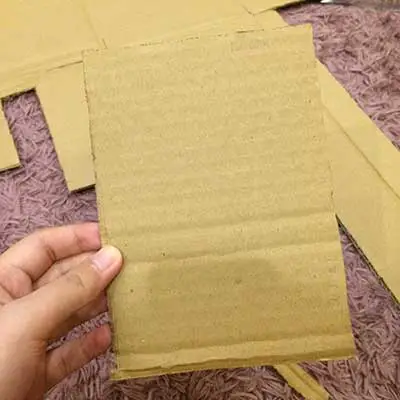
Step 6: Get the 8cm x 25cm cut-out and trace the end of the ramp so that there won’t be an opening then glue it to the ramp.
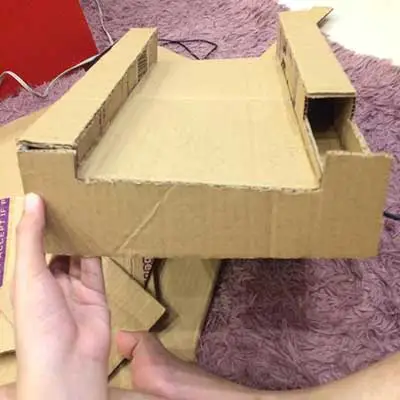
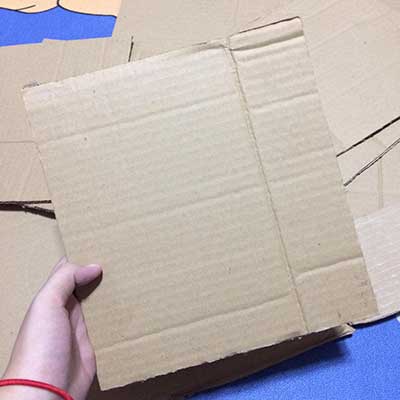
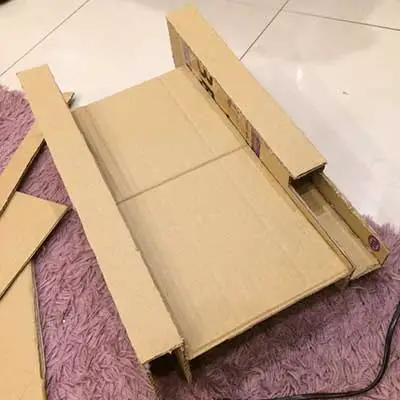
Step 7: Get the 12cm x 17cm cutout and the horizontal lines on it, but not all the way, so that we could bend the cardboard making it easier for the ball to roll to the goal slot that we are going to make in a bit. Then glue it to the ramp.

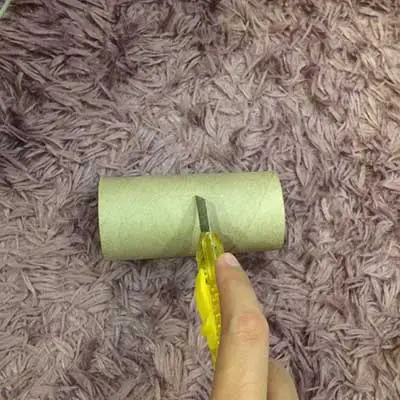
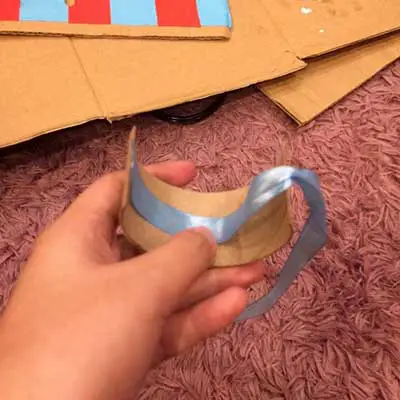
Step 8: Cut the toilet paper roll to your desired length for it to catch the ball. Then I added a blue ribbon on the middle to add some touch of design but it’s optional.
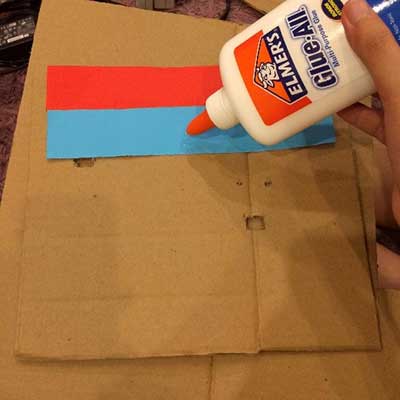
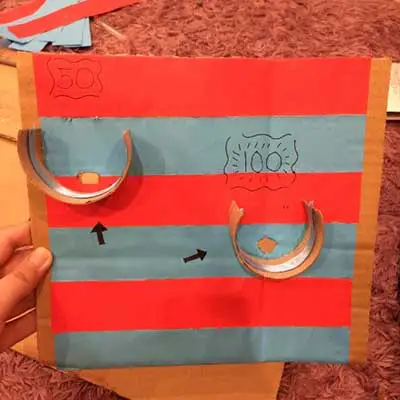
Step 9: Then grab the 22cm x 24cm cutout, cut 2 small holes on where you would put the catcher (toilet paper roll) for us to put the light and infrared sensors. Then puncture the legs of the LED on cardboard so that it could act as a base on where we would put them, in my case I decided to put 2 LEDs on each catcher, you could do the same too. Lastly, I added strips of blue and red construction paper to add design.
Step 10: After doing step 9, glue the 2 catchers we’ve made on the desired spots of the cardboard.
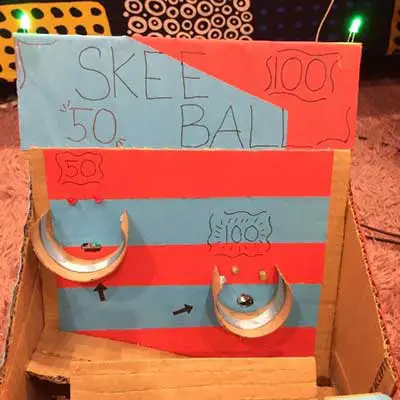
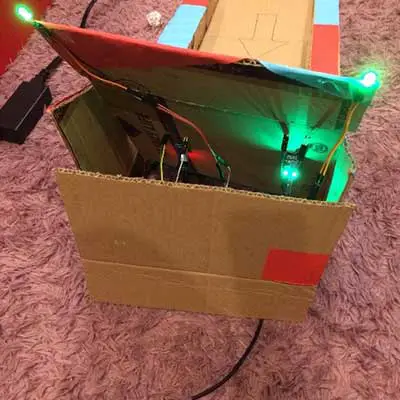
Step 11: Cut a quarter part of the 25cm x 30cm cutout so that we could place a label of the game, then add your own design to it, and the other cutout piece we would use as a cover in where we would place the wirings, breadboard, and Arduino board.

Step 12: Grab the 2 pieces of 22cm x 25cm cutouts and cut a quarter part (slanting), this could be your own measurement of how big or small you want it to be and I added red and blue construction paper to give color.
Step 13: Glue two 2cm x 27cm strips (slanting) then glue it to the design we’ve made on step 10 with the 2 catchers and lastly glue it in between the newly cut 22cm x 25cm from step 12, slanting again.
Step 14: Glue the label we made in step 11 on the goalie.
Step 15: Add the LEDs and sensors on the desired spots.
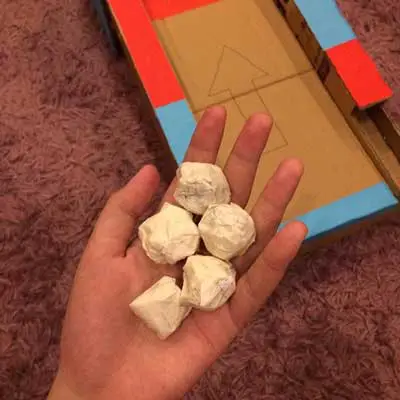
Step 16: Create 5 game balls using scratch paper by crumpling them into a ball and covering it with masking tape to make it intact.
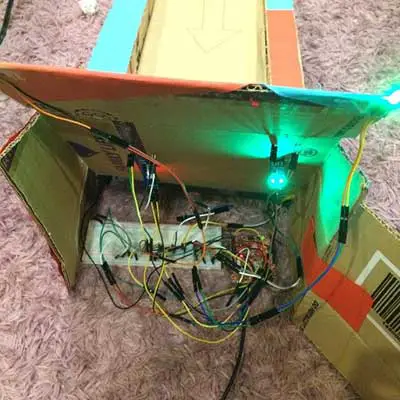
Step 17: Place the desired wirings on the Arduino board and the breadboard. And place it at the back of the game.
With the code:
int lightsensor=4;
int ir=2;
int buzzer= 6;
int led8=8, led9=9, led10=10 , led11=11, led12=12, led13=13;

void setup () {
  pinMode(lightsensor, INPUT);
  pinMode(ir, INPUT);
  pinMode(buzzer, OUTPUT);
  pinMode(led8, OUTPUT);
  pinMode(led9, OUTPUT);
  pinMode(led10 , OUTPUT);
  pinMode(led11, OUTPUT);
  pinMode(led12, OUTPUT);
  pinMode(led13, OUTPUT);
}

void loop () {

  digitalWrite(led8, HIGH);
  digitalWrite(led13, HIGH);

  if (digitalRead(ir) == 1 && digitalRead(lightsensor) == 1){
    digitalWrite(led9, HIGH);
    digitalWrite(led10 , HIGH);
    digitalWrite (led11, LOW);
    digitalWrite (led12, LOW);
    tone(buzzer,999,500);
    delay(1000);
  }

  else if (digitalRead(ir) == 1 && digitalRead(lightsensor) == 0){
    digitalWrite(led9, LOW);
    digitalWrite(led10 , LOW);
    digitalWrite (led11, LOW);
    digitalWrite (led12, LOW);
  }

  else if (digitalRead(ir) == 0 && digitalRead(lightsensor) == 1){
    digitalWrite(led9, HIGH);
    digitalWrite(led10 , HIGH);
    digitalWrite(led11, HIGH);
    digitalWrite(led12, HIGH);
    tone(buzzer,500,200);
    delay(200);
    tone(buzzer,500,200);
    delay(200);
    tone(buzzer,500,200);
    delay(200);
    tone(buzzer,800,150);
    delay(150);
    tone(buzzer,500,500);
    delay(500);
    tone(buzzer,600,1000);
    delay(1000);
  }

  else if (digitalRead(ir) == 0 && digitalRead(lightsensor) == 0){
    digitalWrite(led9, LOW);
    digitalWrite(led10 , LOW);
    digitalWrite(led11, HIGH);
    digitalWrite(led12, HIGH);
    tone(buzzer,999,500);
    delay(1000);
  }

}
Step 18: Lastly, connect the goalie part of the game to the ramp and you’re ready to start playing!
Making the Exit Product especially the game was really nerve-wracking for me since my forte isn’t making art and I am not good at it. So when I first read the instructions regarding the Exit Product for this quarter, I went ahead to think through what game I would make because I know I need a lot of time creating it. When my brother told me about the Skee Ball game it caught my attention since it gave me an idea right away on how I would put the sensors and the LEDs.
Although as I was starting to make the game, I felt anxious since I didn’t want anything to go wrong so that I could pass the exit product on time. But in the end, I pushed through and I successfully made the miniature Skee Ball game. This surprised me a lot of the outcome because I never knew that I could make this somewhat intricate design but don’t get me wrong, I still struggled in the process so it was really a relief of satisfaction right after I finished.
Creating the code for the LED to light up when there is a detection from the sensor, on the other hand, was equally as difficult. It took me about an hour trying to figure out the correct code for the idea I had in mind. Adding the buzzer effect took me the longest to figure out since it was quite confusing.
I experienced trial and error along the way, a lot actually. And I also searched on google for the code of a game-winner type of sound since that was on my original plan so I tried to place it on the code and it was tricky on where to place it in the different if-else if statements. After an hour of figuring it out, my idea came to life and I got it to work the way I planned it to be.
As I finished making my product I realized that with hard work and determination, everything that I did would be worth the sweat and tears I have exerted in the process. Nothing is more satisfying than the feeling of relief when done with a certain activity or product. All the worrying, stress, and anxiety have their end eventually. So it’s much better to focus on the end product, focus on the relief you would get after finishing. Everything and anything is inevitable so I got to keep reminding myself of my goal and I know would push through and experience it.


