Made by Faiha Mohamad.
Fan of Ghibli? Then this project is for you.
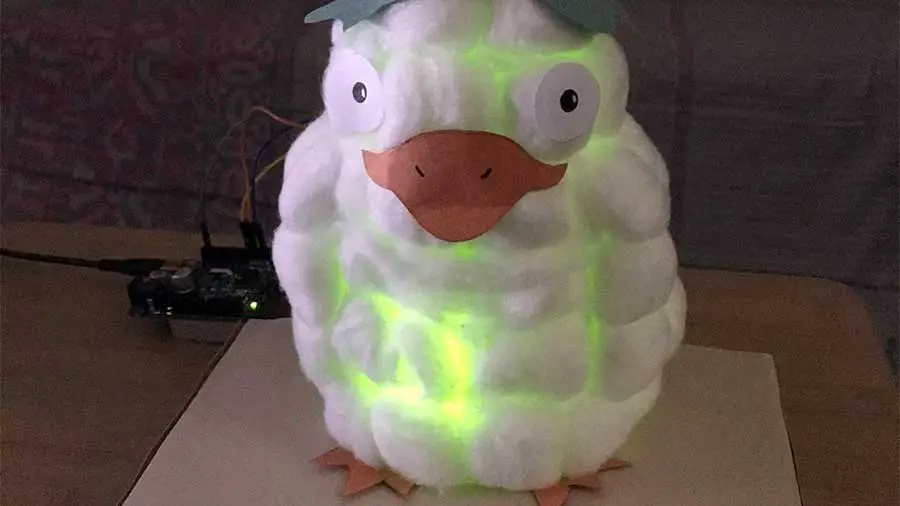
This product is made from a recycled plastic bottle into a DIY display lamp. This product can make your room, living room, or pc/laptop desk get accessorized and less boring. This is perfect for Ghibli studio fans or Spirited Away fans!
Let’s get started.
Materials:
Carton Box
Plastic Bottle (Macao Plastic Bottle shape)
1-2 packs of Cotton Balls
Construction Papers
Glue
Scissors
Glue Gun
Ruler
Pencil
Eraser
1 Bond Paper (Any size you want)
Electronics
1 Arduino Board
1 Breadboard
7 Jumper wires
12 Female Jumper wires
8 LEDs (Yellow, Green, and Red)
6 220 ohm resistors
Base
Step 1:
This step is to create a box/base for the duck
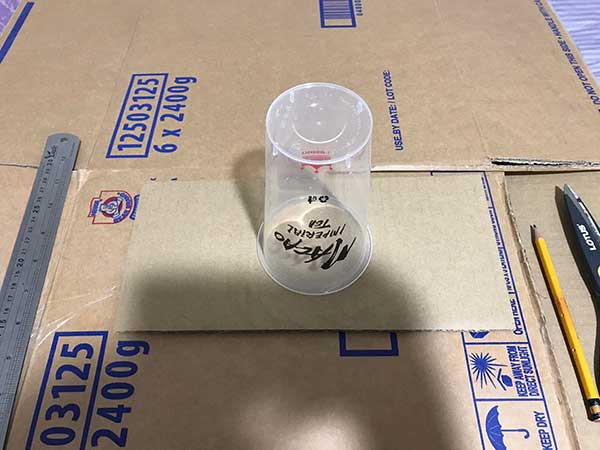
If you don’t have a Carton Box, you can use a Shoe Box. Cut a part of the Carton Box with your preferred cut size.
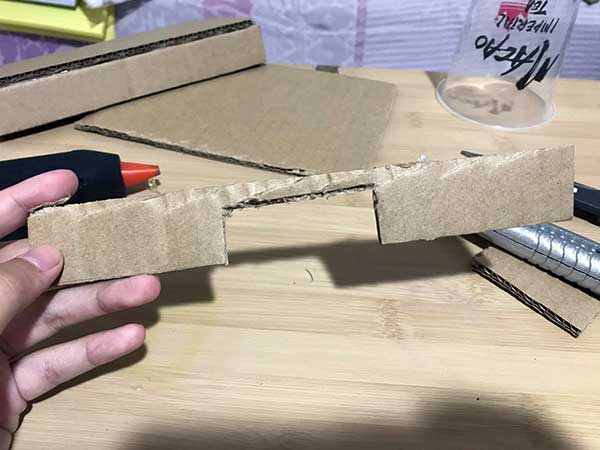
Step 2: Cut the sides to make them less long for the box/base.
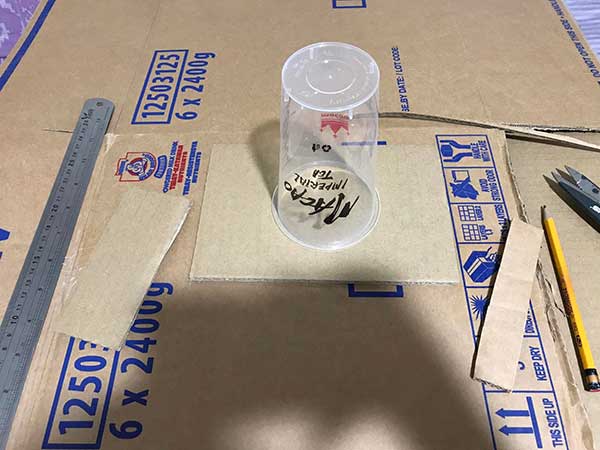
Step 3:
Measure the 4 side parts of the cut to make it the legs to support and also measure the cut part of the carton box to make it the roof/floor for the duck lamp. Must measure it equally to prevent an unbalanced box/base for the duck lamp.

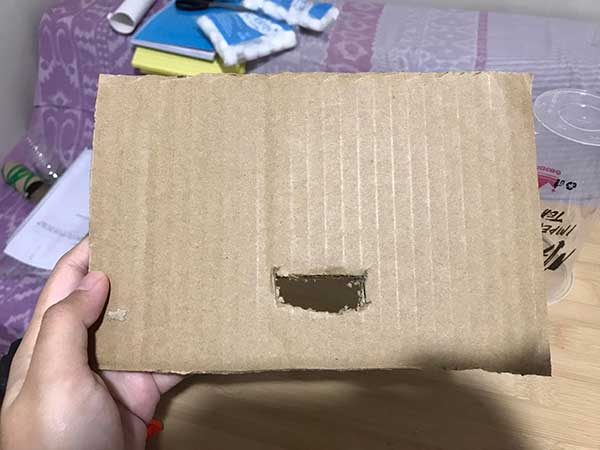
Step 4:
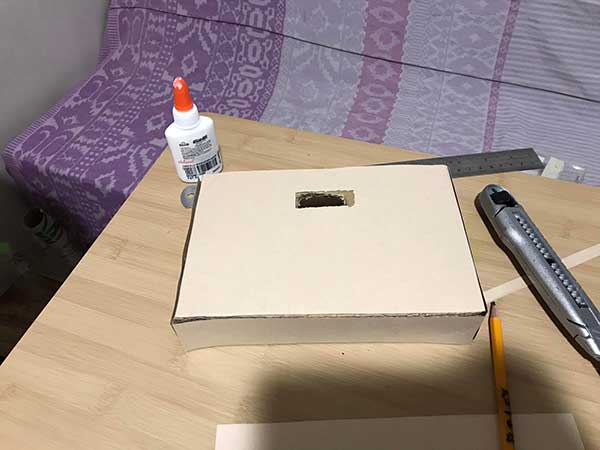
After measuring and cutting the 4 side parts and the roof/floor equally, use a glue gun to stick it and form a box shape. But before placing all the legs, one leg must have a hole, same with the roof for this to insert your LEDs.
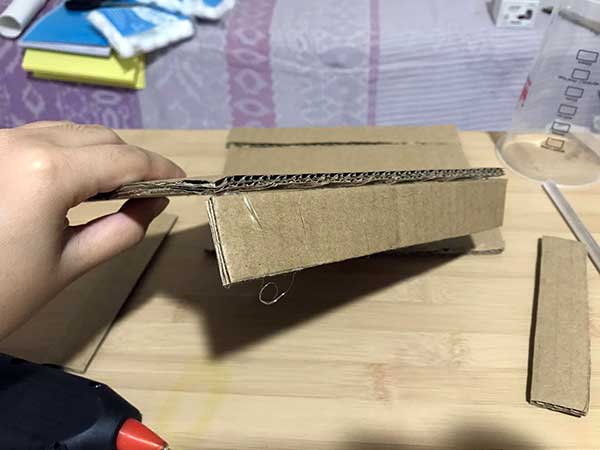
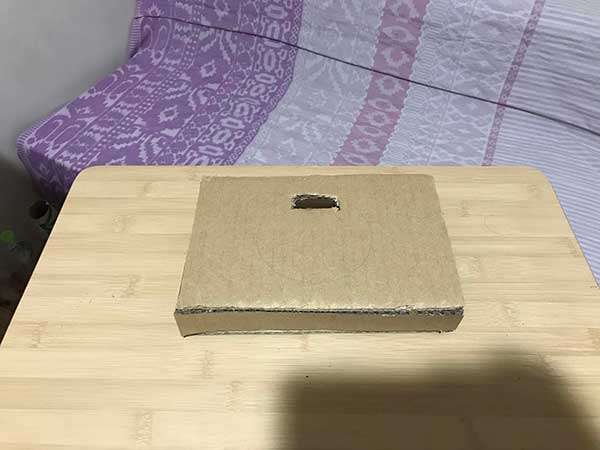
Step 5:
After placing them together using a glue gun, you’ve finally created a box shape/base for the placing of your duck lamp.
Step 6:
To make your base look neat, use construction paper (any color you want), I chose cream color construction paper to match the duck lamp. Measure the base to make your construction paper equal to the base.
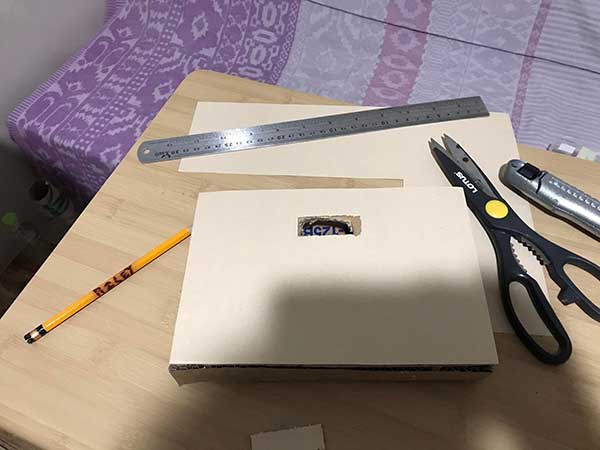
Step 7:
After equally measuring and cutting the construction paper, use glue to place it on the sides and the roof of the box. Notice that the roof has a hole for this to insert the LEDs inside/under the cup. You will see it in the next steps.
Duck Lamp
Step 1:
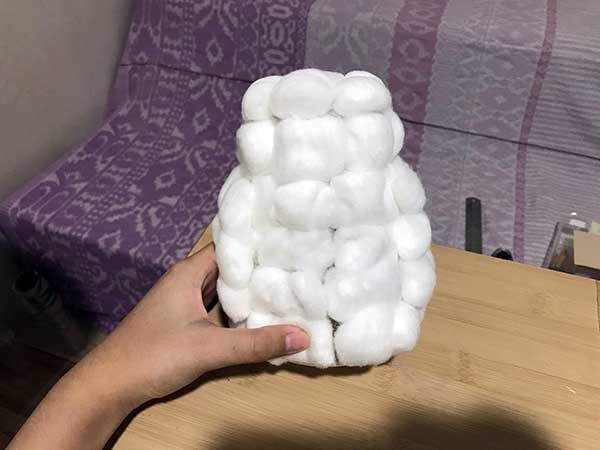
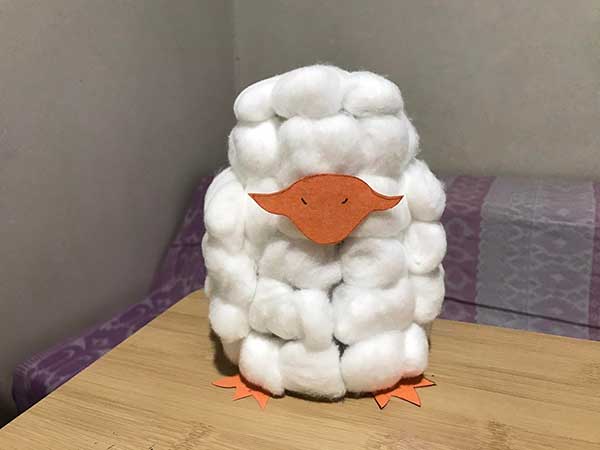
After creating the first part of the base of our project, we will now proceed with making the Duck Lamp. For this, you need a plastic bottle, cotton balls, and glue. Stick the cotton balls using glue, and cover the plastic bottle with cotton balls, when placing cotton balls you must make a shape (you may use a reference for the shape) and not make the cotton balls too thick for the duck’s body shape.
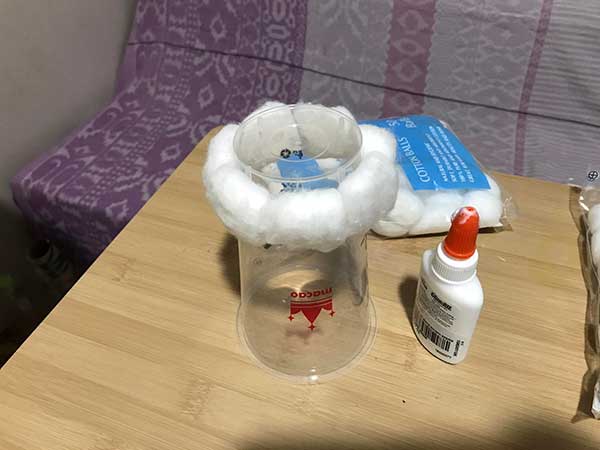
Looks like this:
Step 2:
After covering the plastic bottle with cotton balls, use construction paper and draw or make the parts for the duck.
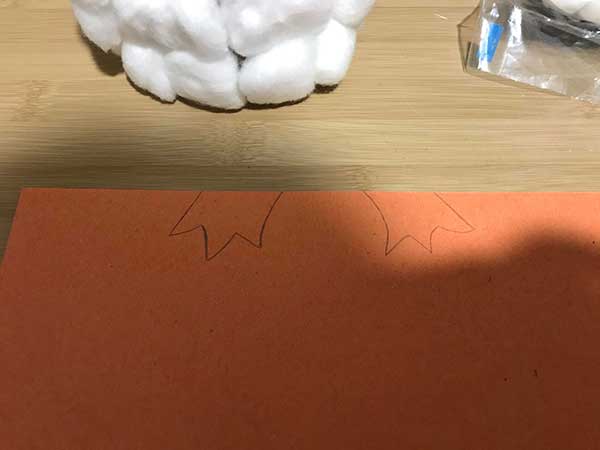
Step 3:
After creating the feet of the duck, make the beak of the duck.
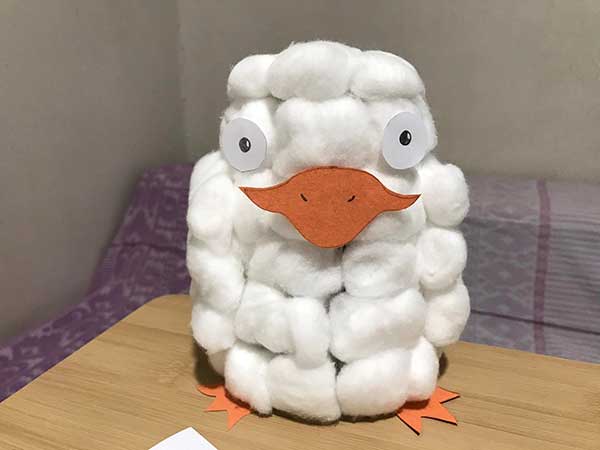
Step 4:
After the beak, use bond paper to make the eyes of the duck.
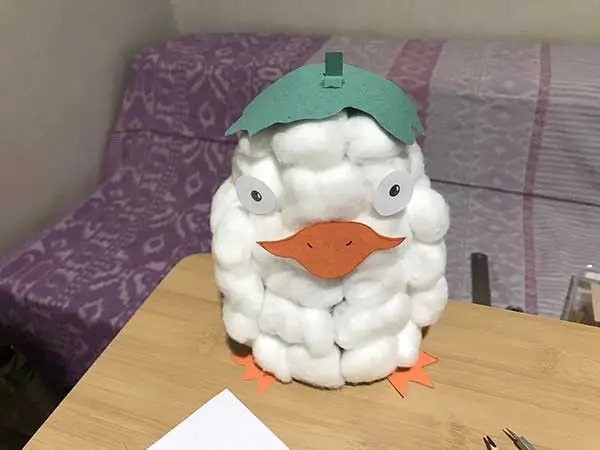
Step 5:
We’re almost done, after creating the eyes, make a leaf shape with a petiole to place on top of the duck’s head.
Step 6:
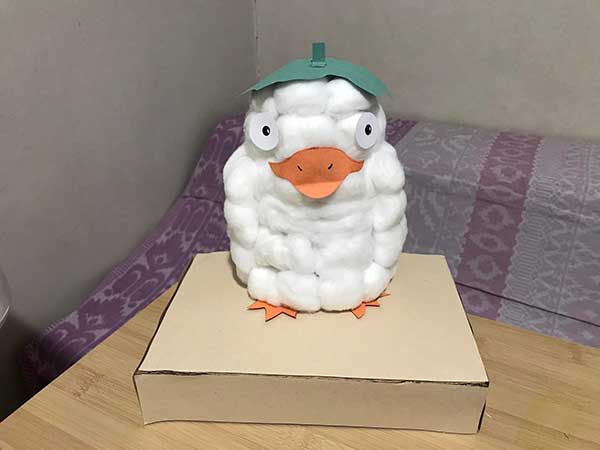
After creating all the parts of the duck, use glue to prevent the parts from falling. You already finished creating the Duck’s body using cotton balls and making the parts of the Duck’s body using construction papers. Let’s proceed to the last part of making this project which is the Arduino board, breadboard setup, and the code for the LEDs.
Arduino Board Setup
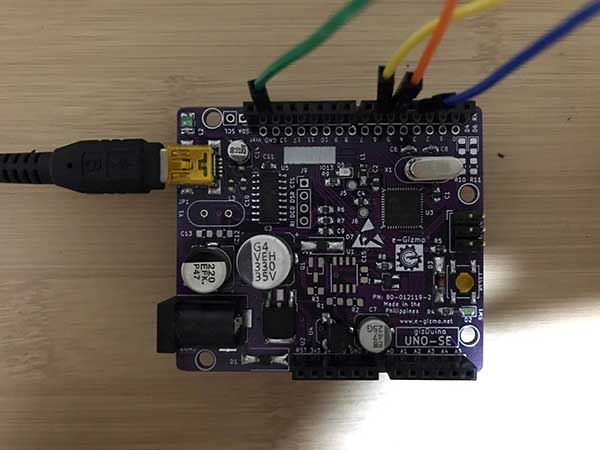
Connect the LED1 to pin 5, LED 2 to pin 3, and LED 3 to pin 6, remember our light effect for this project is fade in and fade out, the pins must be connected to 3,5,6,9,10,11 (PWM pins) to create a fade in and fade out effect.
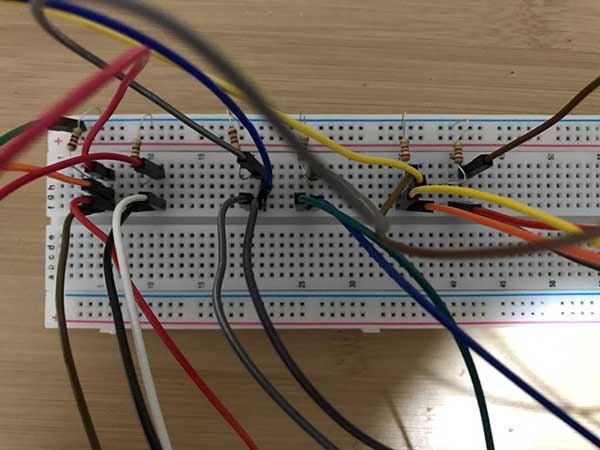
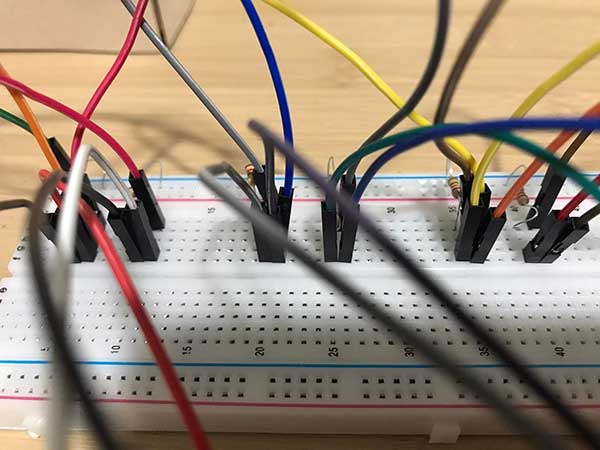
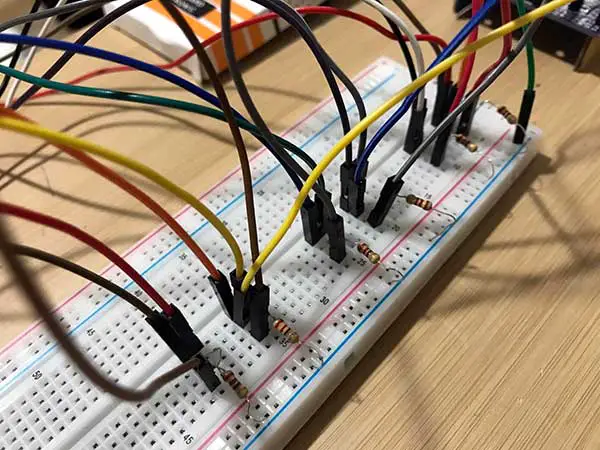
Breadboard Setup
Code:
int ledPin = 5;
int ledPin2 = 3;
int ledPin3 = 6;

void setup() {
  pinMode(ledPin, OUTPUT);
  pinMode(ledPin2, OUTPUT);
  pinMode(ledPin3, OUTPUT);
}

void loop() {
  // fade in from min to max in increments of 5 points:
  for (int fadeValue = 0 ; fadeValue <= 255; fadeValue = fadeValue+5) {
    // sets the value (range from 0 to 255):
    analogWrite(ledPin, fadeValue);
    // wait for 30 milliseconds to see the dimming effect
    delay(30);
  }

  // fade out from max to min in increments of 5 points:
  for (int fadeValue = 255 ; fadeValue >= 0; fadeValue = fadeValue-5) {
    // sets the value (range from 0 to 255):
    analogWrite(ledPin, fadeValue);
    // wait for 30 milliseconds to see the dimming effect
    delay(30);
  }

  // fade in from min to max in increments of 5 points:
  for (int fadeValue = 0 ; fadeValue <= 255; fadeValue = fadeValue+5) {
    // sets the value (range from 0 to 255):
    analogWrite(ledPin2, fadeValue);
    // wait for 30 milliseconds to see the dimming effect
    delay(30);
  }

  // fade out from max to min in increments of 5 points:
  for (int fadeValue = 255 ; fadeValue >= 0; fadeValue = fadeValue-5) {
    // sets the value (range from 0 to 255):
    analogWrite(ledPin2, fadeValue);
    // wait for 30 milliseconds to see the dimming effect
    delay(30);
  }

  // fade in from min to max in increments of 5 points:
  for (int fadeValue = 0 ; fadeValue <= 255; fadeValue = fadeValue+5) {
    // sets the value (range from 0 to 255):
    analogWrite(ledPin3, fadeValue);
    // wait for 30 milliseconds to see the dimming effect
    delay(30);
  }

  // fade out from max to min in increments of 5 points:
  for (int fadeValue = 255 ; fadeValue >= 0; fadeValue = fadeValue-5) {
    // sets the value (range from 0 to 255):
    analogWrite(ledPin3, fadeValue);
    // wait for 30 milliseconds to see the dimming effect
    delay(30);
  }
Overall, I am satisfied and proud of my product, honestly, I thought I wouldn’t be able to create this display duck lamp because I thought it was difficult to create it. Turns out, this product was easy to make but takes a lot of time to make it. My efforts and hard work in making this product were worth it.
I am also proud that I was able to learn the Arduino lessons, especially the breadboard setup and coding. I used my knowledge of how to create the breadboard and coding setup to make the two LEDs fade in and fade out with a total of 8 LEDs (by pair). What I realized after making my product is I was able to create this product idea and successfully did/finished this project without difficulties.


