Made by: Myrrhacle A. Oclarit
I’ve always wanted to go camping before, where I could talk to my friends and family all night while sitting around a big fire, although the pandemic ruined all of that. Therefore, I decided to make this as my project. Using the materials I had at home, I made a simple DIY Flameless Campfire, which is really easy to make, as long as you have the basic knowledge of LED programming, using Arduino.
Here are the materials I used:
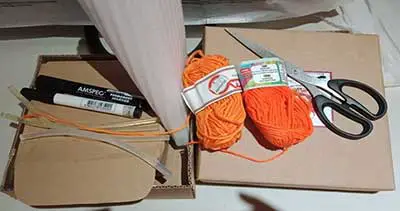
- Cardboard (a lot)
- Styrofoam
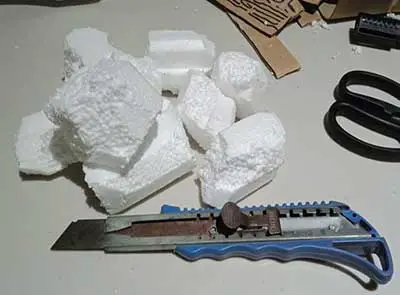
- Scissors, box cutter (optional)
- Black permanent markers
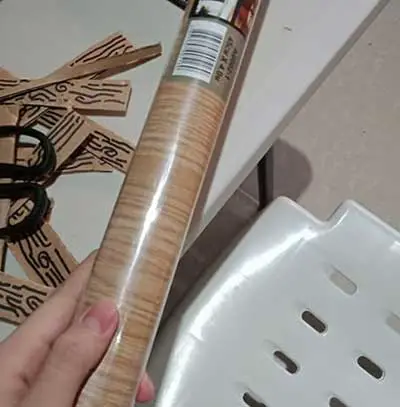
- Wallpaper (brown, wood texture)
- 8 LEDs, 1 pushbutton
- 10k and 220 ohms resistors
- Breadboard
- Sticks
- A lot of jumper wires
- Dead leaves
- Hot glue
Step-by-step Procedure:
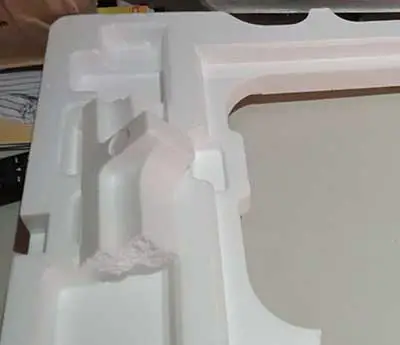
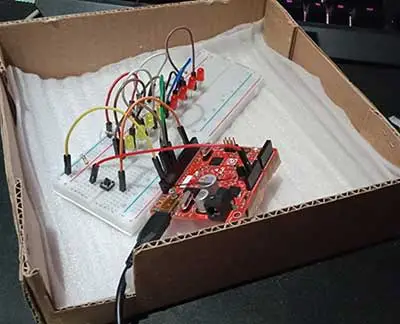
Step 1: I cut some Styrofoam to fit inside the cardboard box because I will be putting the breadboard here. (Acts like a cushion)

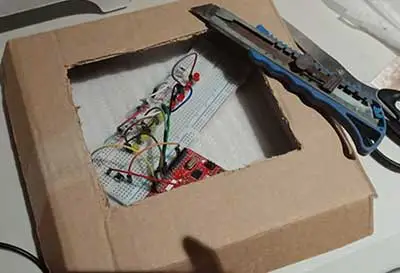
Step 2: I cut a square (or hole, whatever, etc.) using a box cutter, in the middle of this cover/base, so that the LEDs can shine through.
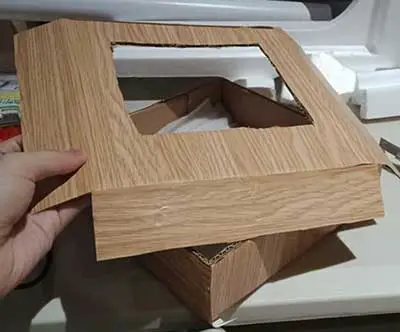
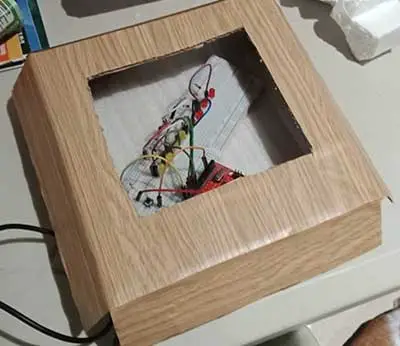
Step 3: I covered the box and the cover in brown wallpaper, to give it a wooden texture, and make it look neater.
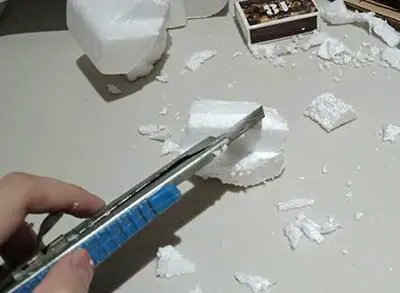
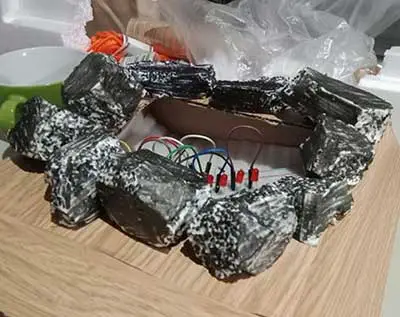
Step 4: I carved some Styrofoam in the shape of rocks. I will be attaching them, to surround the campfire later.
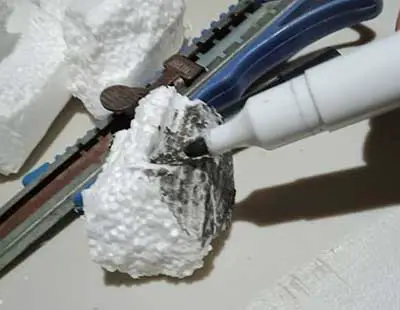
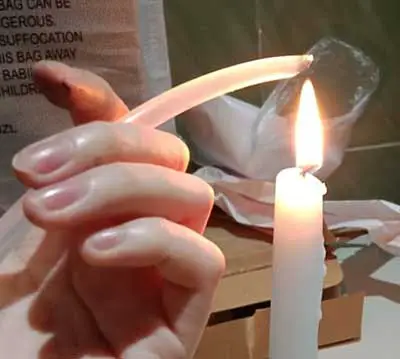
Step 5: I colored the Styrofoam rocks using a dark permanent marker, to make them look darker, rough, and rockier (lol). After coloring, I smoothened all of them a bit, using toilet paper. I later attached them using hot glue. I melted the glue stick using a candle since my glue guns were broken.
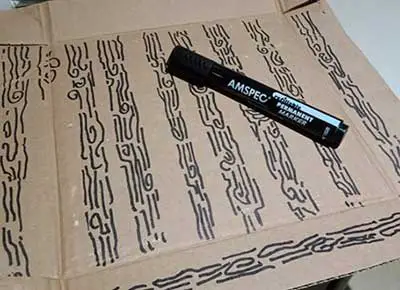
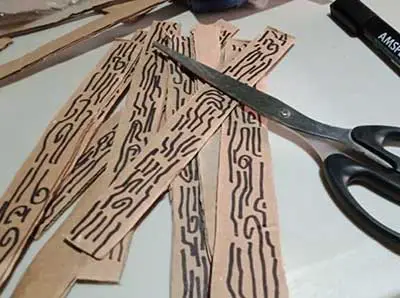
Step 6: I drew wood patterns on some cardboard, using a permanent marker, and cut them into strips. (These will be my campfire sticks).
Step 7: I attached some dead leaves in between the rocks, to give it a rustier, ambient look.
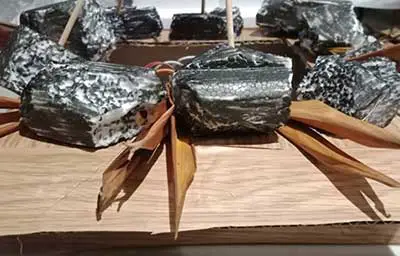
Step 8: I inserted BBQ sticks into the Styrofoam rocks so that the cardboard strips will have a sturdier base. I tied them with a rubber band on the end, so they won’t go loose.

Step 9: I covered the BBQ sticks with the cardboard strips, using hot glue. I also braided some orange and yellow yarn and wrapped it around the bonfire, to give it a hint of color.
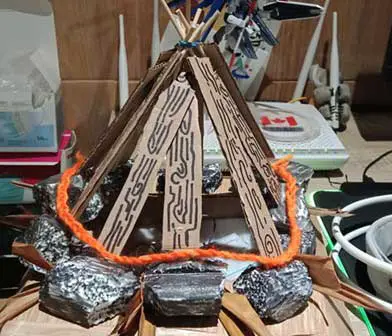
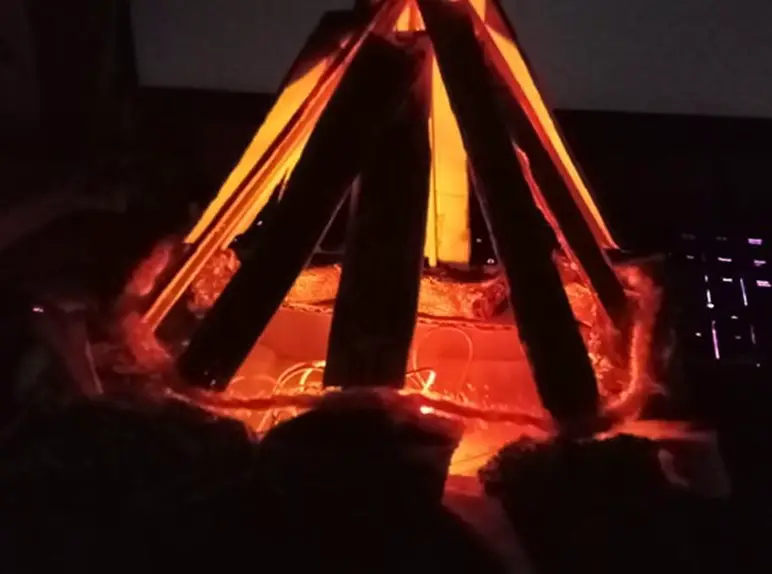
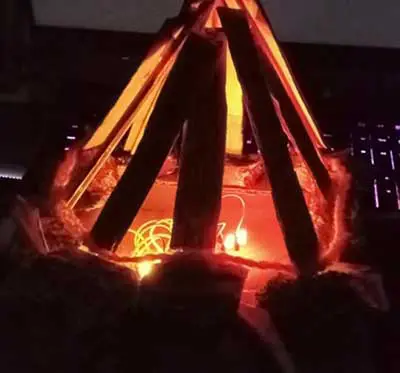
Step 10: And finally, you’re good to go! Just upload your code, and your simple mini DIY campfire is finished! (Works best in dark/dimly lit rooms). It gives you a really cozy feeling since it uses warm colors. I utilized 4 red LEDs and 4 yellow LEDs, to imitate the flickering flames.
Arduino Code
int deeznuts = 3; // push button
int wew=12, heh=11, umay=10, nong=9; // 4 LEDs 2 pins
int val=0;
int ledstate=LOW;

void setup() {
  // put your setup code here, to run once:
  pinMode(deeznuts,INPUT);
  pinMode(wew,OUTPUT);
  pinMode(heh,OUTPUT);
  pinMode(umay,OUTPUT);
  pinMode(nong,OUTPUT);
}

void loop() {
  // put your main code here, to run repeatedly:
  val=digitalRead(deeznuts);
  if(val == HIGH)
  {
  ledstate=!ledstate;
  digitalWrite(wew,ledstate);
  digitalWrite(heh,ledstate);
  delay(1000);

    digitalWrite(nong,LOW);
    digitalWrite(wew,HIGH);
    delay(500);
    digitalWrite(wew,LOW);
    digitalWrite(heh,HIGH);
    delay(500);
    digitalWrite(heh,LOW);
    digitalWrite(umay,HIGH);
    delay(500);
    digitalWrite(umay,LOW);
    digitalWrite(nong,HIGH);
    delay(500);

    for(int fadeValue = 0 ; fadeValue <= 255; fadeValue = fadeValue+5){
    analogWrite(wew,fadeValue);
    analogWrite(heh,fadeValue);
    delay(30);
  }
    for(int fadeValue = 255 ; fadeValue >= 0; fadeValue = fadeValue-5){
    analogWrite(wew,fadeValue);
    analogWrite(heh,fadeValue);
    delay(30);
  }
    for (int fadeValue = 0 ; fadeValue <= 255; fadeValue = fadeValue+5) {
    analogWrite(heh,fadeValue);
    analogWrite(umay,fadeValue);
    delay(30);
  }
    for (int fadeValue = 255 ; fadeValue >= 0; fadeValue = fadeValue-5) {
    analogWrite(heh,fadeValue);
    analogWrite(umay,fadeValue);
    delay(30);
  }
    for(int fadeValue = 0 ; fadeValue <= 255; fadeValue = fadeValue+5){
    analogWrite(umay,fadeValue);
    analogWrite(nong,fadeValue);
    delay(30);
  }
    for(int fadeValue = 255 ; fadeValue >= 0; fadeValue = fadeValue-5){
    analogWrite(umay,fadeValue);
    analogWrite(nong,fadeValue);
    delay(30);
  }
    for(int fadeValue = 0 ; fadeValue <= 255; fadeValue = fadeValue+5){
    analogWrite(nong,fadeValue);
    analogWrite(wew,fadeValue);
    delay(30);
  }
    for(int fadeValue = 255 ; fadeValue >= 0; fadeValue = fadeValue-5){
    analogWrite(nong,fadeValue);
    analogWrite(wew,fadeValue);
    delay(30);
  }
  for(int fadeValue = 0 ; fadeValue <= 255; fadeValue = fadeValue+5){
    analogWrite(wew,fadeValue);
    analogWrite(heh,fadeValue);
    delay(30);
  }
    for(int fadeValue = 255 ; fadeValue >= 0; fadeValue = fadeValue-5){
    analogWrite(wew,fadeValue);
    analogWrite(heh,fadeValue);
    delay(30);
  }
    for(int fadeValue = 0 ; fadeValue <= 255; fadeValue = fadeValue+5){
    analogWrite(wew,fadeValue);
    analogWrite(wew,fadeValue);
    delay(30);
  }
    for(int fadeValue = 255 ; fadeValue >= 0; fadeValue = fadeValue-5){
    analogWrite(heh,fadeValue);
    analogWrite(heh,fadeValue);
    delay(30);
    }
  }
}
Thanks to this project, I was able to come up with something that I’m quite proud of, considering the situation at home. I was originally going to create a DIY lantern, but since a lot of people made one already, I abandoned the idea and spent hours and hours brainstorming. It was a bit frustrating. Then, suddenly, this idea hit me out of nowhere! I got so excited when this idea came to me, and everything started to fall in place afterward. Although my materials were limited, they were all necessary for creating this project. My creativity and improvisation were also brought out, in making this project.
On the other hand, the code was really tricky, and I spent a lot of time experimenting. However, thanks to the help of Sir Sherwin, and by looking at other codes as my references, I was able to put my sketches together. Overall, this was a great experience for me, and I didn’t even know I was capable of something like this since I’m not very good at crafts. Moreover, Arduino has always intimidated me since Grade 7, because I frequently witnessed G10 students working with robotics. But because of these lessons, I was able to experience Arduino robotics firsthand, and I’m happy. The week was stressful for me, I even had a full-on breakdown a few days ago, but I’m glad that I was able to pull through.


