0:00
When flames appear, early warning can save the day
0:07
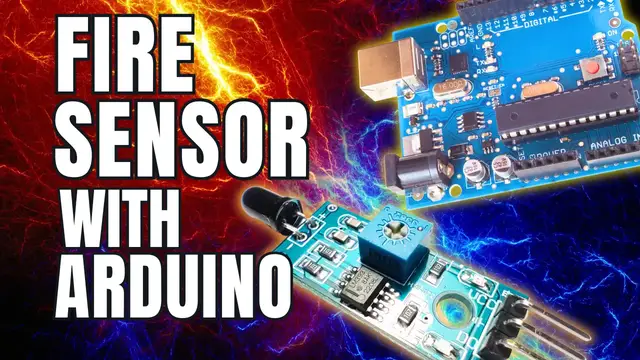
In this video we'll build a fire alarm system using an Arduino, a flame sensor, a buzzer
0:11
with a fire truck style siren, and LED indicator that lights up when danger is near
0:16
Here's what we're making. When it detects a flame, the LED lights up and the buzzer sounds like a real fire truck siren
0:22
Here's what you'll need. Arduino Uno 1HW072 flame sensor, a passive buzzer, one LED, a 220-ohm resistor, jumper wires
0:34
a USB cable, and something to simulate fire, like a lighter or candle. The flame sensor we're using
0:39
is the HW-072, equipped with the LM393 comparator chip. This sensor module is a popular choice in
0:47
Arduino fire detection projects due to its compact size, affordability, and reliable performance
0:52
At the heart of the flame sensor is an infrared photodiode that is highly sensitive to infrared
0:57
light, particularly in the 760 to 1100 nanometer range. This is the same spectrum emitted by open flames such as those from candles lighters or gas burners Next to the photodiode you find a small blue component with a screw on top This is the threshold adjustment potentiometer
1:14
By rotating the potentiometer clockwise or counterclockwise, you can adjust the sensitivity threshold of the sensor
1:20
One limitation of the HW072 flame sensor is its directional sensitivity. The IR photodiode only detects infrared light that is directly in front of it
1:30
Typical effective detection distance ranges from 20cm to 80cm. Let's connect the components, flame sensor VCC to 5V, GND to GND, digital out to pin 8
1:41
buzzer, positive side to pin 9, negative side to GND, LED to pin 13, with a 220 ohm resistor to GND
1:50
Now let's assemble it all together. Now let's walk through the Arduino code that makes our fire alarm system come to life
2:42
First, we define the pins for the flame sensor, the built-in LED on pin 13, and the buzzer on pin 9
2:49
In the setup function, we declare the flame sensor as an input and the LED as an output
2:53
We also start serial communication so we can monitor what's happening in the serial monitor
2:58
Inside the loop function, we read the digital output from the flame sensor. If it reads low, that means a flame has been detected
3:04
If a flame is detected, we print a warning to the serial monitor, turn on the LED, and
3:09
call the fire alarm function to simulate a firetruck siren. Otherwise we print a status message turn off the LED and silence the buzzer using no tone We include a short delay of 100 milliseconds to stabilize the readings Now here the siren magic In the fire alarm function we set two frequencies one high one low and alternate them to mimic the wailing sound of a real fire truck The loop runs
3:29
five times, switching between the two tones every 400 milliseconds. After the loop finishes
3:34
we stop the buzzer using no tone. And that's it, a compact, beginner-friendly fire detection
3:39
system with a realistic siren and visual alert. Let's see it in action
3:49
As soon as the flame gets close, the LED lights up and the fire truck siren starts to wail
3:59
This simple project is more than just fun. It's the foundation for real-world systems
4:03
like smoke detectors, smart alarms, or fire suppression triggers. If this video sparked
4:08
your interest, now it's your turn to build it