
Made by Jianne Flores.
This project belongs to the Entertainment and Social Applications. The way this project works is that when the IR Sensor (which is placed at the robot’s neck) senses what is happening in the environment particularly human hand motions, the robot will then react by moving or producing certain movements, hence, this robot can only rotate it’s head and left arm.
This project was inspired by my 1st Exit Product in Computer this year. While planning for my Exit Product, I initially wanted to create a plain robot considering we had limited time to do so. But then, I eventually changed my mind and wanted to be a bit creative.
Materials Used
- Cardboard
- Cotton Roll
- Glue Gun
- Glue Sticks
- Masking Tape
- Clear Tape
- Double Sided Tape
- Acrylic Paints: Red, Black, & White
- Paint Brush
- Glue
- Black Marker
- Cutter
- Scissors
- Red Ribbon
- Glitters: Red, Gold, & Silver
Arduino Electronics
- 220 Ohm Resistors
- 2 Red LEDs
- USB Cable
- Arduino Board
- Piezo Buzzer
- IR Sensor
- Breadboard
- Jumper Cables
- 2 Servo Motors
Step by Step Process
Step 1:
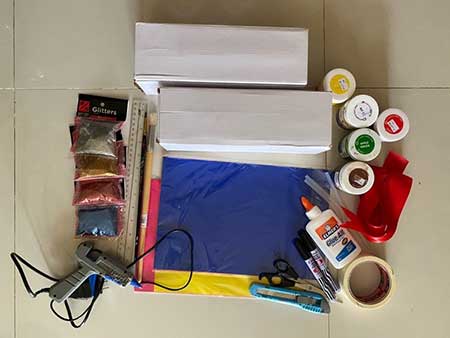
I gathered all the materials and equipment that I will be needing in creating this project, I made sure that everything was complete and ready prior to making the project so that I will be good to go.
Step 2:
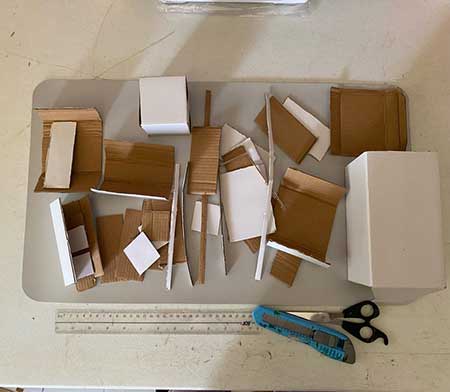
For this project, I used a cardboard box as cutouts for the Santa Claus Robot (for the arms, upper body, legs, and head)
Step 3:
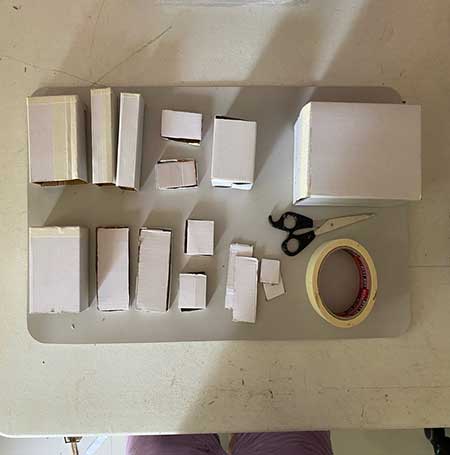
After making the cutouts for the robot from the cardboard box, I then started to assemble everything using masking tape.
Step 4:
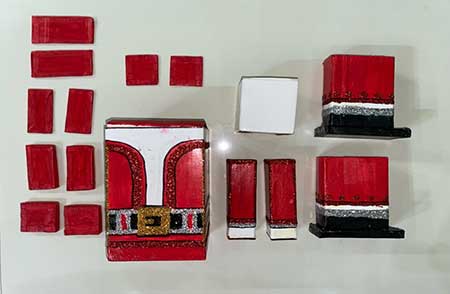
After assembling the booth, I then painted it using acrylic paint. I painted the robot’s outfit red and white, and I also painted the boots black. After the paint was dried, I then added some glitters (red, silver, and gold).
Step 5:
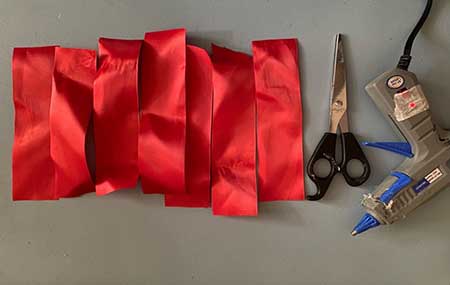
For the Santa Claus hat, I used a red ribbon, after forming it using a glue gun, I then attached the cotton at the top and also at the ends.

Step 6:
For the background, I simply used cardboard and covered it with a white mantle. I then placed some designs on it, as well as fairy lights. As you’ve noticed, I added some miniature Christmas houses, actually, they were from my 1st Quarter Exit Product Project, I decided to re-use them since they are in line with the Christmas theme. I also added some old Christmas decorations and ornaments from our house.

Step 7:
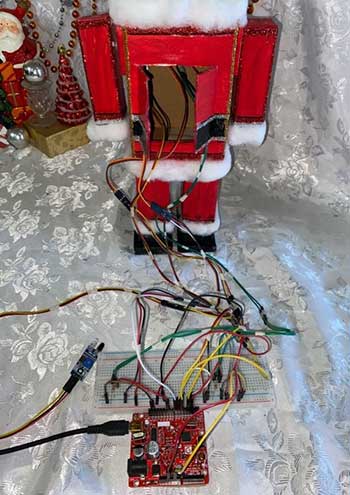
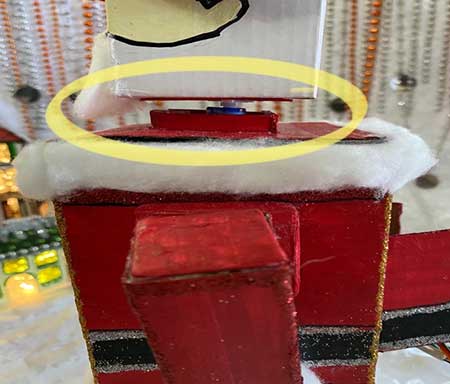
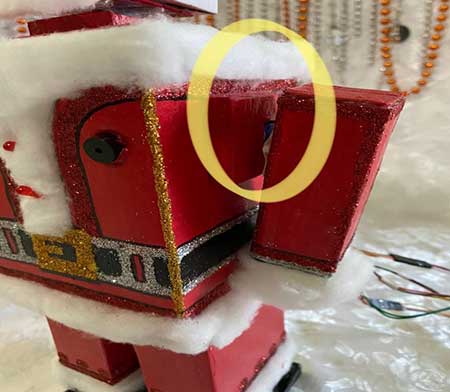
For the last step, I placed all the wirings at the back including 2 LEDs, Piezo Buzzer, 2 Servo Motors, and IR Sensor. I tried to organize the wires but it was just impossible considering that there were so many wires
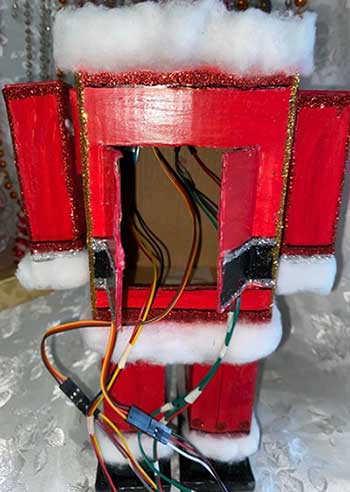
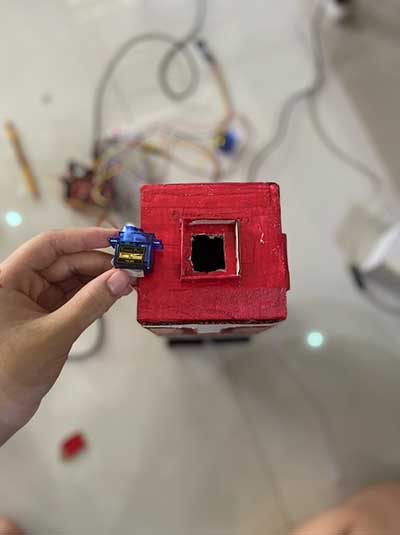
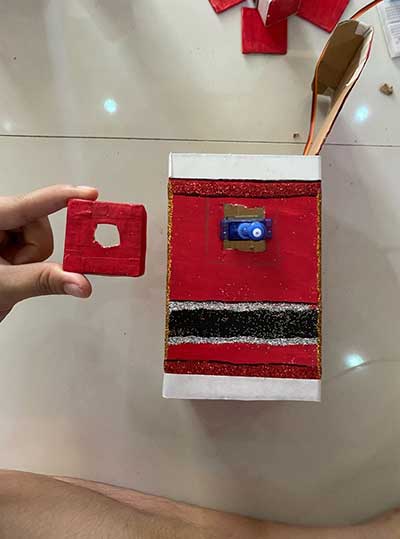
The robot that I made can only move its head and left arm. In the first picture below, you can see that I made a hole enough for the servo motor to fit in order to move the robot’s head. In the second picture, I also made a hole for the left arm.
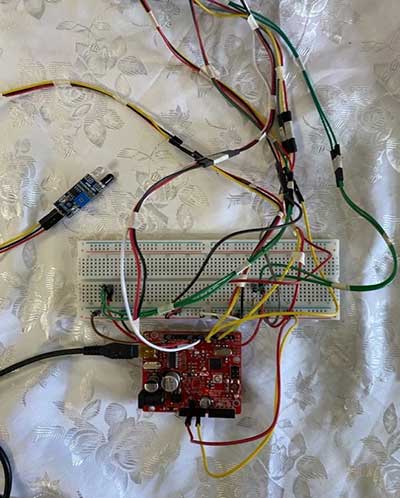
But before this, I had a long process in making the code. Eventually, I got it right then immediately uploaded it to the Arduino Board, then I connected it to my laptop using a USB cable provided along with the kit. Since I used so many wires, it’s only necessary that I use a jumper cable in the middle of the power rails, in order for the power rails to provide power to the other side because, in most breadboards, both sides of the power rails are not connected, that’s why you need to use a jumper wire for it to work. I then used female jumper cables, so that the LEDs, sensor, piezo buzzer, and servo motors can be extended further.
This is the code that I used:
 #include <Servo.h>
  Servo s1;
  Servo s2;

  int pinIR=5; //IR sensor digital pin
  int pinServo=3; //servo motor pin
  int pinServo2=7;
  int pinLED=2;
  int pinLED2=9;
  int buzzer=6;
  int val=0;

  void setup(){
    s1.attach(pinServo);
    s2.attach(pinServo2);
    pinMode(pinLED,OUTPUT);
     pinMode(pinLED2,OUTPUT);
    pinMode(buzzer,OUTPUT);

  }

  void loop(){
    val = digitalRead(pinIR);


    if (val ==0) {
      s1.write(10);
      s2.write(10);
      digitalWrite(pinLED,HIGH);
       digitalWrite(pinLED2,HIGH);
      tone(buzzer,800.10,500);
      delay(500);
    }
    else{
      s1.write(150);
      s2.write(150);
      digitalWrite(pinLED2,LOW);
      digitalWrite(pinLED,LOW);
    }
}
I think I could have done a better job. But still, I’m proud of my work because in just 3 days I was able to accomplish and also submit it on time, I’m also proud of myself because I know how much I worked hard in creating this project. Moreover, I really enjoyed making this Exit Product, I didn’t even expect to create something like this at some point.
After creating this project, I realized that I’m capable of being creative in my own little way. For example, I actually thought of doing just a plain robot for this Exit Product just like what others would usually do, but then I thought that it would be too boring. So instead of just doing a plain robot, I made a Santa Claus version of it, I actually got the idea from my previous Exit Product which is a LED Lighted Christmas Village.